Today I want to show you, how you can enhance our Inventory data that we created in our reporting series with UEFI Setting for Dell, HP and Lenovo Client devices. If you haven’t seen the reporting series, check it out here: Part 1, Part 2, Part 3
Cosmos DB
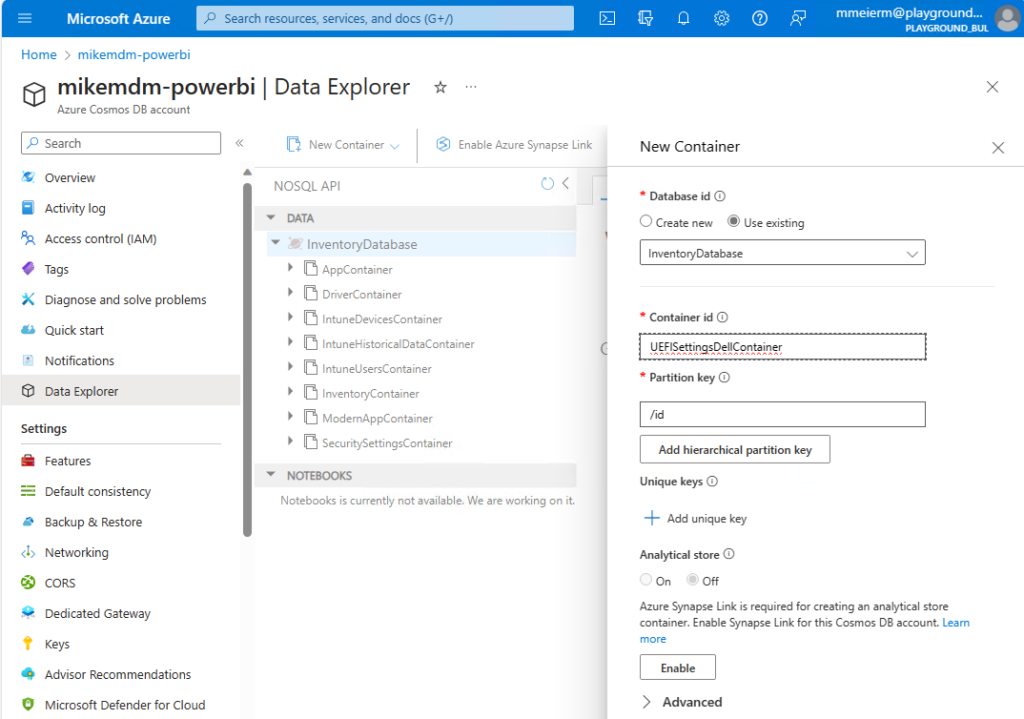
First thing we do, is to add additional containers to the DB for each device manufacturer. In my case I decided to create one for Dell, HP and Lenovo, since these are the most used devices. We will create the following Containers:
– UEFISettingsDellContainer
– UEFISettingsHPContainer
– UEFISettingsLenovoContainer
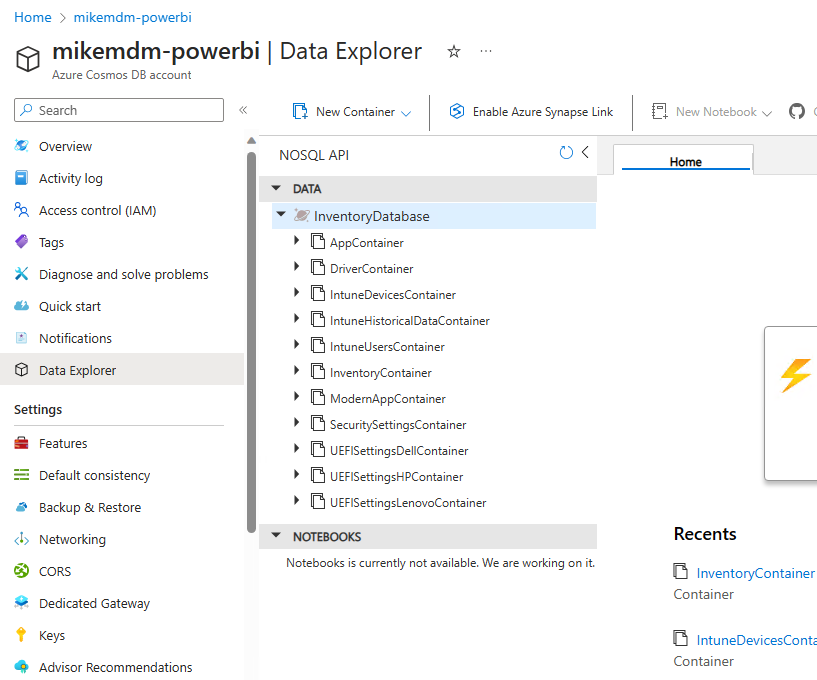
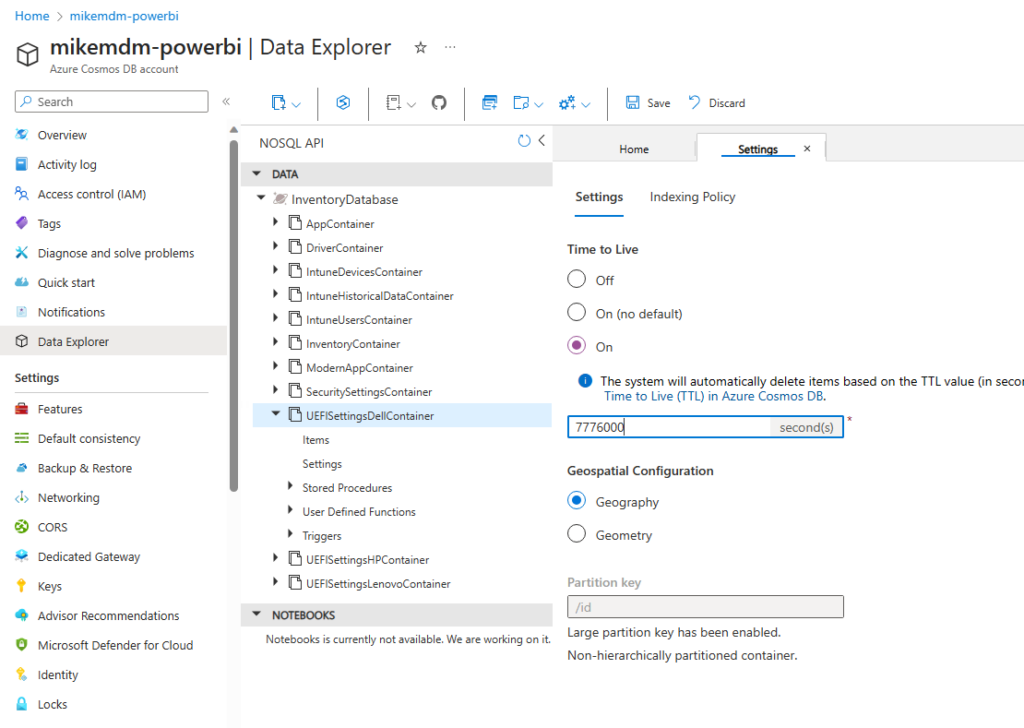
Once we have created our Containers, we can set the Time to Live again to 90 days, so that it matches our other containers.
Client Script
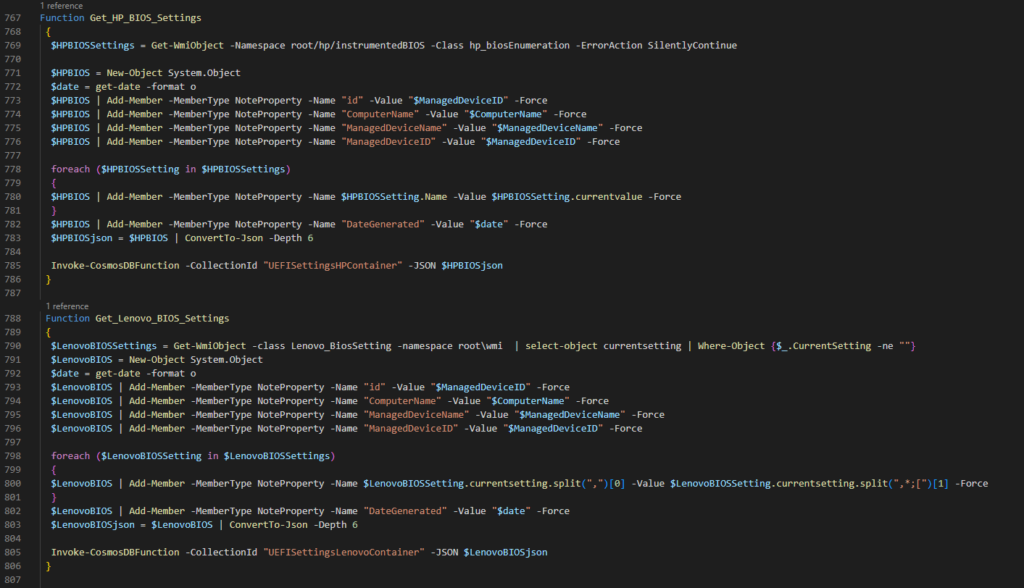
For the client-side remediation script, I added three functions for the different manufacturers. For HP and Lenovo, we can simply read the current UEFI Settings from WMI and format it in a way, that we can use in our Database:
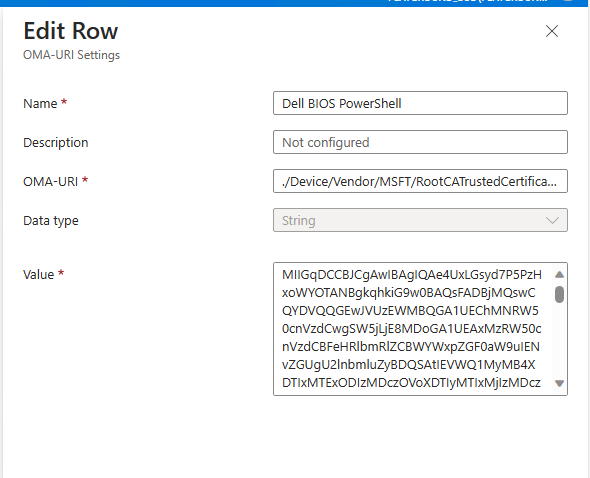
For Dell Client I used the official PowerShell Module from Dell and again converted the output to a useable format: (https://www.powershellgallery.com/packages/DellBIOSProvider/2.7.0) One hint from my side for the Dell Module, if you are enforcing a PowerShell execution policy of All Signed, you will need to add the signing certificate of the module to your trusted publishers store, in order to be able to import the module silently. You can do this in Intune with a custom OMA-URI:
The PowerShell function for Dell simply updates the PowerShell Get Module if needed and then installs and loads the DellBIOSProvider Module:
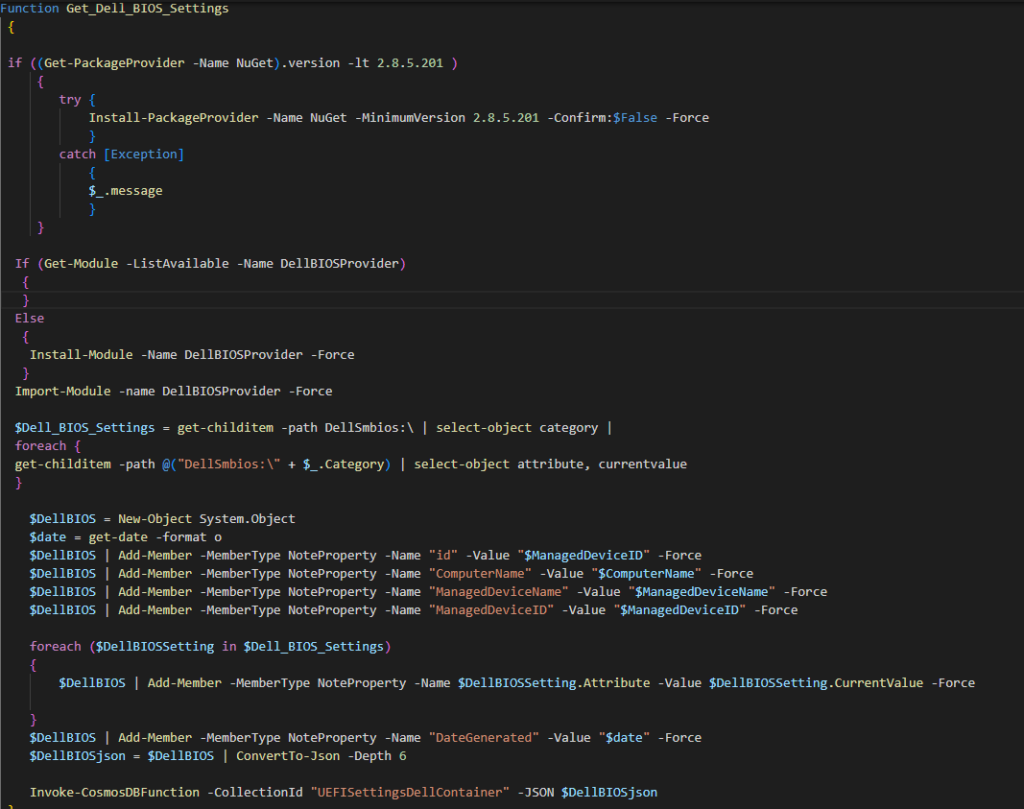
As you can see, you can add additional manufacturers pretty easily as long as there is a way to get it either directly via WMI or using a tool like biosset for Fujitsu devices. I uploaded the updated version of the remediation script to my GitHub: https://github.com/mmeierm/Scripts/blob/main/Inventory/ProactiveRemediation_with_UEFI.ps1
Power BI
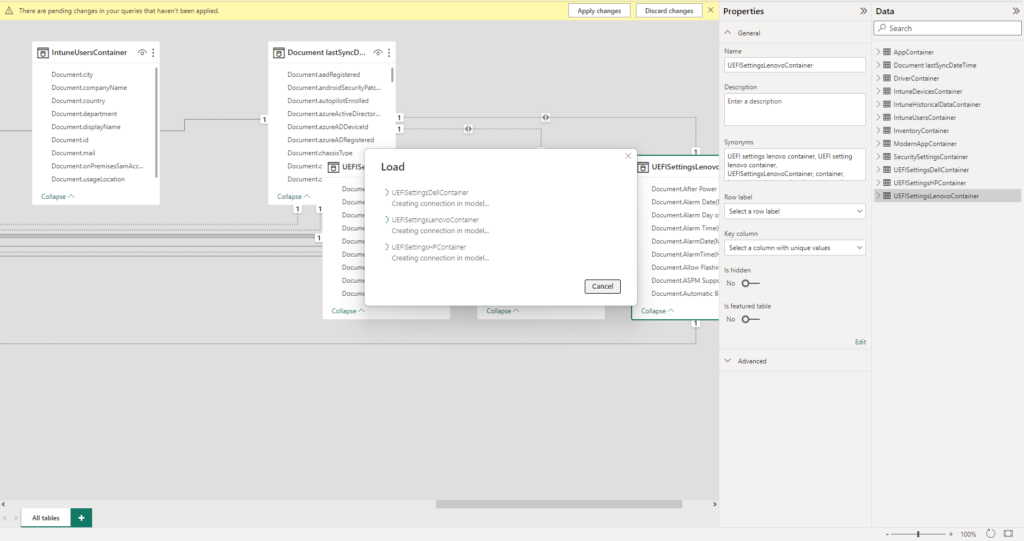
Using our Power BI Report from part 3, we can simply add the newly created containers to the query and create report as we need them
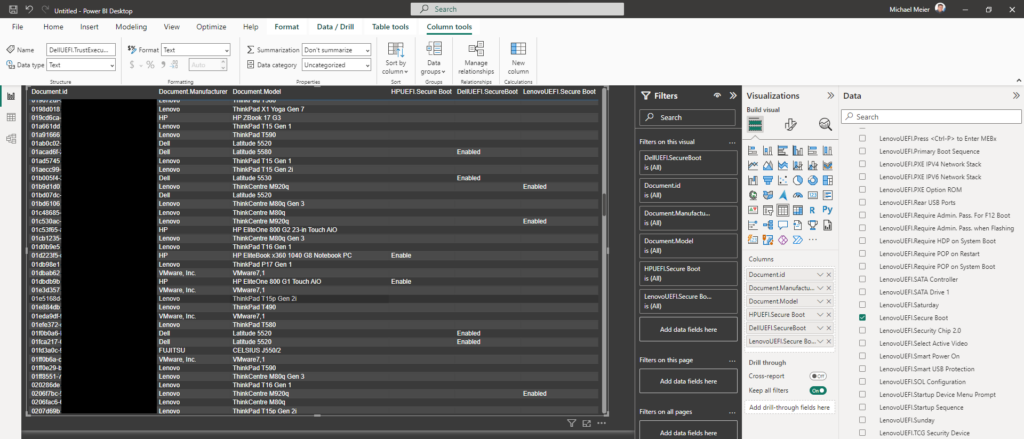
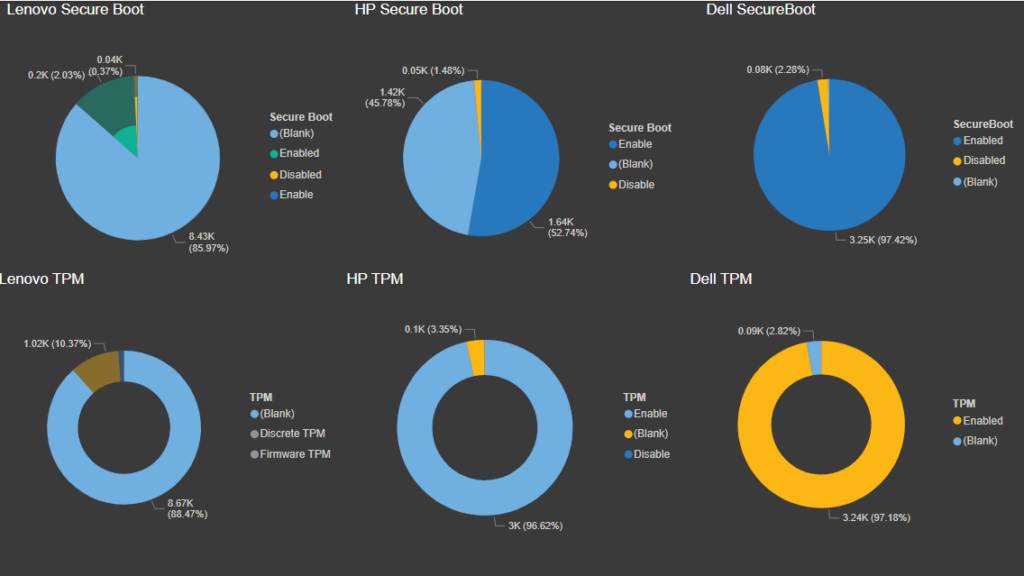
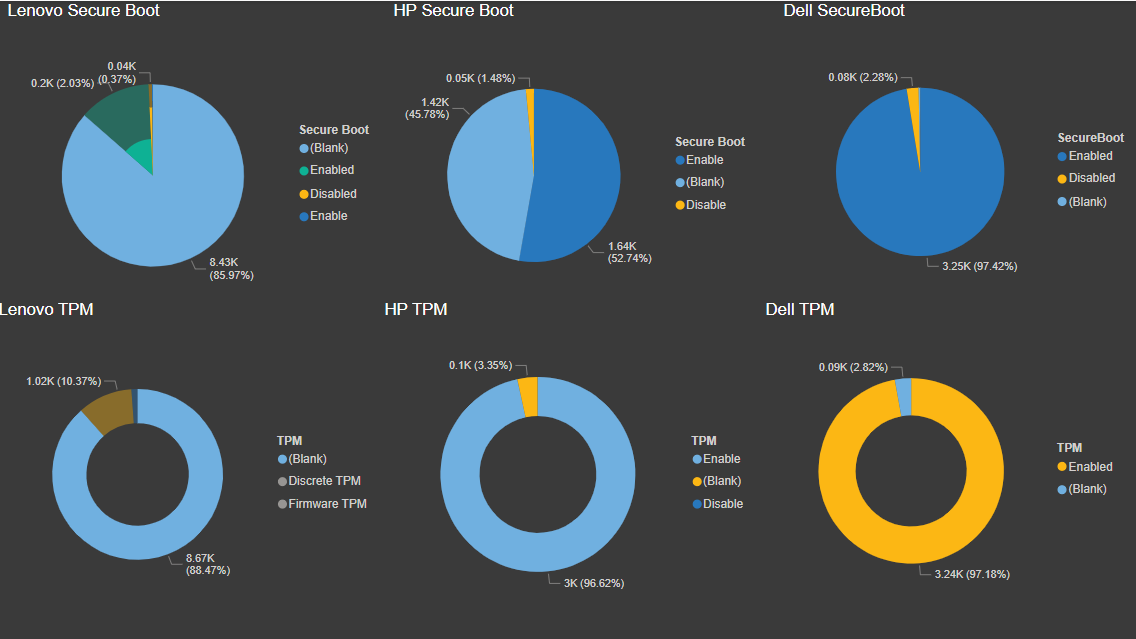
For this demo I used the Secure Boot value to create a short Report showing the current state:
Of course, we can also create nice graphs for our reports.
Leave a Reply