In Part 2 of the Reporting Series, we will add Intune and AAD User Data to our Cosmos DB created in Part 1 PowerBi Reports for Advanced Windows Client Inventory Data – Part 1 – Mike’s MDM Blog (mikemdm.de)
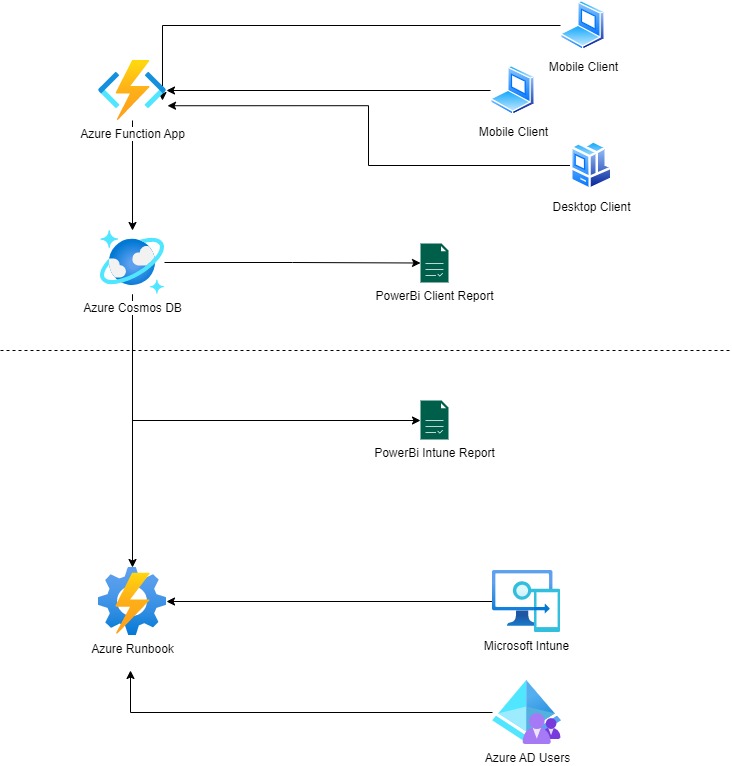
Architecture
In Part 2 we will go into details in the lower half of the Architecture, that will cover a Azure Automation Runbook, that gathers information from Intune and AzureAD to provide additional Information to our Cosmos DB in order to be used in more advanced PowerBi Reports
Cosmos DB
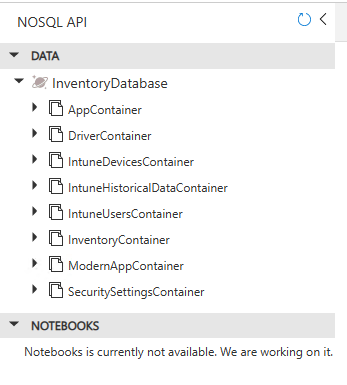
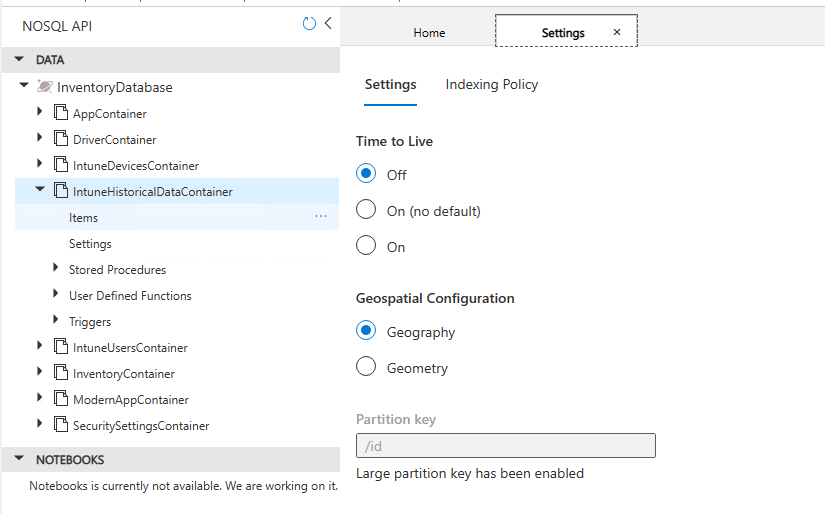
At first thing today, we will add a few additional containers to our Cosmos DB from Part 1. We will add the following Containers:
– IntuneDevicesContainer
– IntuneHistoricalDataContainer
– IntuneUsersContainer
The Devices Container will contain a “All Devices” like view with a selected set of properties.
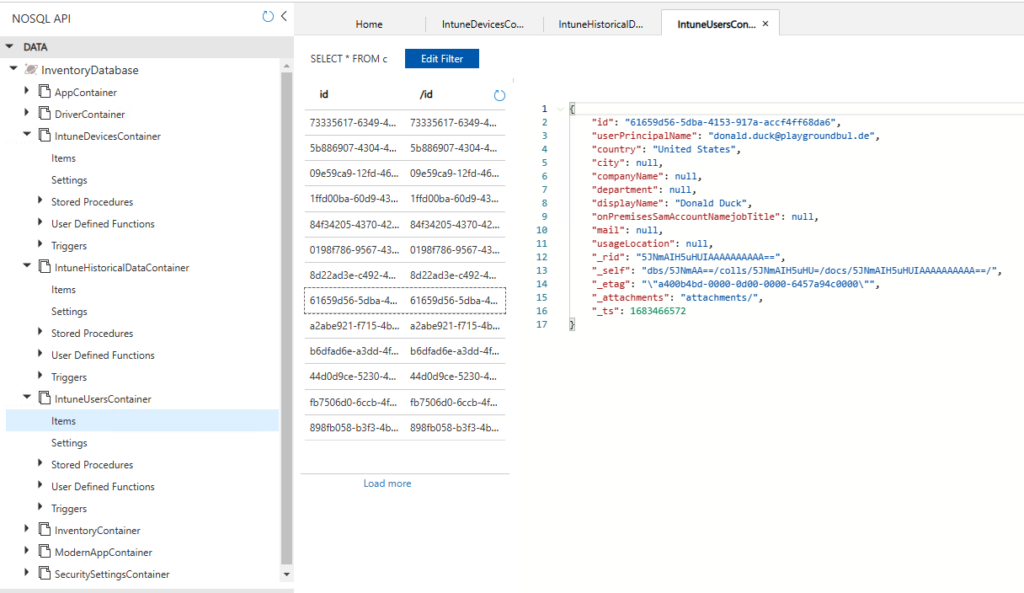
The UsersContainer will contain all active users from AzureAD to be used in the PowerBi Reports to add User information like Location or Department to the Intune Devices.
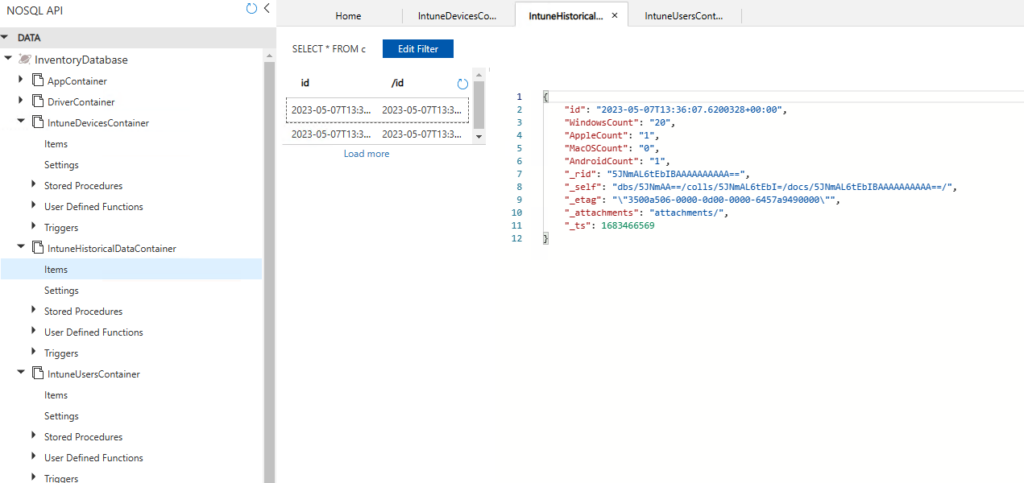
The HistoricalDataContainer will only store a count of enrolled devices separated by OS Type (Windows, MacOS, Android, iOS/iPadOS)
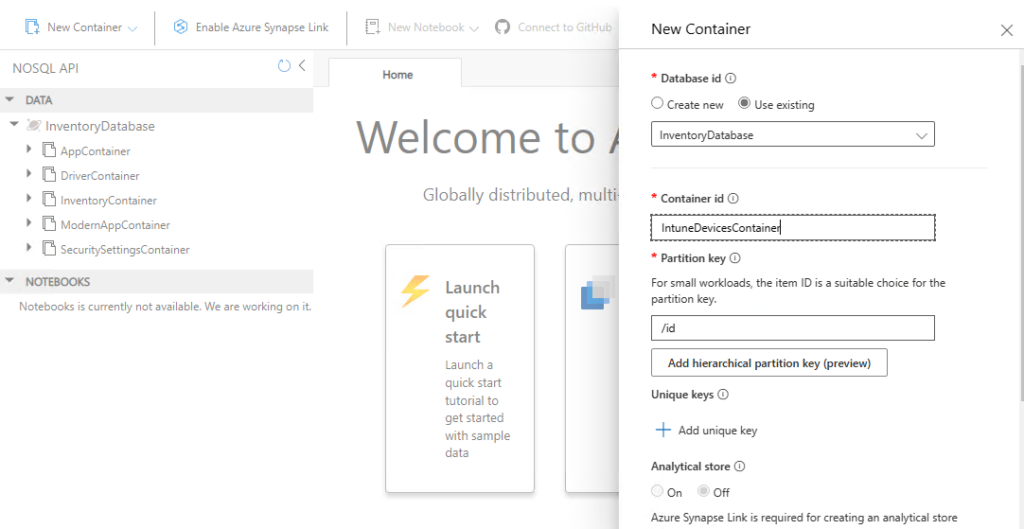
We will create the three new Containers just like in Part 1:
In the end we should have the following eight Containers in the Database
For the Time to Live Setting of the Devices and Users Container we can choose something a little longer than the planned schedule of the export later, I had chosen 48h to to not end with an empty Container if there is an issue at the export on one day. For the HistoricalData Container we have to make to to disable the Time to Live Setting, as we want to have Data from the past
Azure Automation Runbook
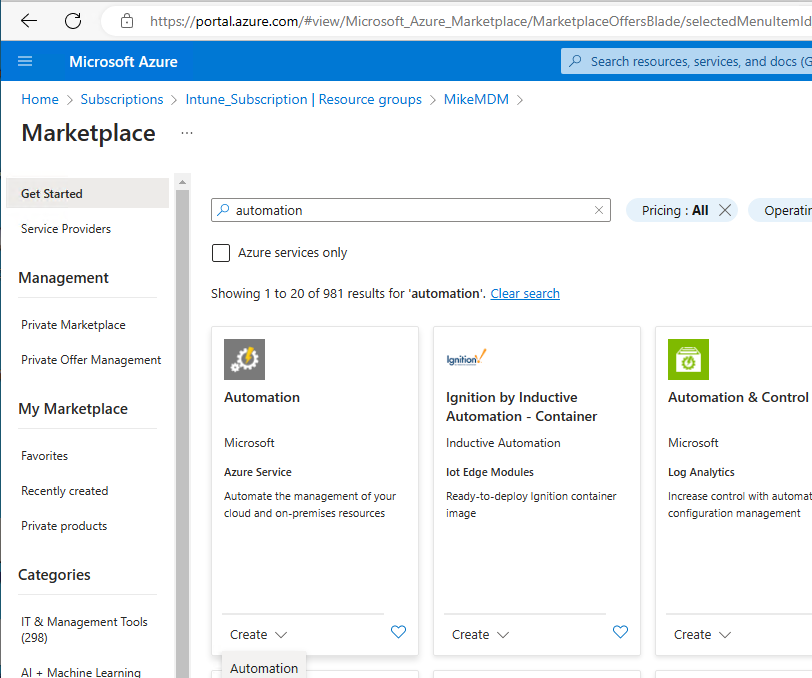
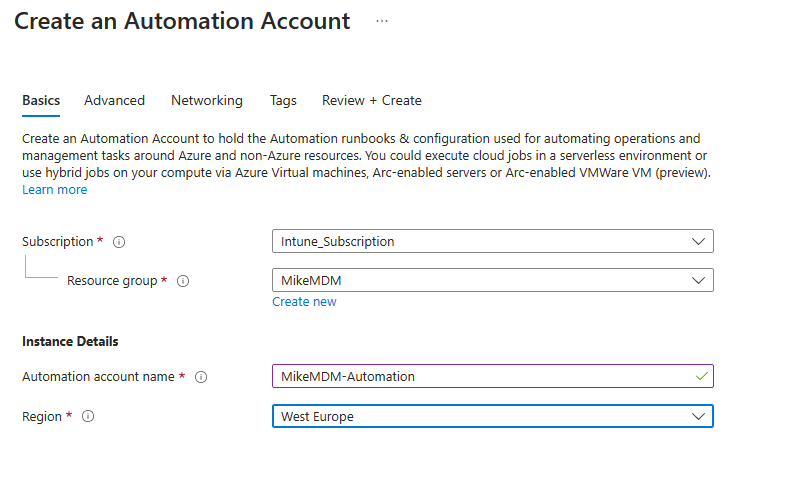
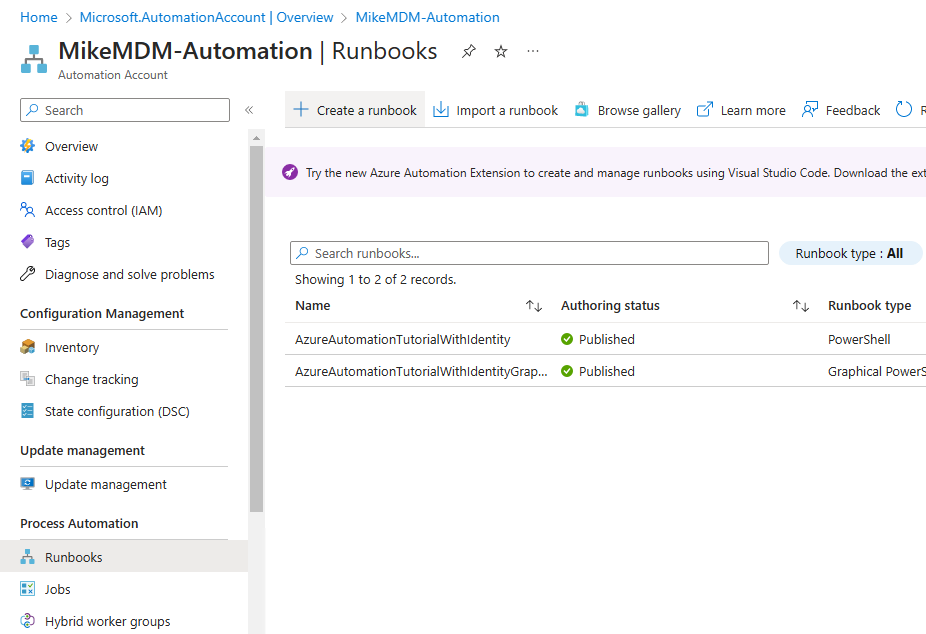
As next step we need an Azure Automation Account, if you already have on created like we did in an older Blog (User driven Device Group Membership – Mike’s MDM Blog (mikemdm.de)) you can skip this step here and continue at creating the Runbook itself. If not, i will go step by step again here.
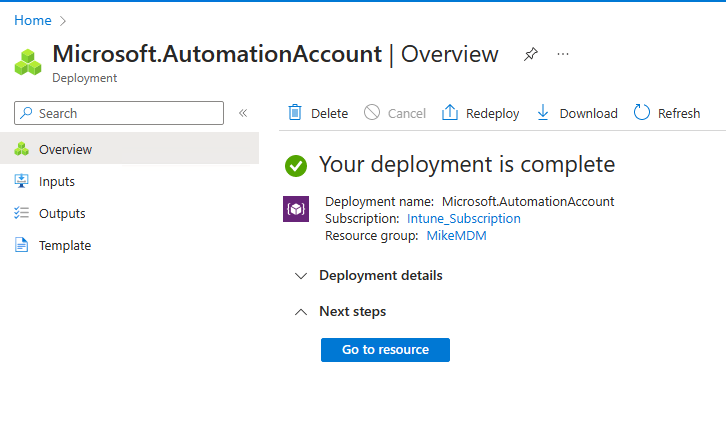
Let’s start with the Automation Account itself, we can simply add it to a existing Azure AD Subscription from the Azure Marketplace:
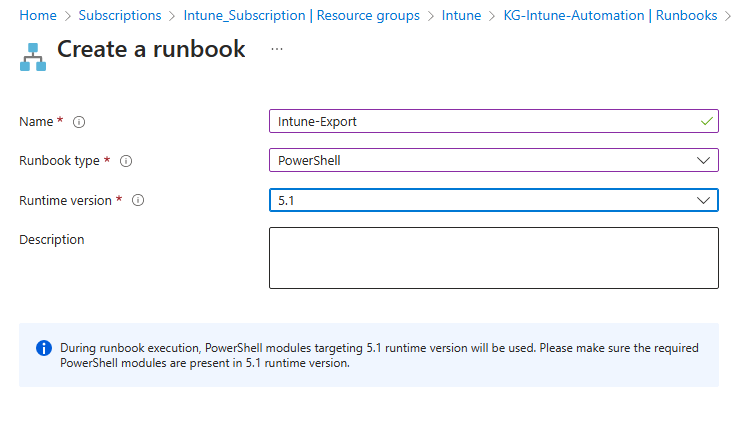
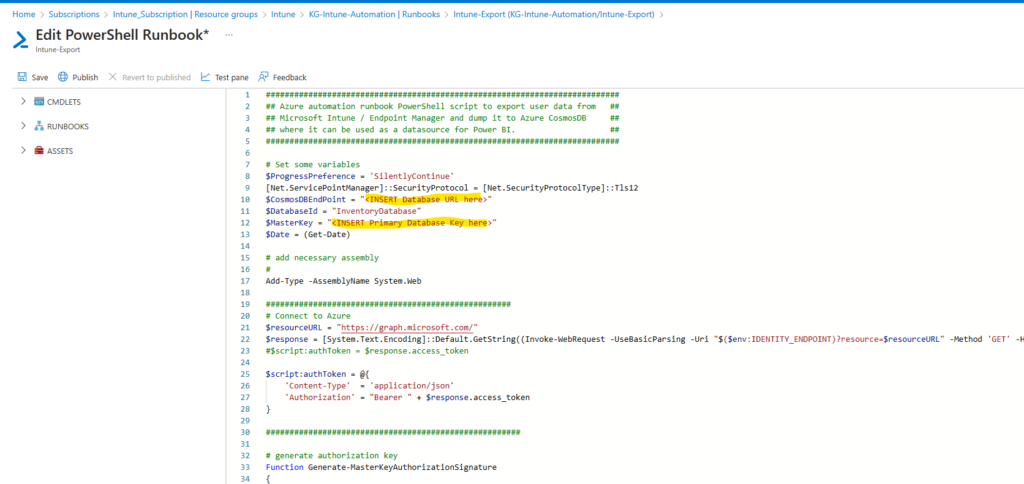
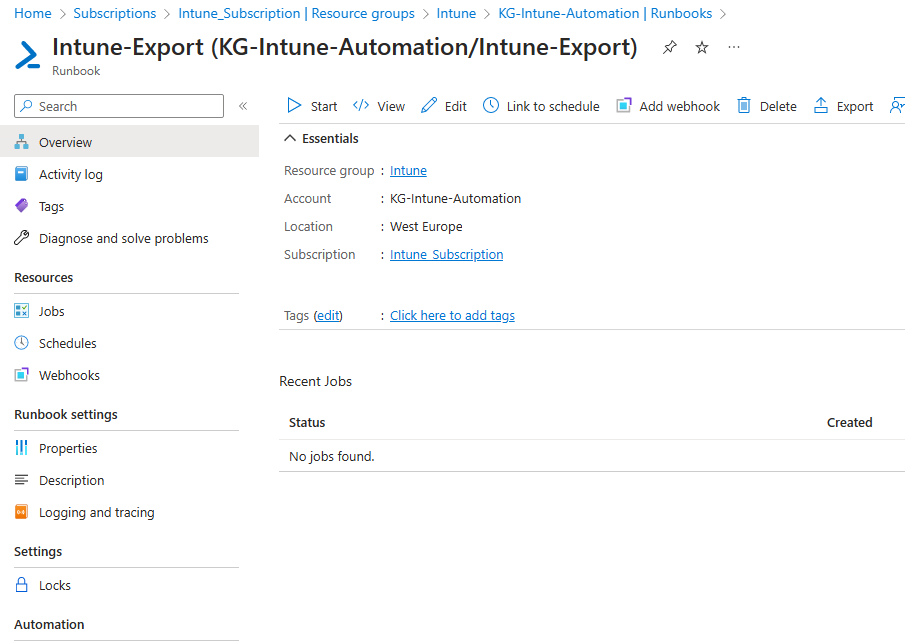
Once the Deployment is finished, we can add the needed Script to a new Runbook. You can find the Script in my Github Repo: Scripts/AzureAutomation-IntuneExport-Runbook.ps1 at main · mmeierm/Scripts (github.com) Just replace the Cosmos DB URL and the Primary Key that we needed in Part 1 and copy the script to the new Runbook
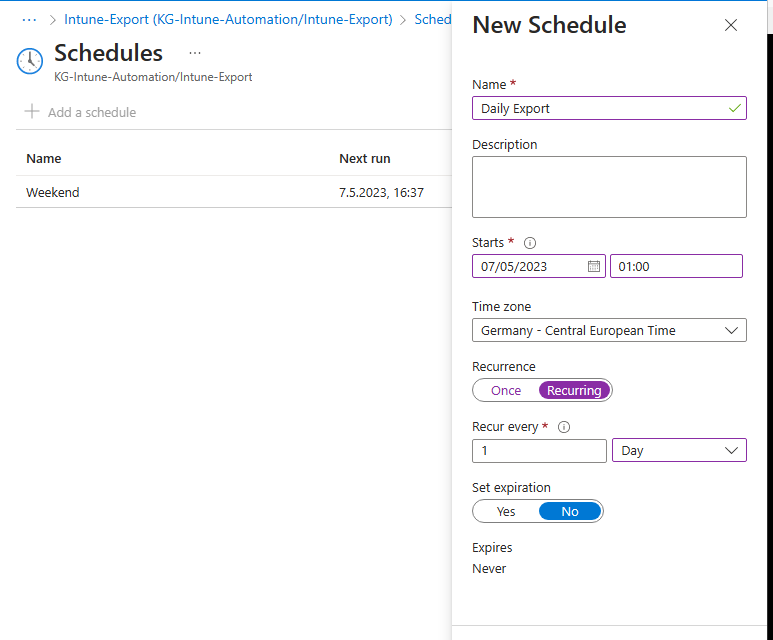
After we have saved the Script, we can publish it and create a Schedule for the export, i chose a daily export in the night:
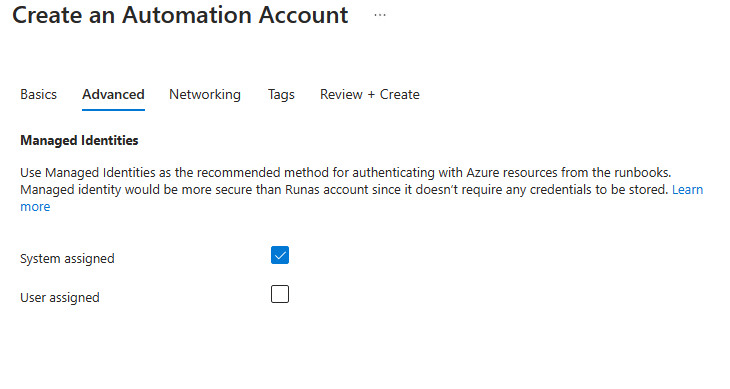
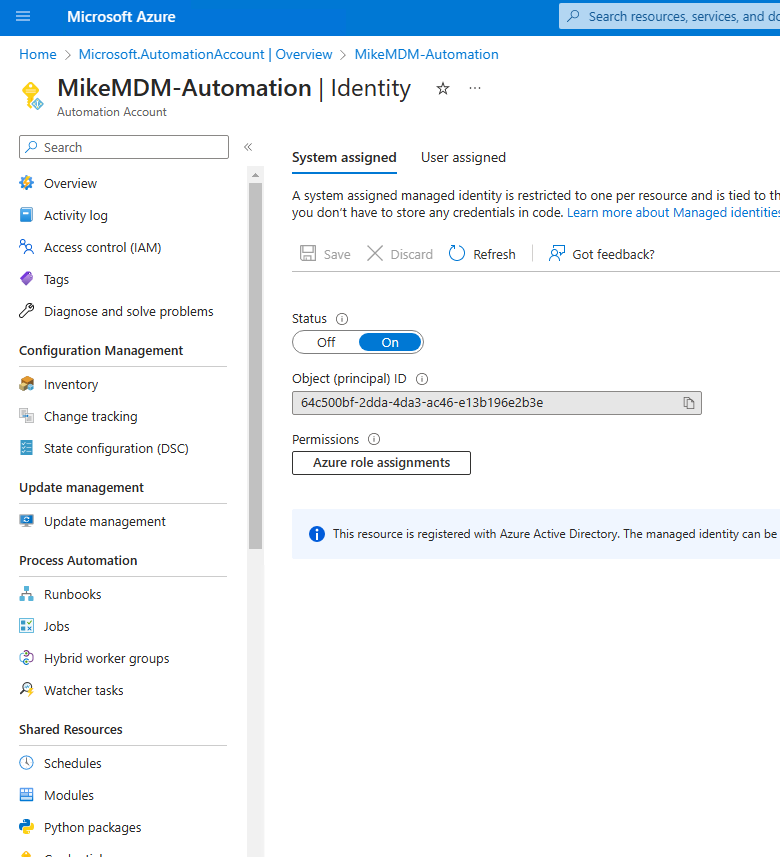
Now we can assign the needed Permissions to the System Managed Identity of the Automation Account. Just replace the ID from the Identity Tab of the Automation Account in the Script.
You can find the needed Script to assign the Permissions here: Scripts/Add-Permission.ps1 at main · mmeierm/Scripts (github.com)
The Script will add the following read permissions:
- DeviceManagementManagedDevices.Read.All
- User.Read.All
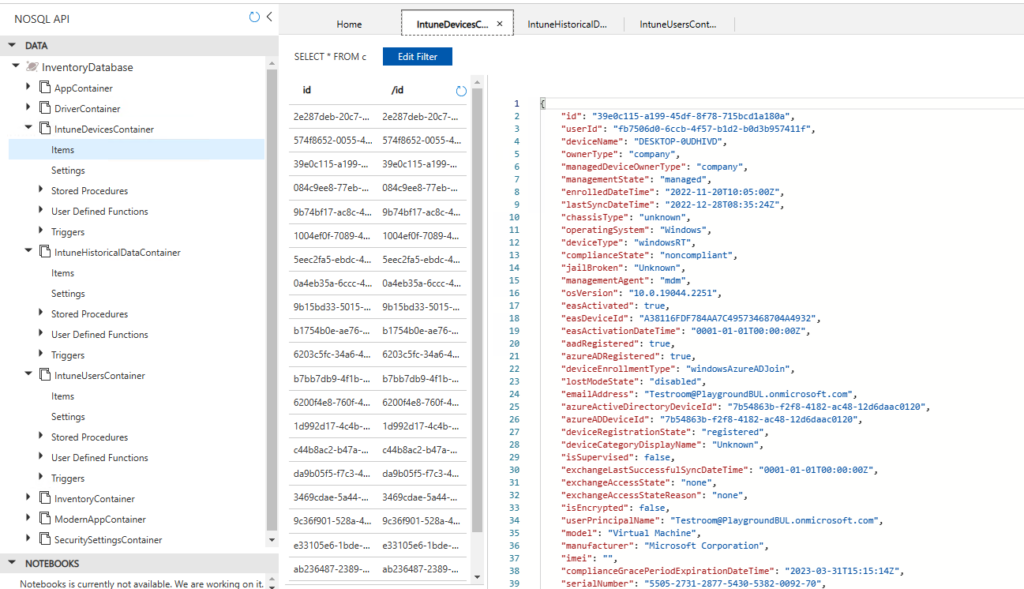
Cosmos DB
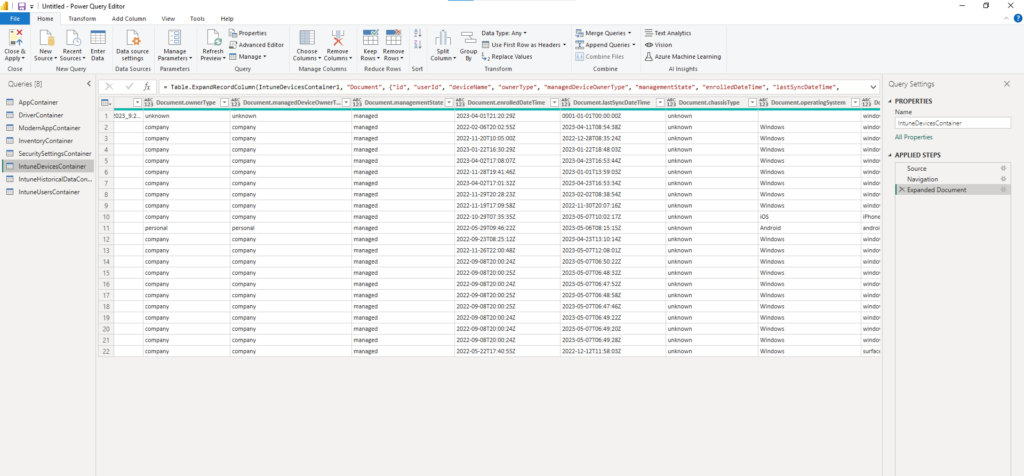
Once the Runbook has been executed, you can see, we have now Intune Data in the DB visible. The id field in the Devices Container representes the Intune device ID, in the Users Container it’s the AAD User Id, and in the Historical Data Container it’s a timestamp, that can be used to show the envolving of your environment over the Time. The Data itself will looks something like this in the DB:
PowerBi Reports
Now that we finally also have Intune data in our Database, we can add these Containers to PowerBi. In Part 1 i already connected my PowerBi Desktop to the first Containers, now we only need to add the newly created ones to have all the data we need.
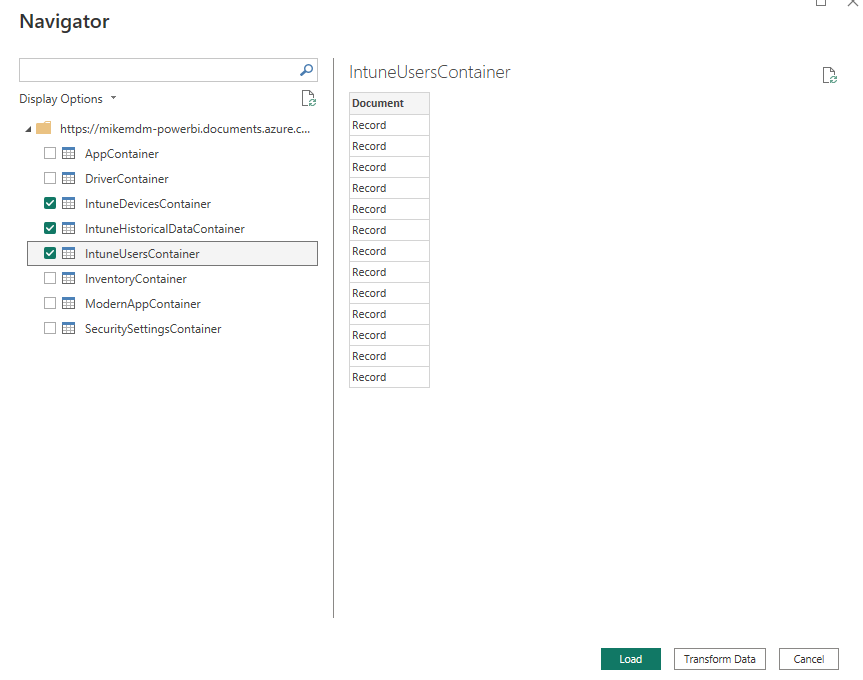
Again we select Transform Data to expand the fields in the Power Query Editior
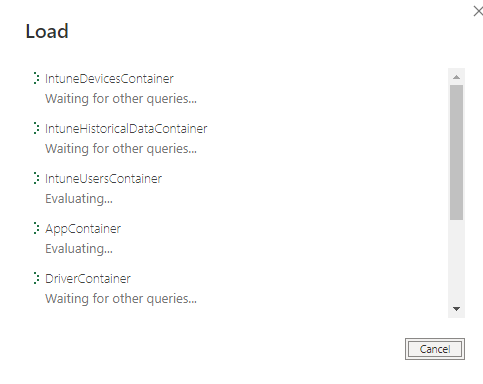
and load the changes…
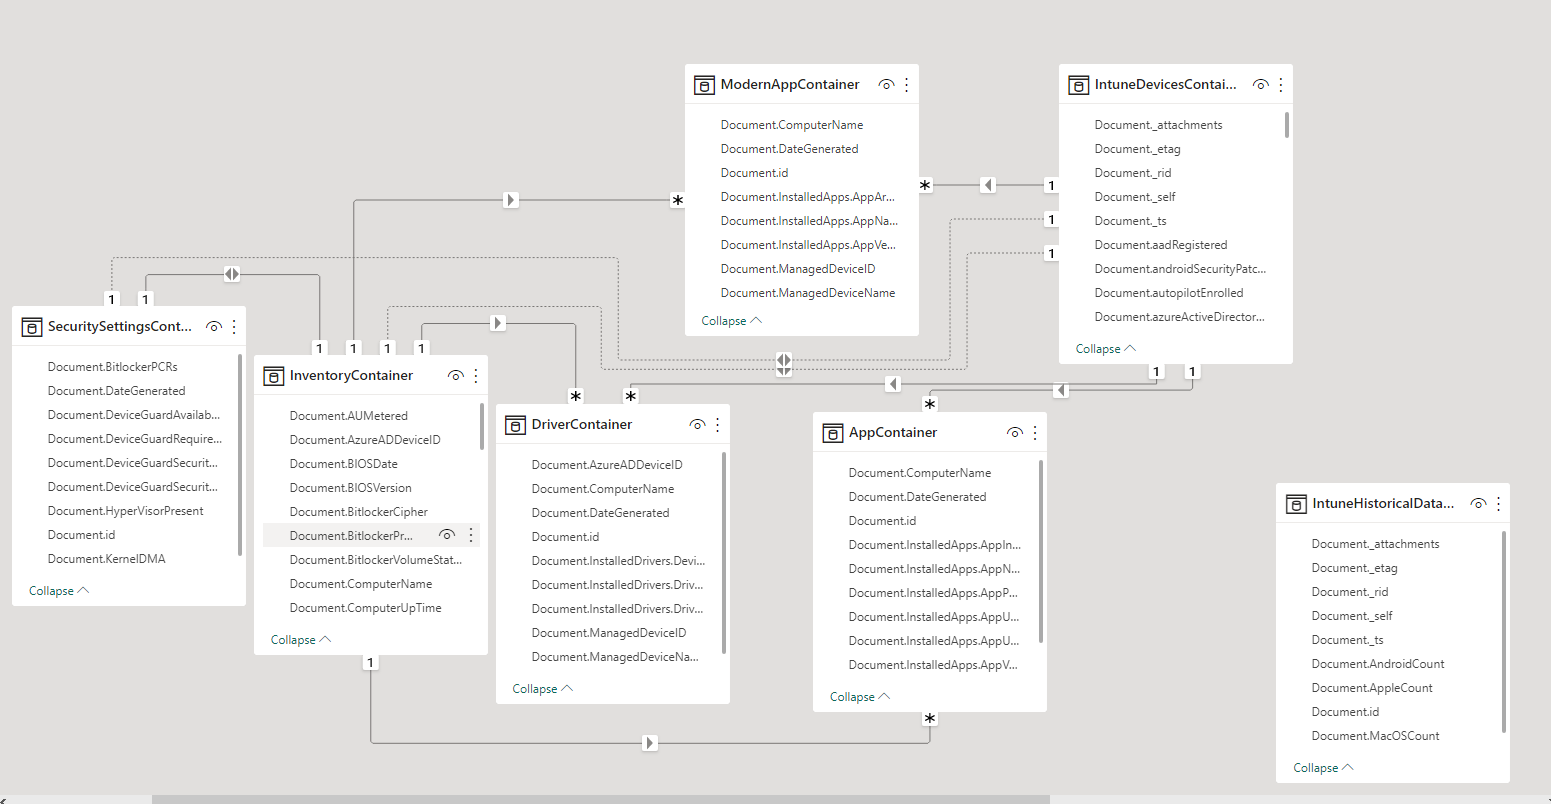
Since we were using the same Intune managed Device id in our Client Script in Part 1, you can see, except for the historical data container everything else gets automatically related as needed:

Now we have everything prepared for Part 3, where I want to show you a few example Reports of what you can do with this data, but feel free to customise it to your needs, since this solution is super easy customizeable.
Leave a Reply