Today I will show you my solution to build PowerBi Reports for Intune Data combined with advanced Inventory Data directly from Windows Clients based on a Azure Cosmos DB. The advanced Inventroy Data is inspired from this solution from the guys over at MSEndpointMgr: Enhance Intune Inventory data with Proactive Remediations and Log Analytics – MSEndpointMgr. Their solution is super cool when you want to use for example Azure Workbooks to display the data, but has one mayor disadvantage when you want to use PowerBI, the LogAnalytics Workspace used has a few fixed limits on how much data can be displayed at one time, which was to little for our environment with more than 20.000 Windows devices. So we decided to use an Azure Cosmos NoSQL DB.
Architecture
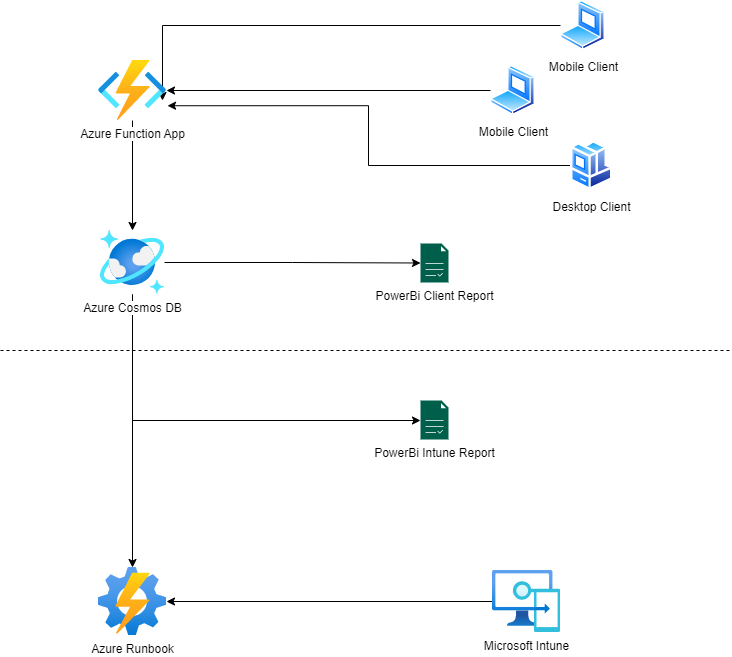
The following Image should display the architecture of this solution, the clients will report to the Cosmos DB via a Azure Function and PowerBi will read the data from the DB as well (upper part). In Part 2 of this series i will describe how to additionally add Intune Data to the DB and use it in even more advanced Reports
Cosmos DB
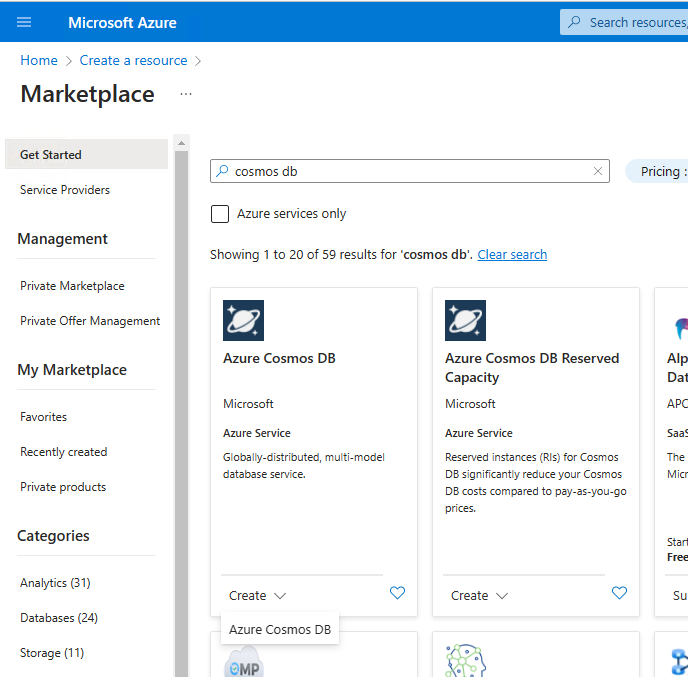
At first we start creating our NoSQL Azure Cosmos DB. You can simply add it to an existing Azure Subscription via the Azure Marketplace.
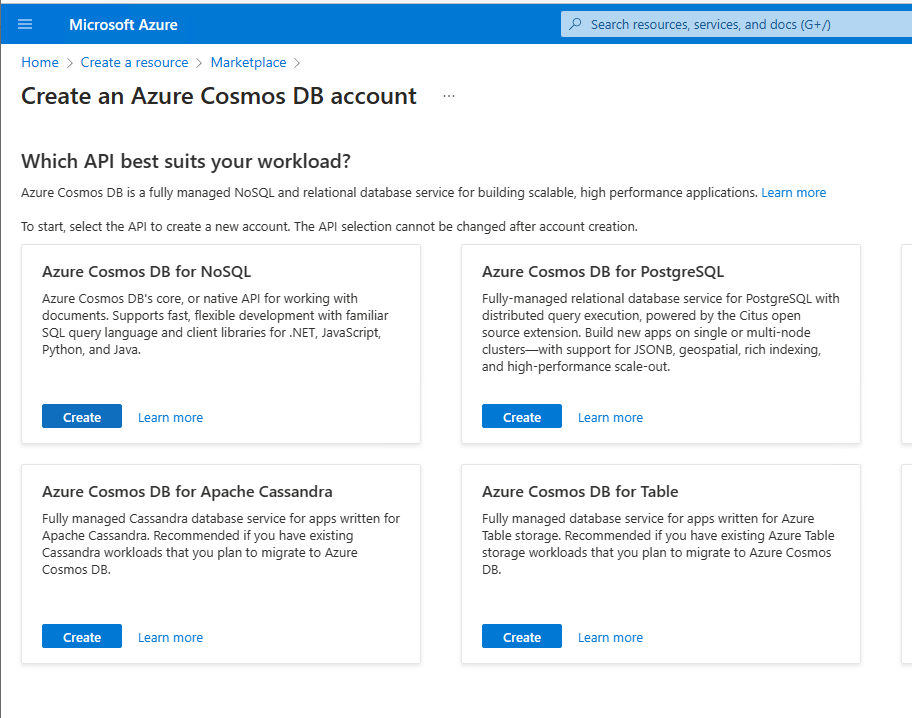
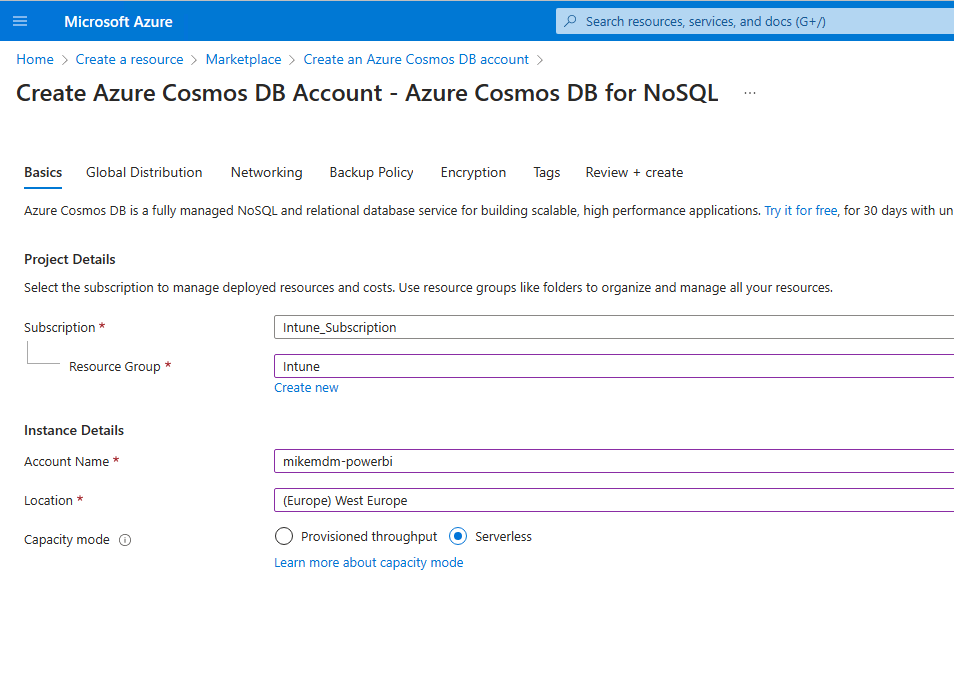
Give it a name and for my lab environment I select Serverless as Capacity mode, since I do not expect to much traffic, since every client will only report once a day, but in lager environment, you may consider choosing a specified Provisioned throughput
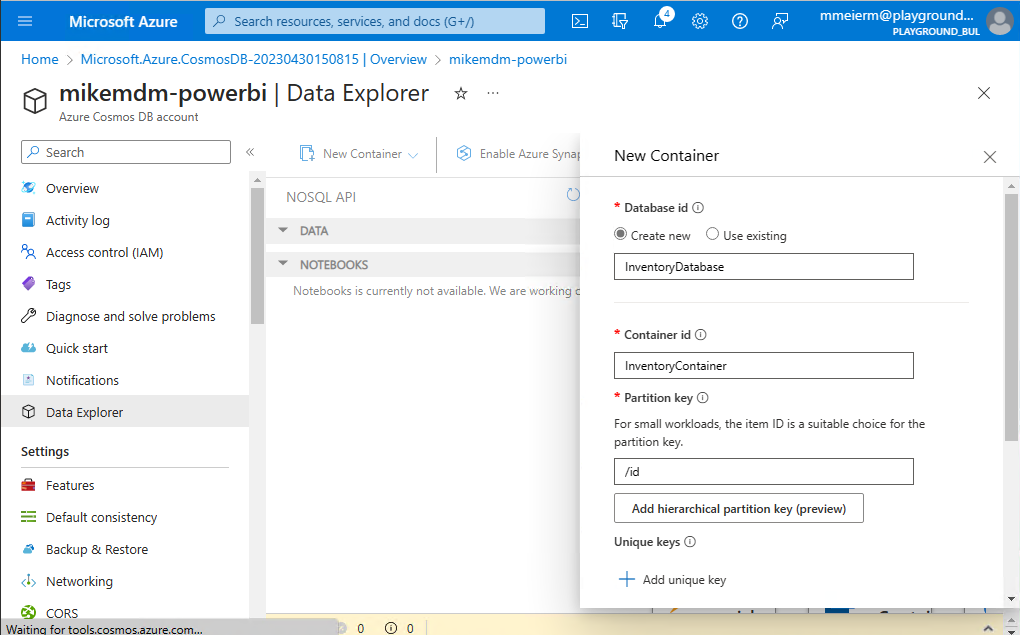
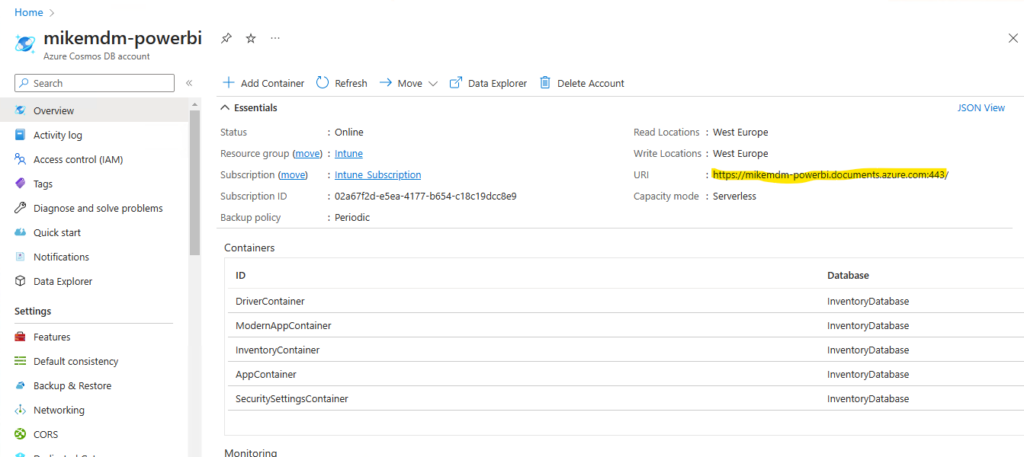
Once the DB is provisioned, we can start creating the Database itself and the needed Containers. We will create a Database called “InventoryDatabase” and five Containers for the Client Inventory Data:
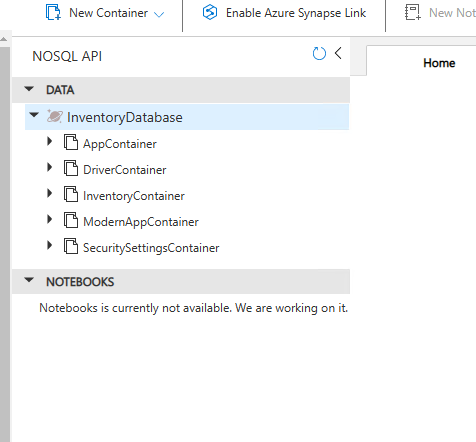
For the Client Inventory Data we need the following Containers:
– InventoryContainer
– AppContainer
– ModernAppContainer
– Driver Container
– SecuritySettingsContainer
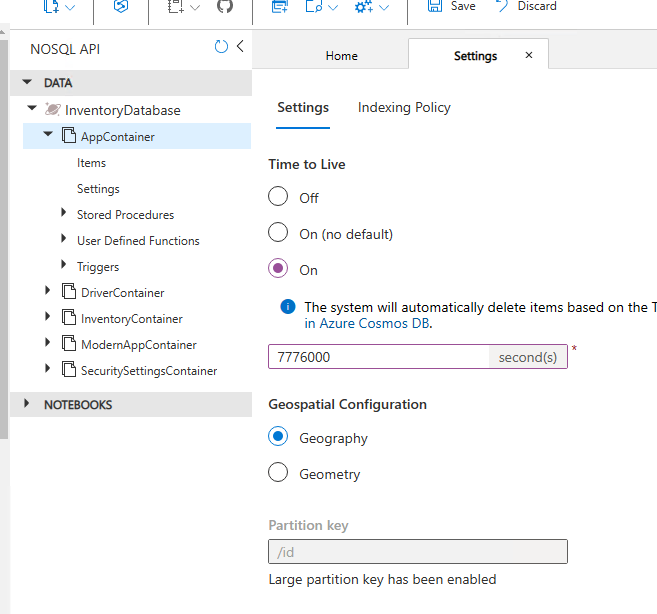
I decided to set the TimeToLive for these five Containers to 7,776,000 Seconds (90 days) since this is the same value, at which my automatic device cleanup in Intune will remove stale devices
Azure Function App
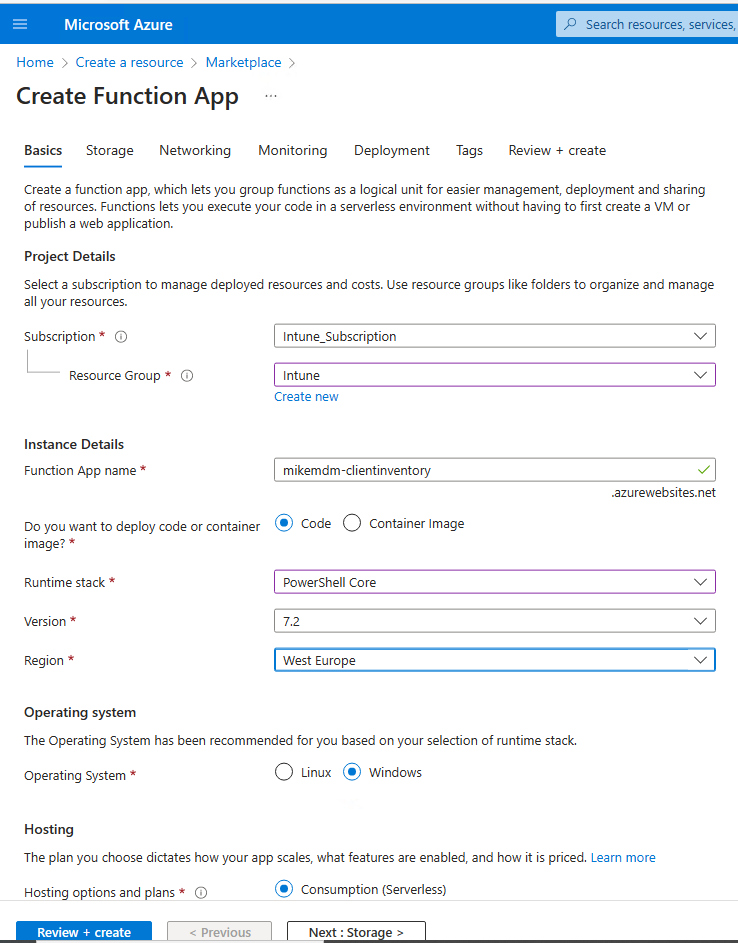
Just like for the Cosmos DB, to create the Function App we will again go to the Marketplace and create the new Function App. Again give it a name, place it in a Ressource Group of your choice and again I selected Serverless as Hosting plan, since it will not generate to much traffic. For the App itself, we will select PowerShell Core as Runtime and Windows as OS
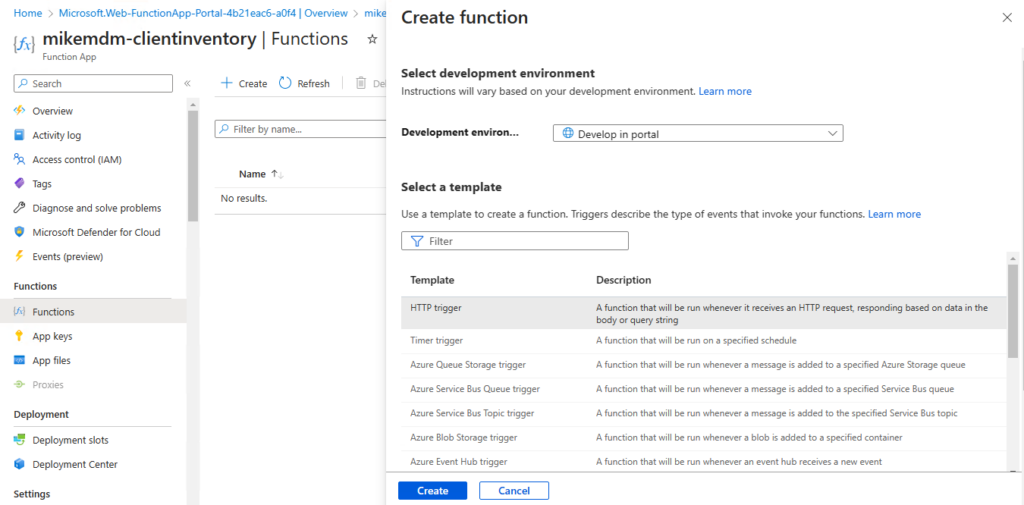
Once the App is deployed, we can create the Function itself as “HTTP Trigger”
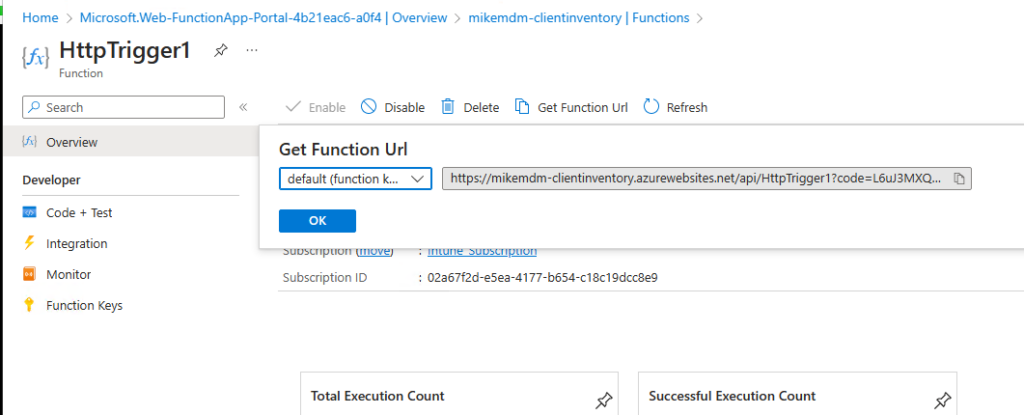
Now that we have created the Function, we can gather the “Function URL” that we will need later for the Client Script
The Code for the Function is located on my GitHub as well: Scripts/AzureFunction.ps1 at main · mmeierm/Scripts (github.com)
To get the URL of the DB, you can simply copy it from the Overview Page of the Cosmos DB:
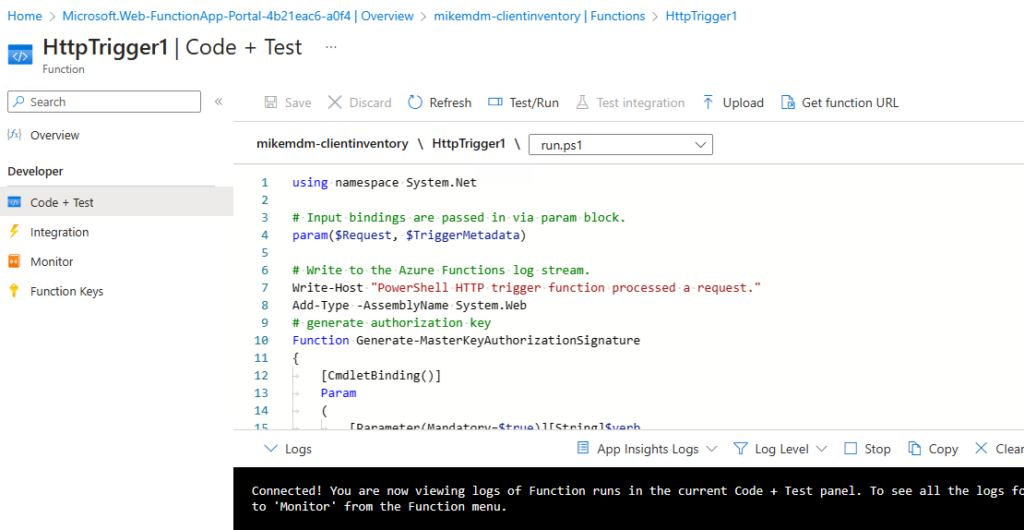
Last but not least, we need to copy the “Primary Key” from the DB in the “Master Key” Variable of the Script, once this is done, we can simply copy the Script to the editor in the “Code + Test” Section of the App
Client Script
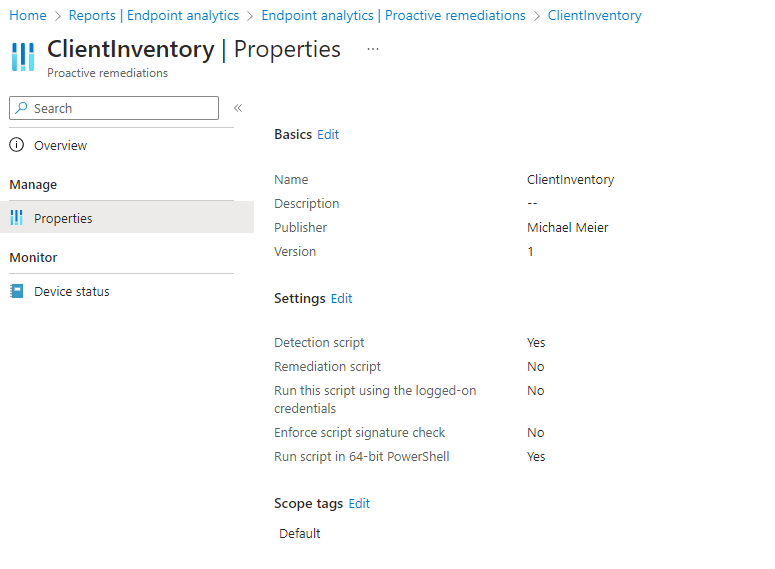
For the Client side, we use a PowerShell Script, that after you added the URL from the Azure Function App before, can be deployed to the client for example using Intune Proactive Remediations. You can find the Script on my GitHub: Scripts/ProactiveRemediation.ps1 at main · mmeierm/Scripts (github.com)
Cosmos DB
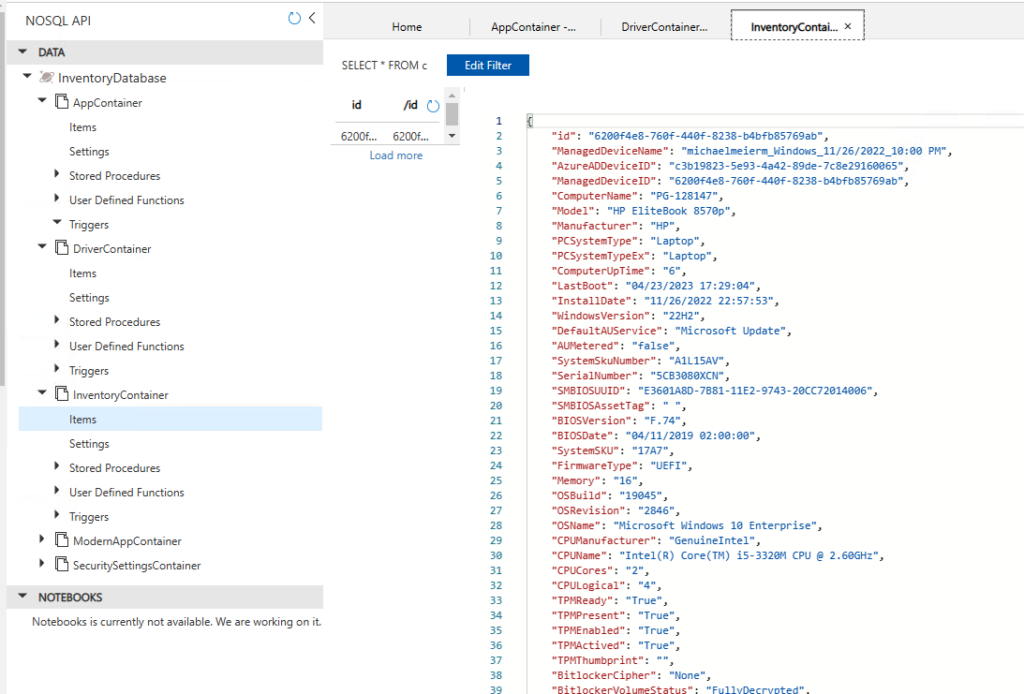
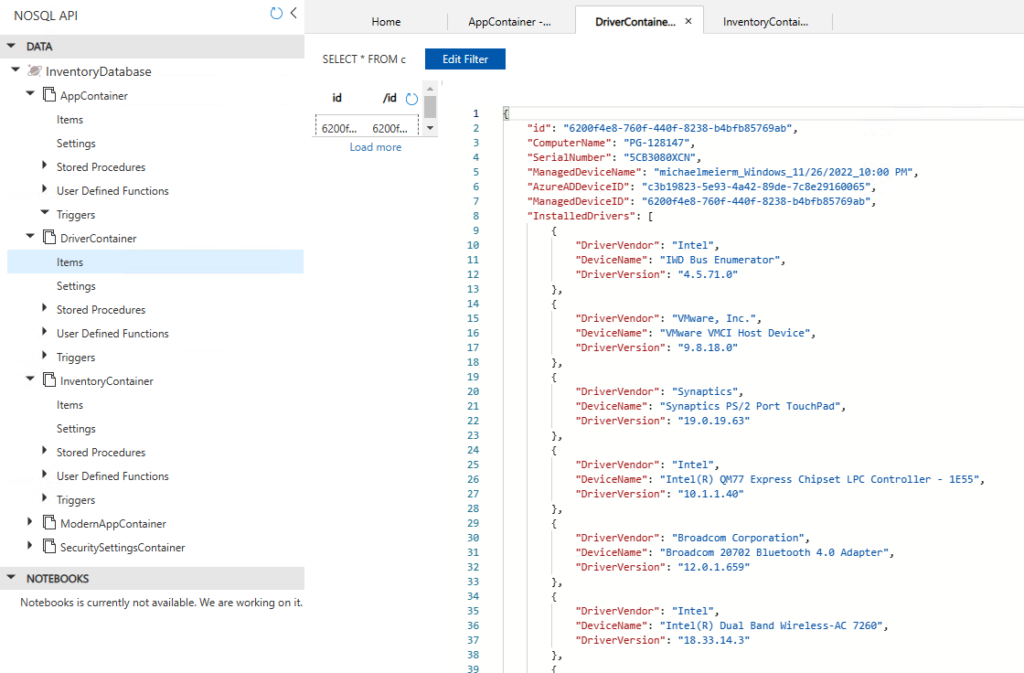
Once the Script has been executed on at least on client, you can see, we have now Inventory Data in the DB visible. The id field representes the Intune device ID, so it is easy for us to combine the data from the different Containers and also in Part 2 with data directly from Intune. The Data itself will looks something like this in the DB:
PowerBi Reports
Now that we finally have data in our Database, we can start building our first Reports in PowerBi. In Part 1 i will not go to deep in detail of the Reports itself, but will show you the basics, on how to connect to the DB and show a first little draft.
I will start with PowerBI Desktop and connect to the CosmosDB
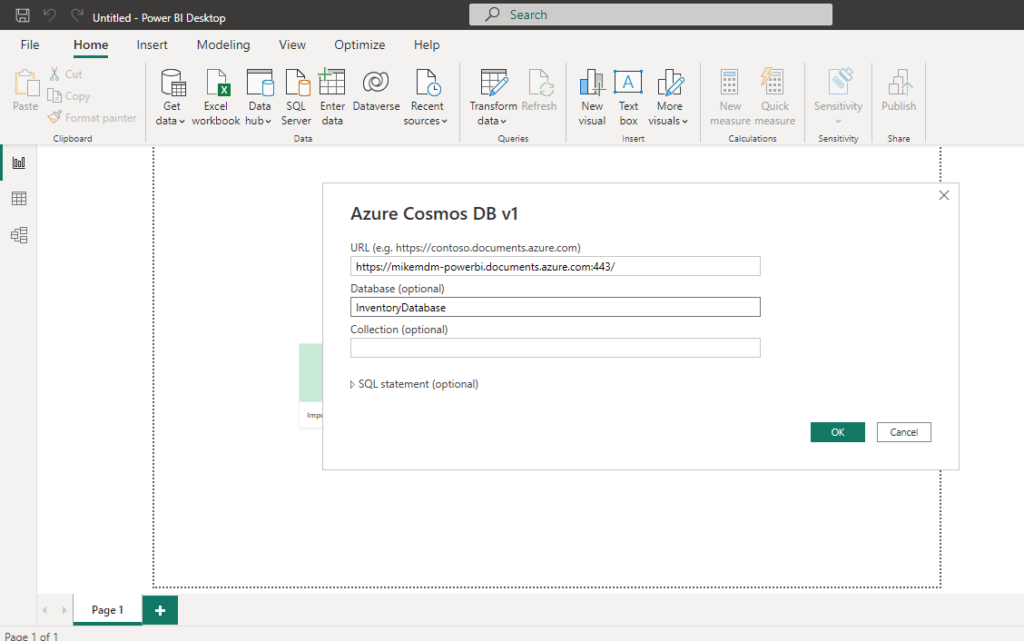
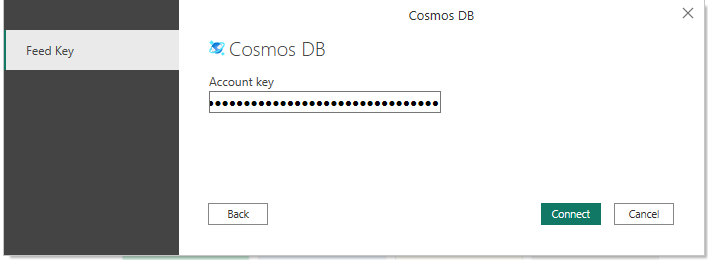
For the Account key, we can use our Read only Key, since we will not modify any data in the CosmosDB itself
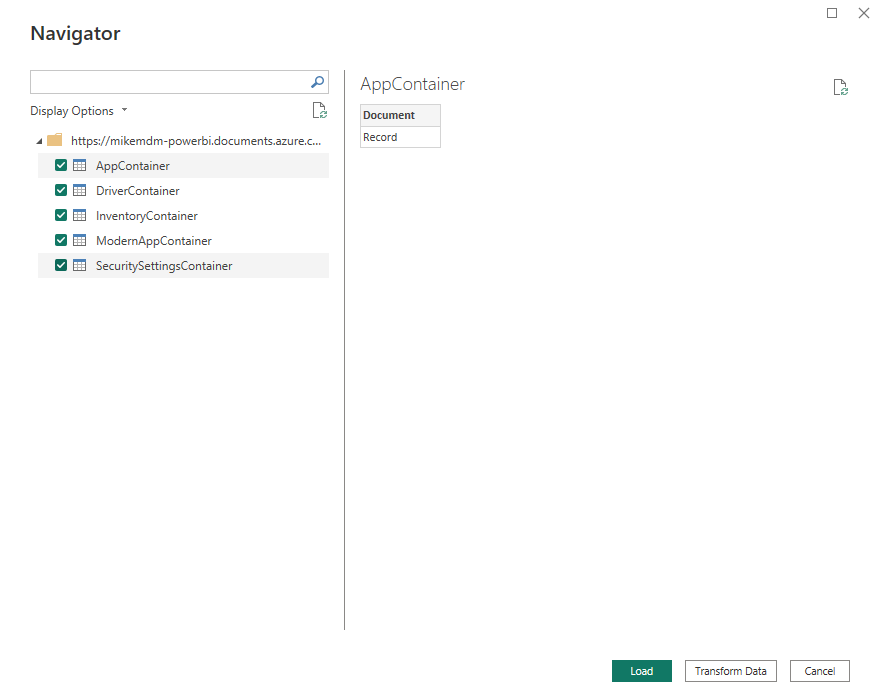
In the Navigator Screen we can select our Containers and Transform Data
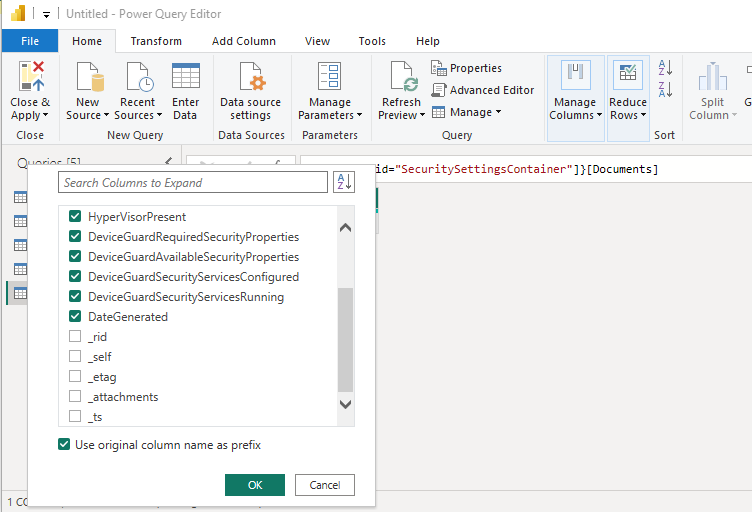
In the then opened Power Query Editor, we can extend the data and select the wanted columns that we want to use
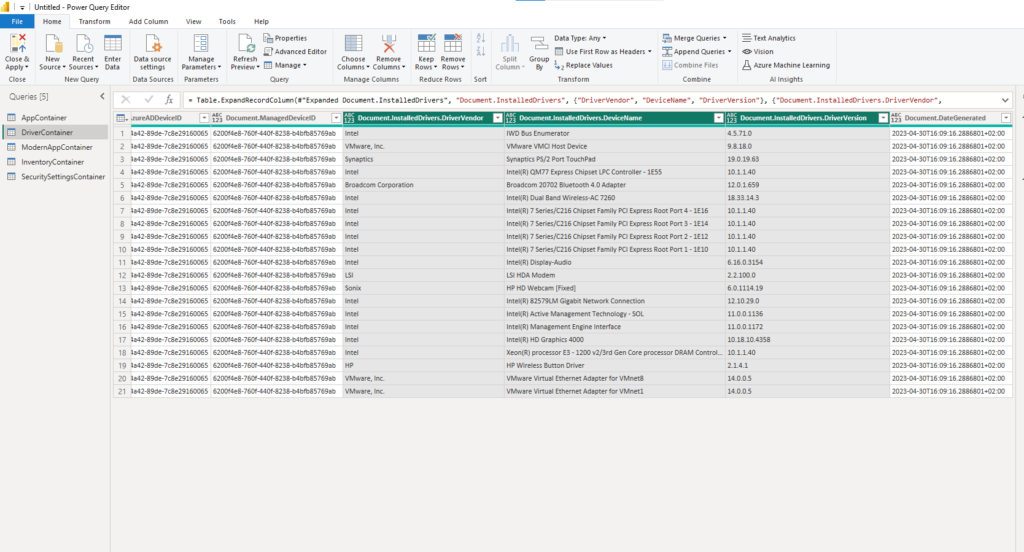
For Containers like AppContainer or Driver Container, we will also need to extend these to new rows to access the data:
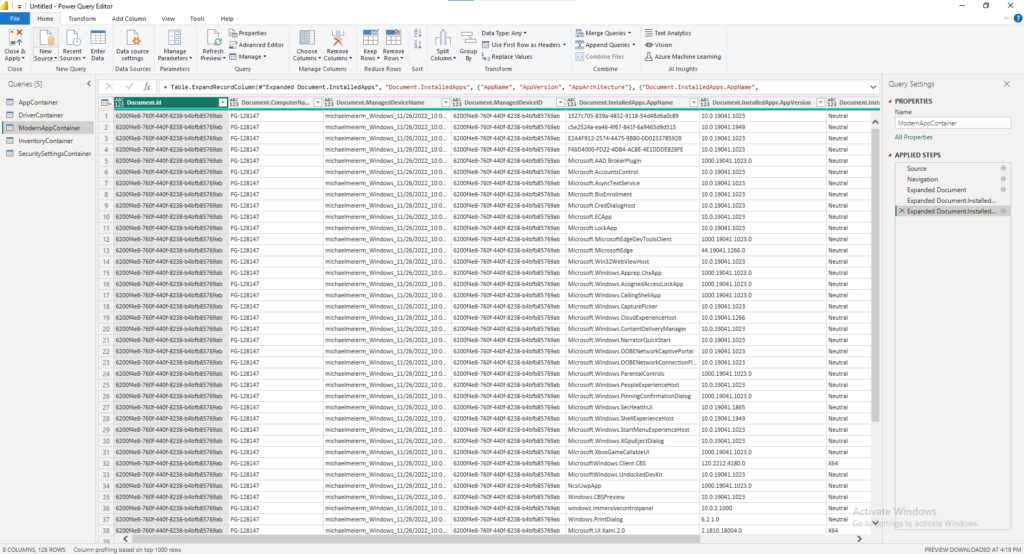
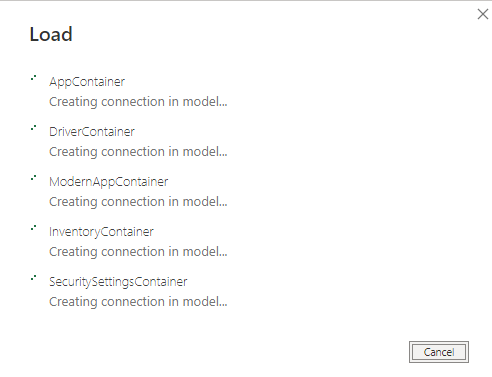
Once we have our first draft, we can close and apply the changes to actually load the data
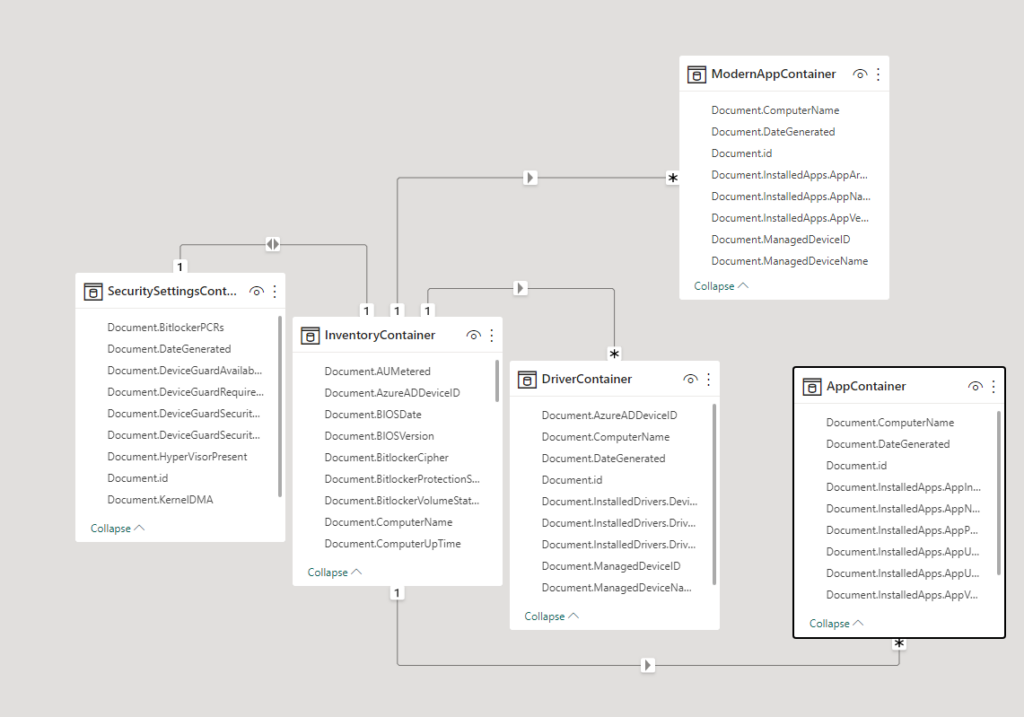
PowerBi automatically connect the data based on the Intune Managed Device ID, so we can use all of it in one Report:
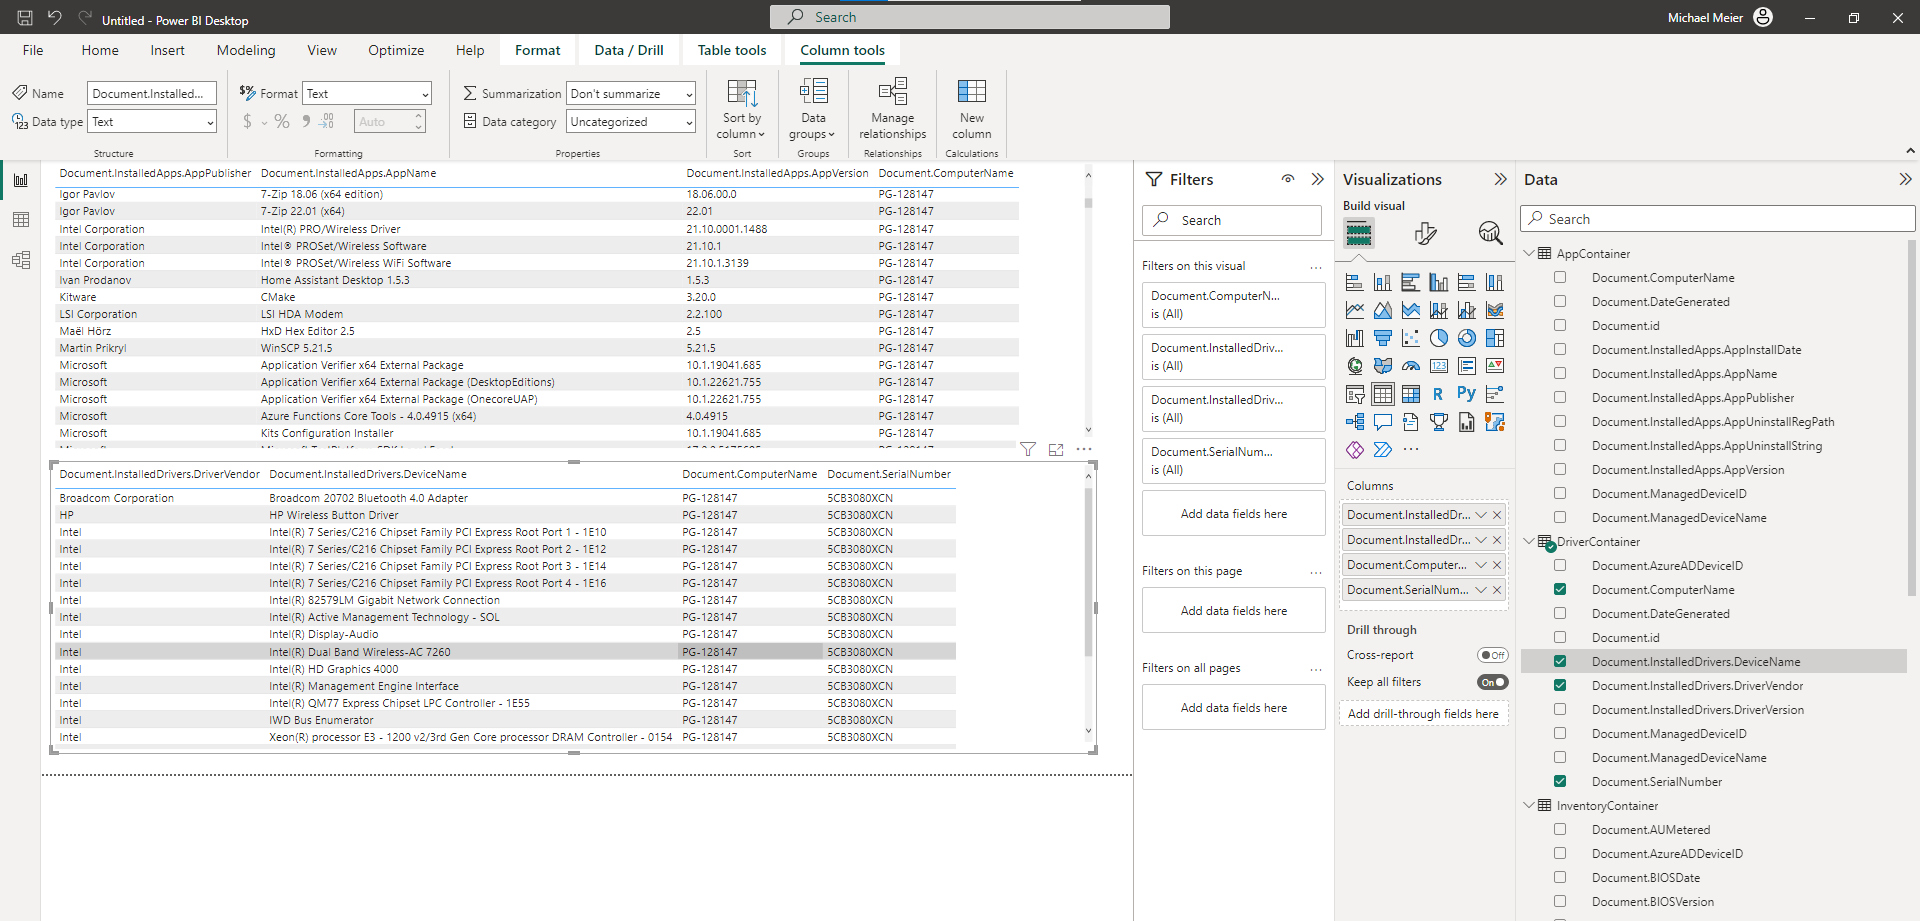
Stay tuned for the next parts. In part 2 I will show you how to get even more data from Intune and AzureAD Users in the Database and in part 3 I plan to show more advanced Reports in PowerBi
Leave a Reply