
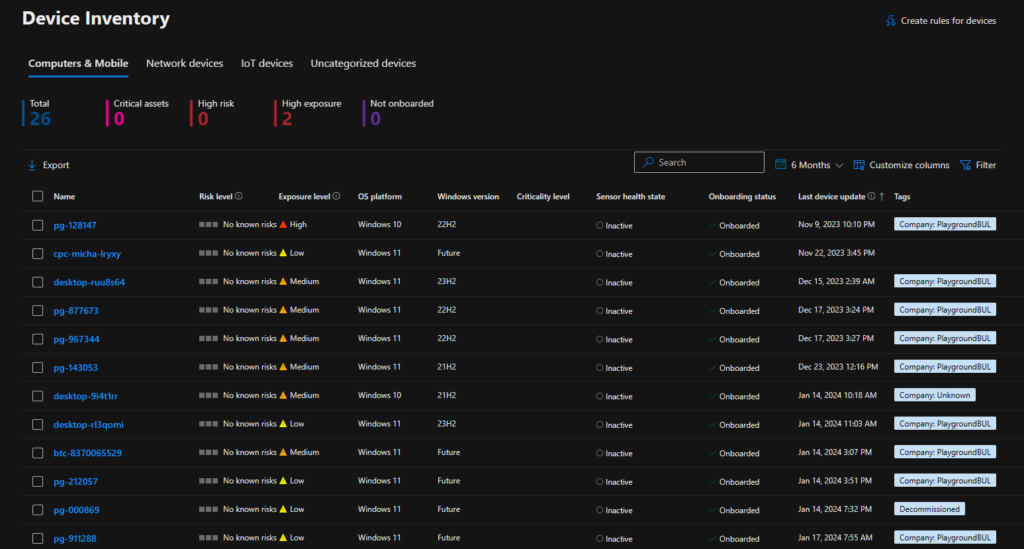
Today I want to show you, how you can automatically assign Tags in Microsoft Defender for Endpoint based on information from Intune and Entra ID.
The goal was to assign Tags containing the Company Name of the user from Entra ID of all Intune managed devices in MDE. If a device that had a Tag assigned this way and is no longer in Intune, it will assign a “Decommissioned” Tag.
I found many different ways to achieve this goal, however most solutions did not scale very well with many devices. They worked fine in my test environment, but in prod with more than 40.000 devices in MDE and more than 30.000 devices in Intune it either took forever (more than 24h script runtime) or it directly failed as it was out of memory in my Azure Automation Runbook.
Solution
Challenges
The road that I went to solve these challenges, was to use an Azure Function App instead of an Azure Automation Runbook that I would have used normally. I also had to store the Intune and Entra ID data in a hash table in PowerShell, since the usual way of using “where-object” would iterate through all 30.000 Intune devices for every 40.000 MDE Devices. Also, I had to add additional error handling, since the securitycenter API has a limit of 200 requests per second, which we hit quite often, so I added a retry loop if the API result indicates an HTTP 429 (too many requests) response.
Azure Function App
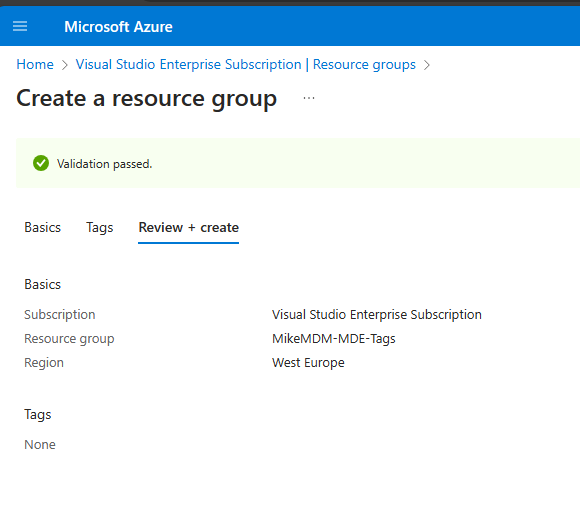
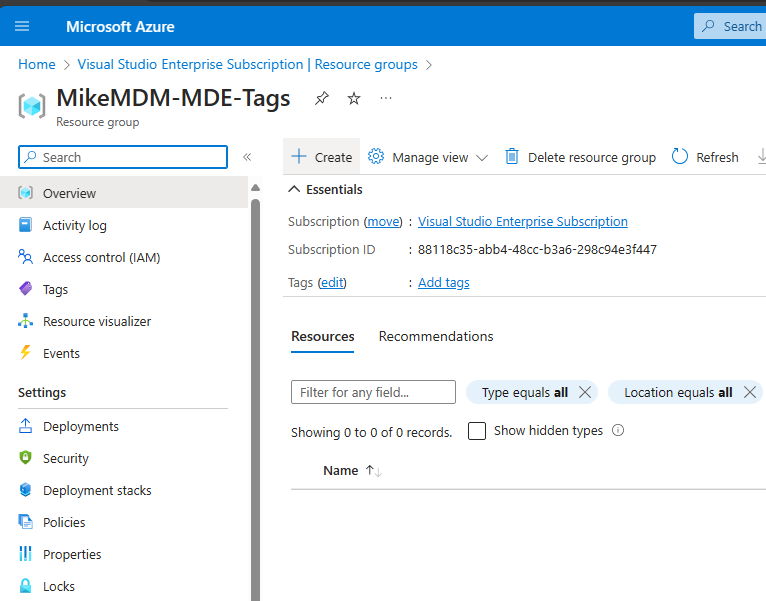
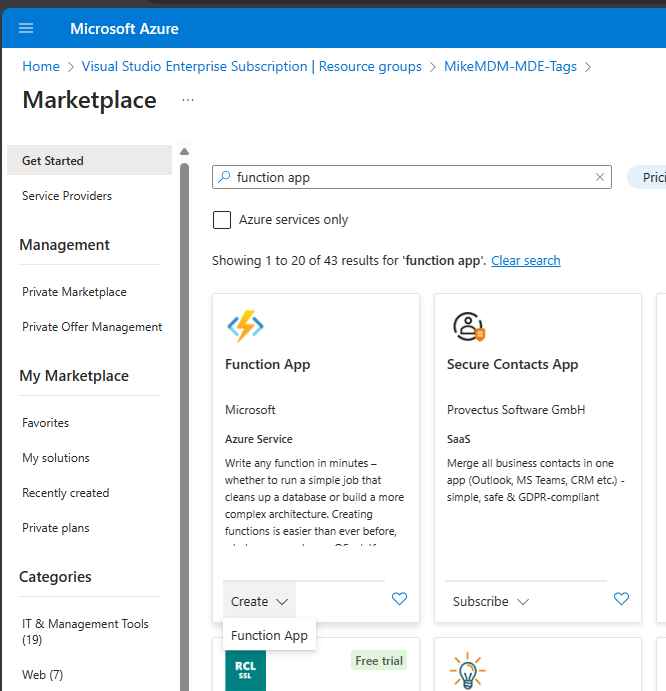
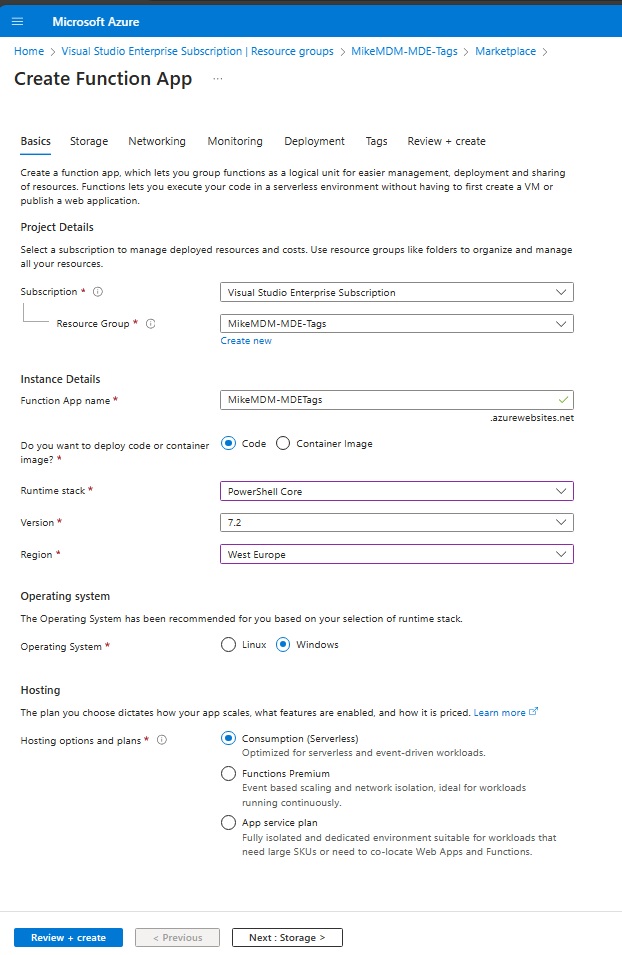
Let’s start with creating a fresh Azure Function App in a Subscription of our choice. I created a new Resource Group to keep everything on one place and added the new Function App from the Azure Marketplace:
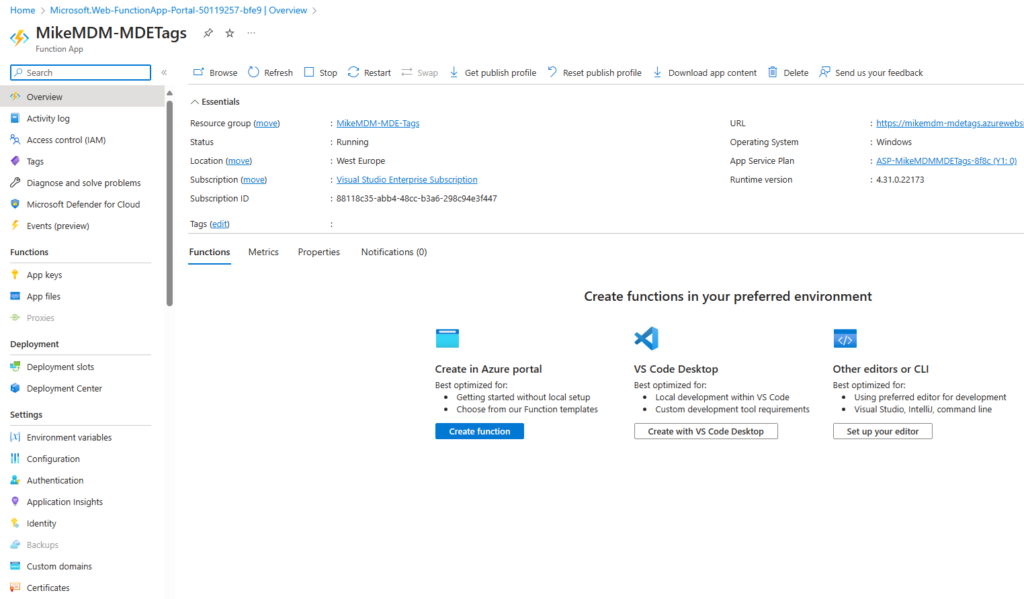
Once you added the Function App, you will be asked to give it a name. Select PowerShell Core as Runtime stack and select a Hosting option that matches you needs.
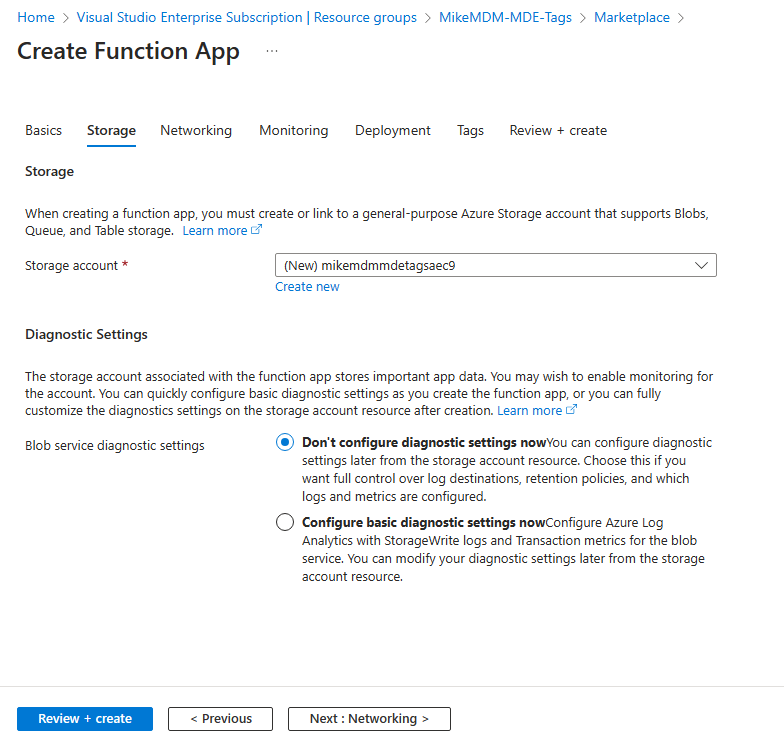
On the next page, we can create the needed storage account:
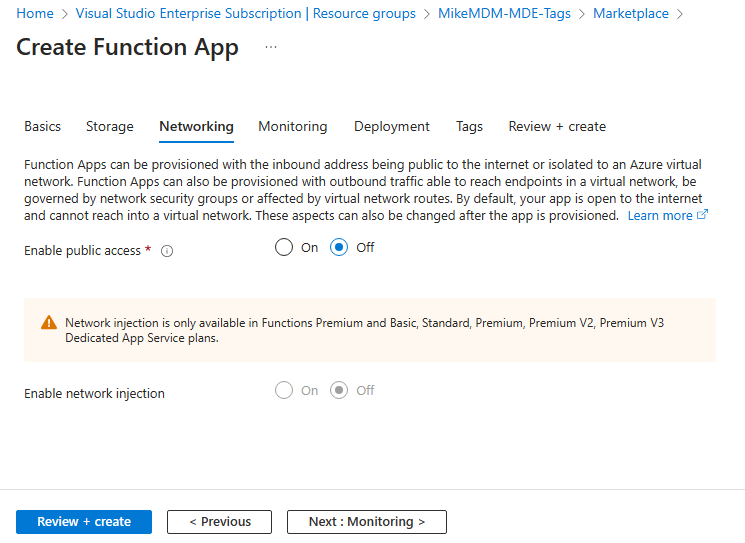
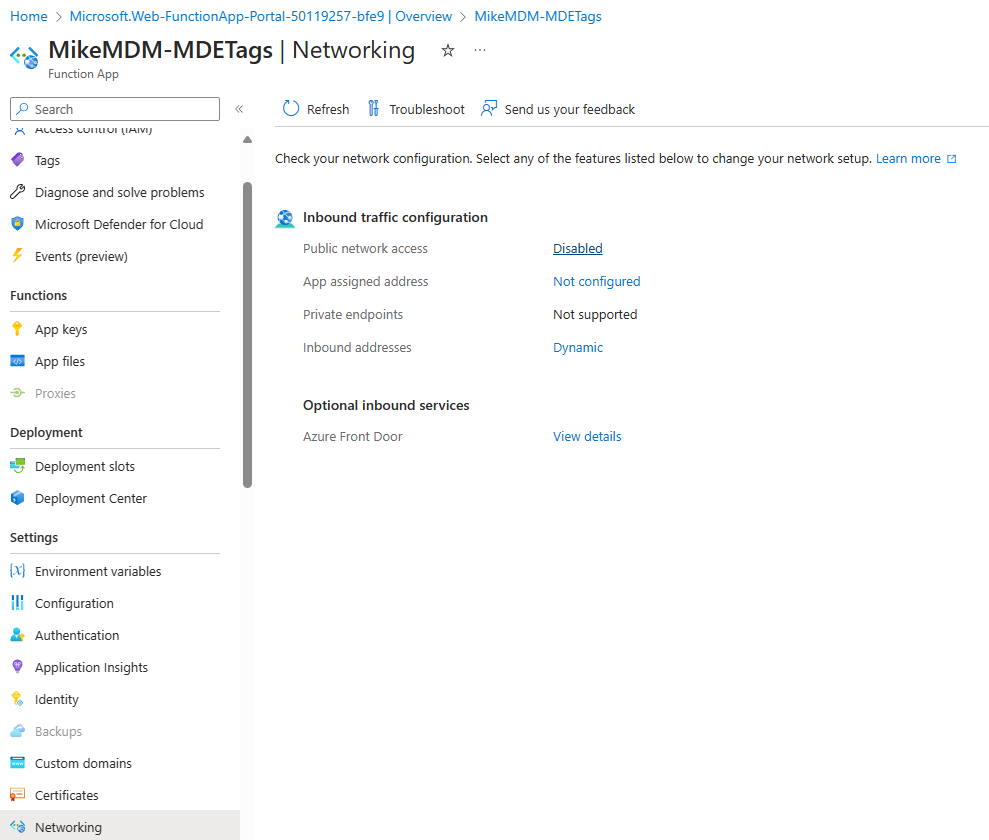
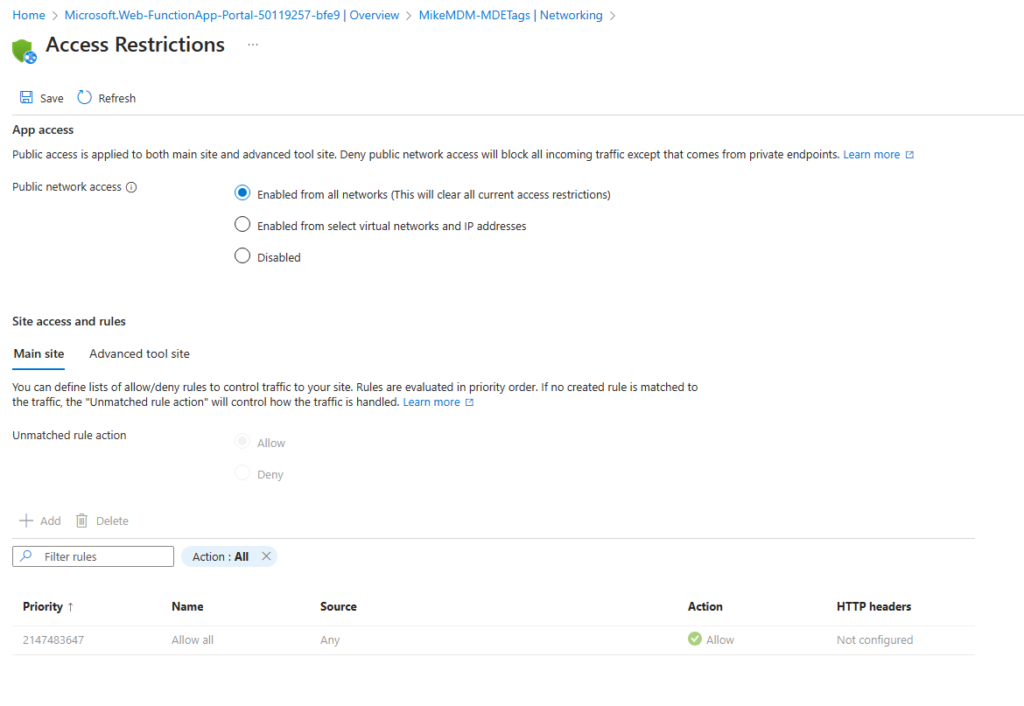
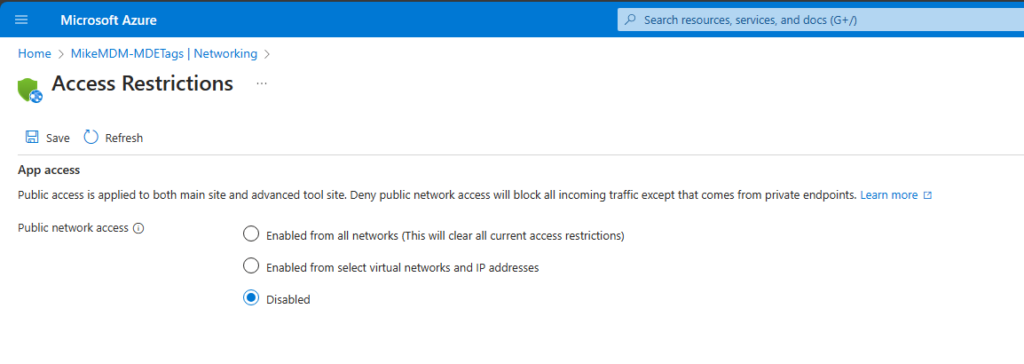
In the network page, I would suggest to disable Public Internet access, which makes it more secure, especially since we don’t need it for normal function.
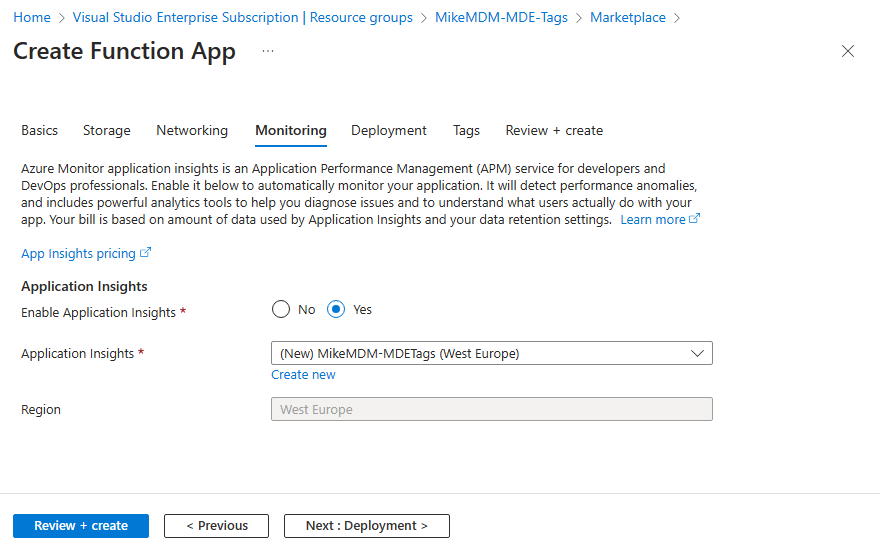
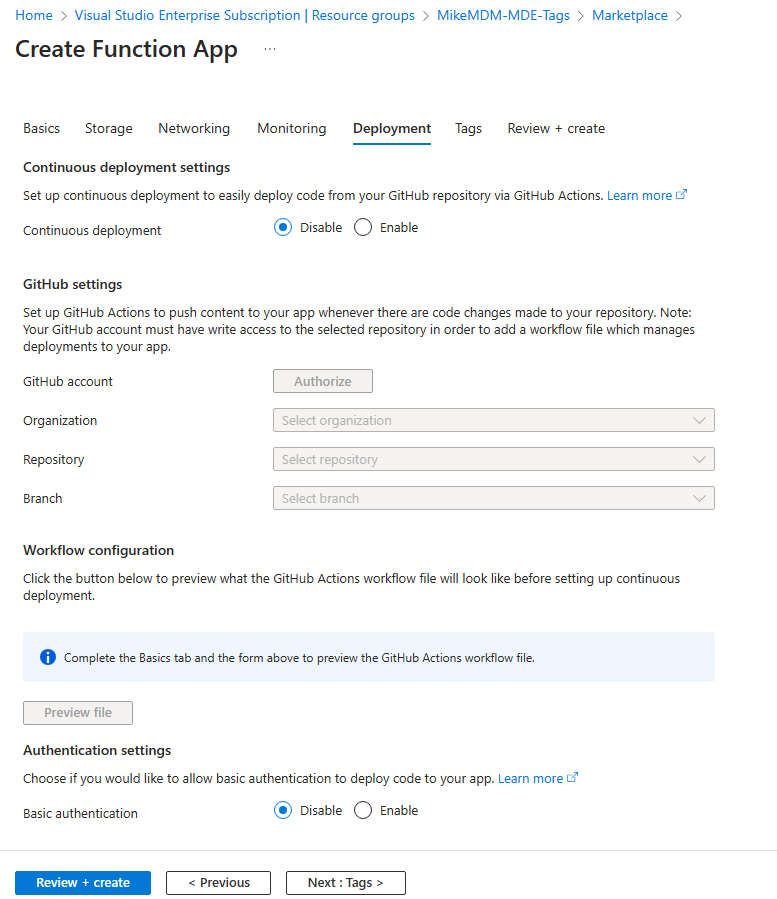
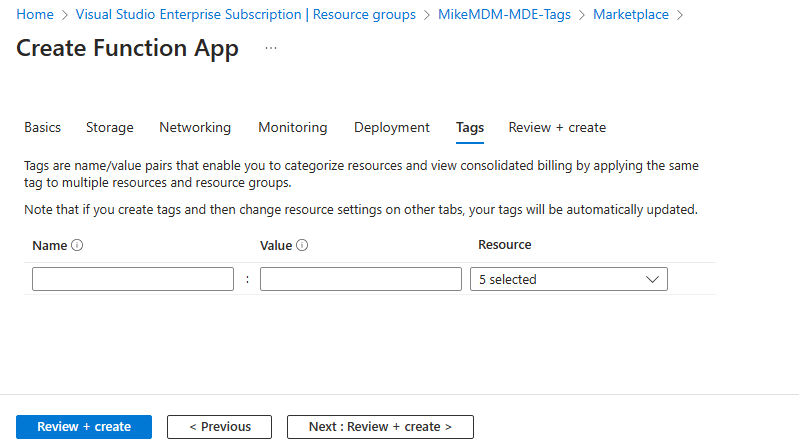
In the next pages we can leave the default settings, which will enable Application Insights and will not use a CI Pipeline for deployment, which is fine for me.
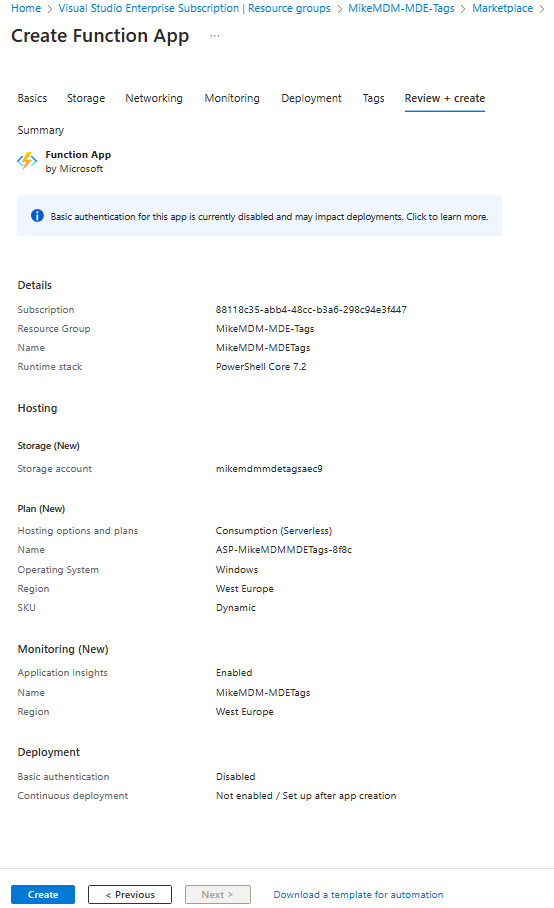
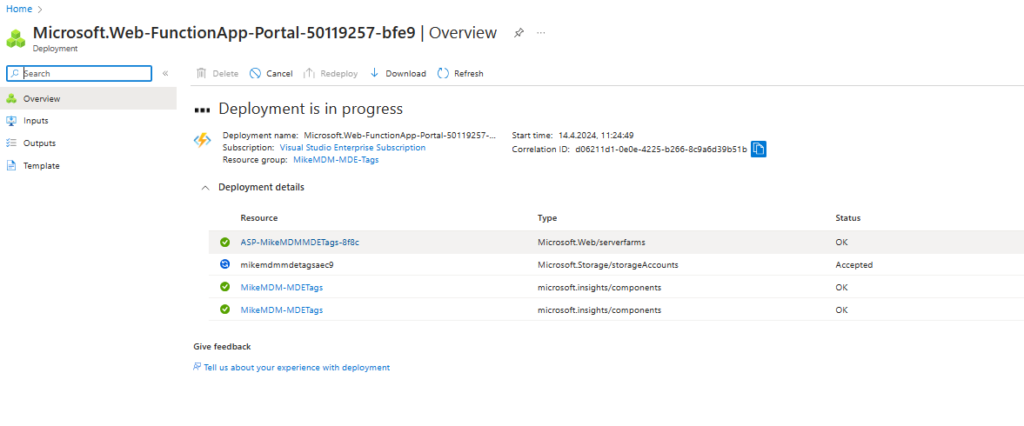
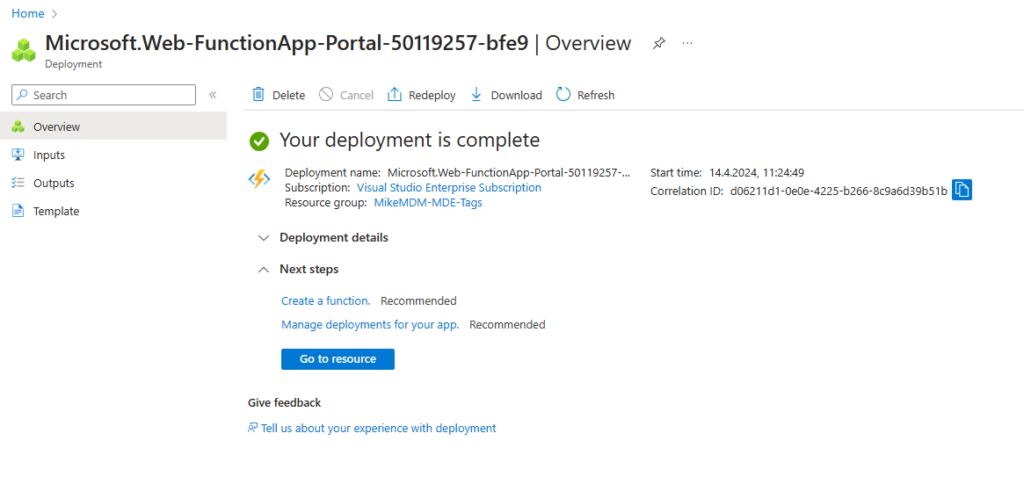
In the Review + create page, we can have a last check if everything is correct and start the deployment.
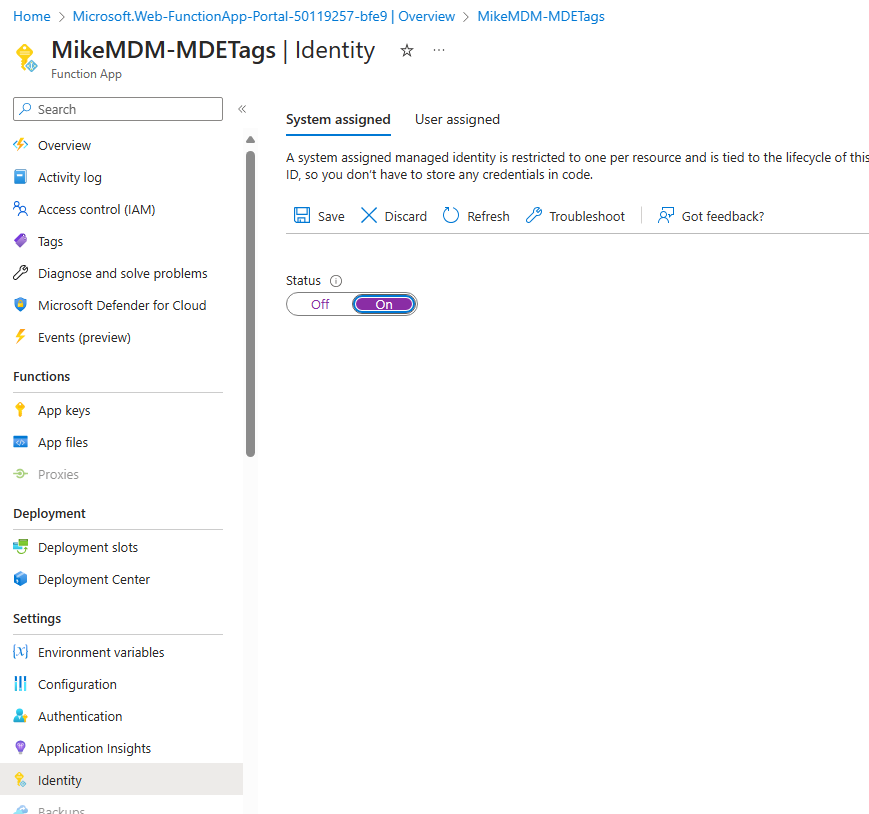
System managed identity
The first thing that we need to do with our new Function App, is enable the system assigned identity, which will allow us to assign the needed permissions for the graph and securitycenter API.
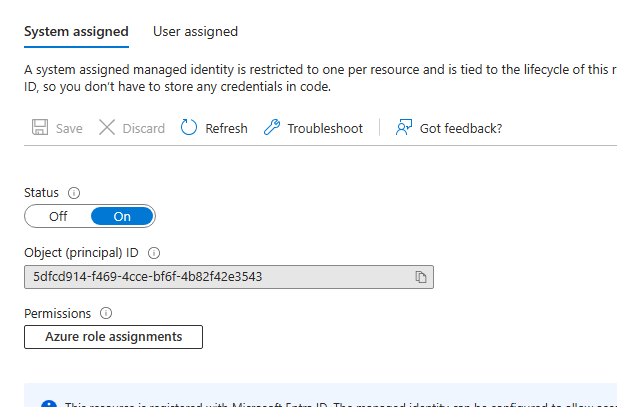
Once created, copy the Object ID of the managed identity:
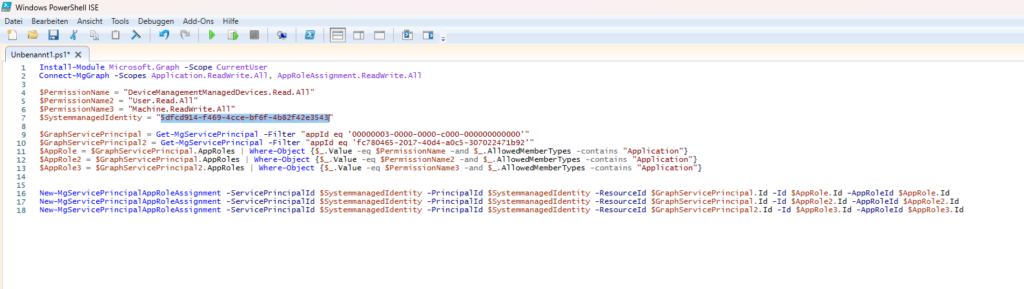
Next grab the “Assign permissions” PowerShell script from GitHub: https://github.com/mmeierm/Scripts/blob/main/Defender%20for%20Endpoint/Assign%20Permissions.ps1
The script will assign the following three permissions to the managed identity:
“DeviceManagementManagedDevices.Read.All”
“User.Read.All”
“Machine.ReadWrite.All”
Modify line 7 to show the Object ID from our function app and run the script:
If everything worked, you should see a similar output like this:

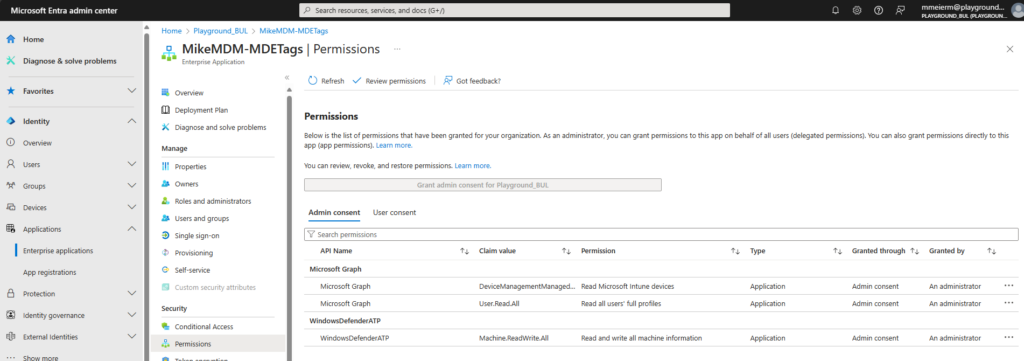
And you can check the assigned permissions in Entra ID, if you want:
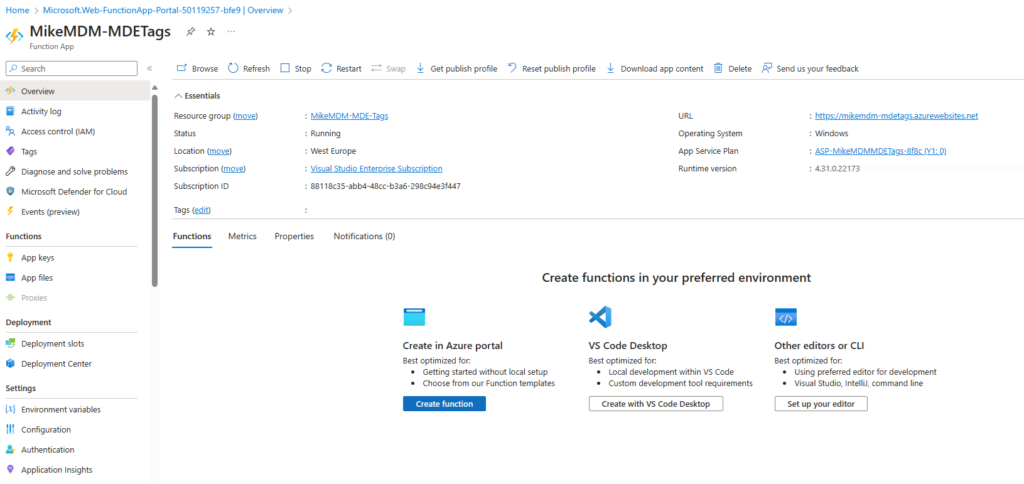
Add Function
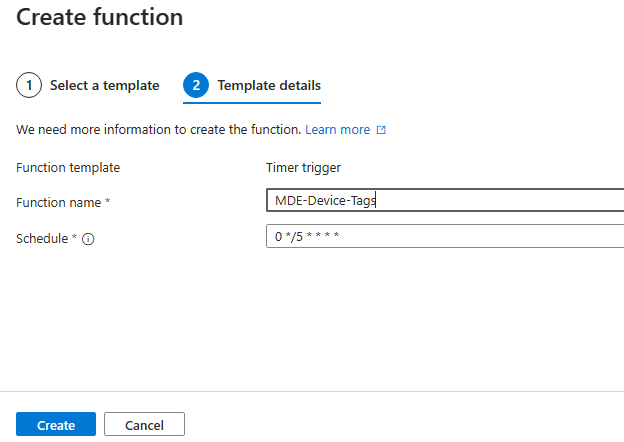
Now that we have created all prerequisites, we can actually create out function, which will assign our Tags. We will create a function using the TimerTrigger template.
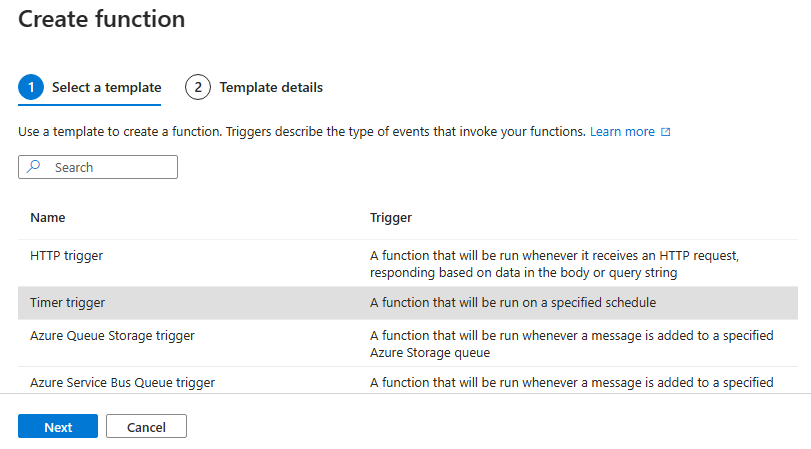
In the Template details, give it a name a configure how often it should run.
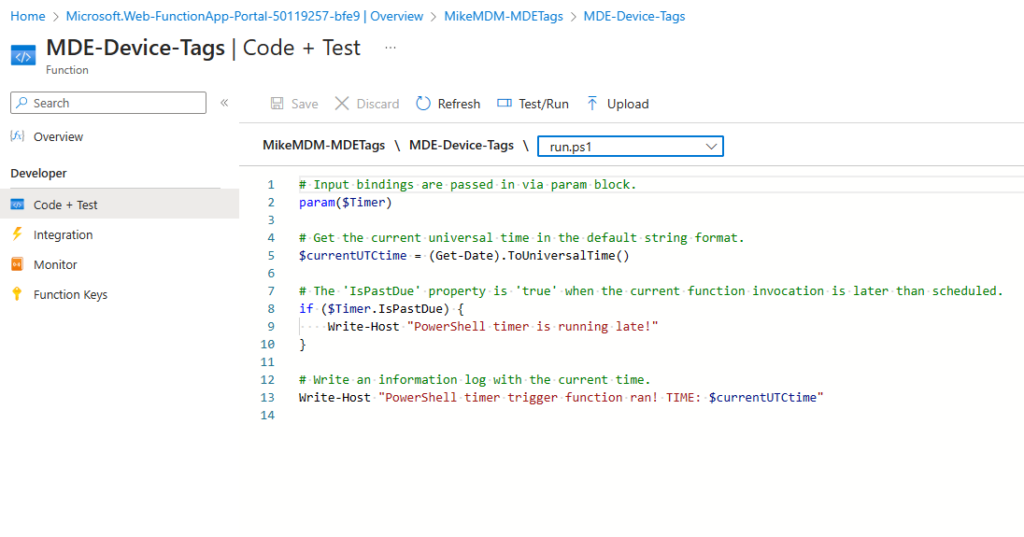
First thing that we can do in our function, is to actually load the script from GitHub into the function. You will find the script here: https://github.com/mmeierm/Scripts/blob/main/Defender%20for%20Endpoint/FunctionApp.ps1
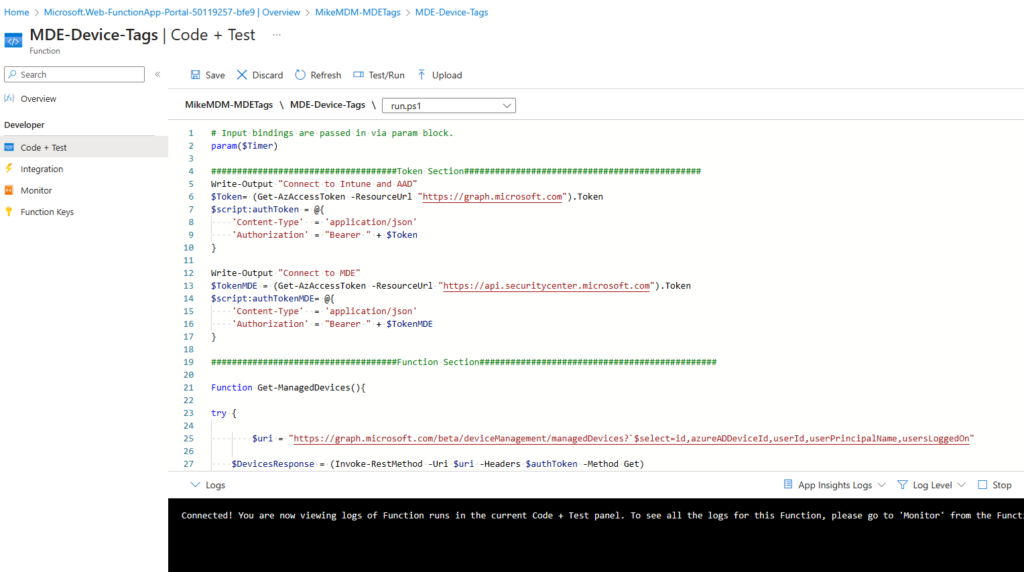
Simply replace the sample code in the Code + Test section with the code from our script:
One last thing that we have to configure is, we need to enable the Az Module. To do this, we need to enable Internet access to the function app (we will disable it again after we done our config changes):
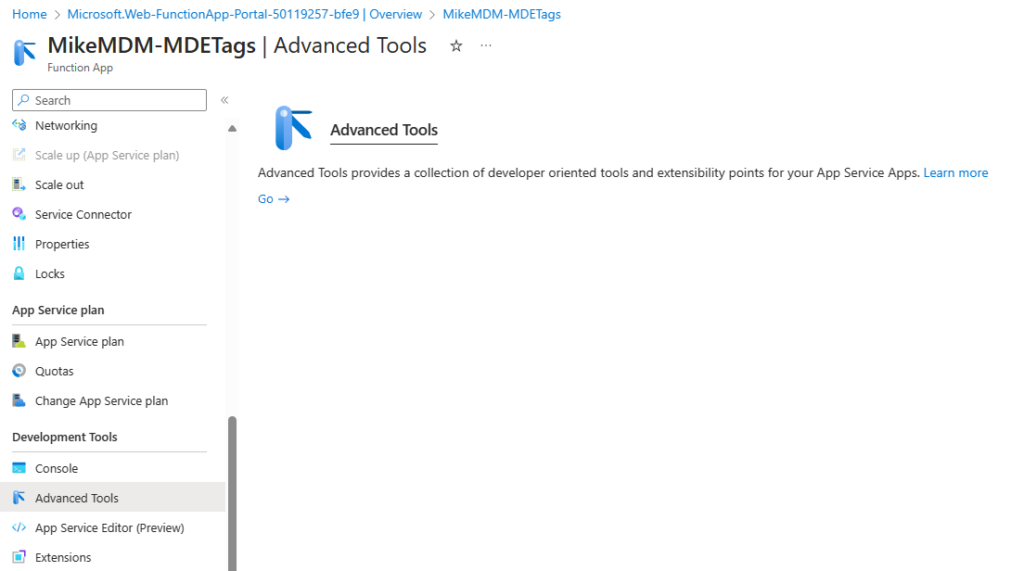
Now that we can access the App, we can go into the Advanced Tools:
Go to the Advanced Tools and there under Tools to “Zip Push Deploy”:
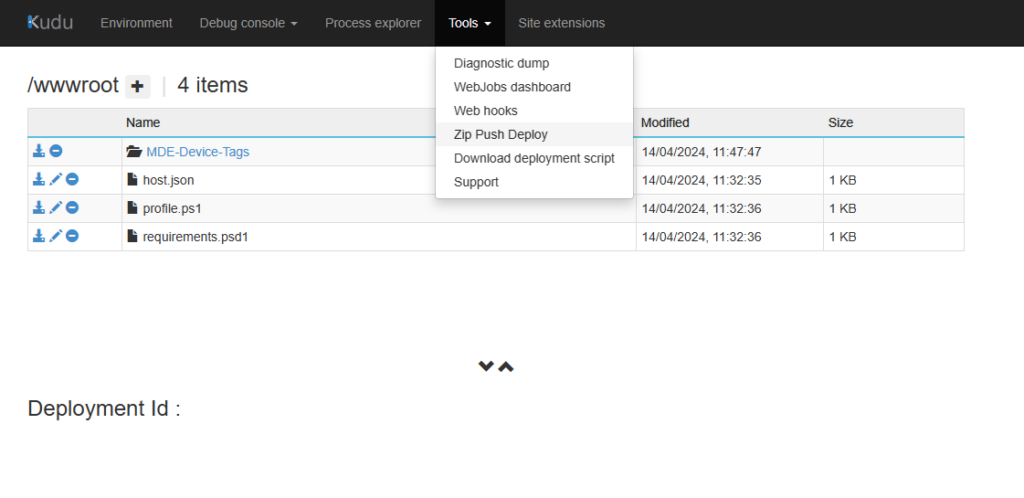
In the Folder “/wwwroot” we need to modify the file “requirements.psd1” File:
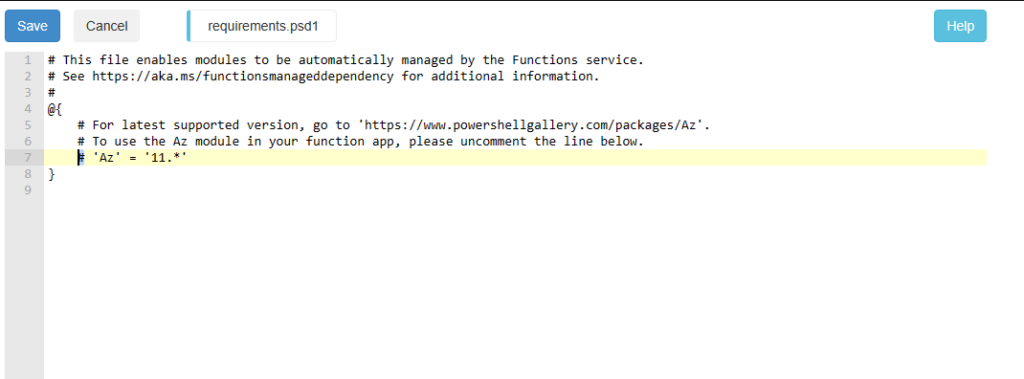
We simply remove the comment sign “#” in the line 7 to add the module “Az”:

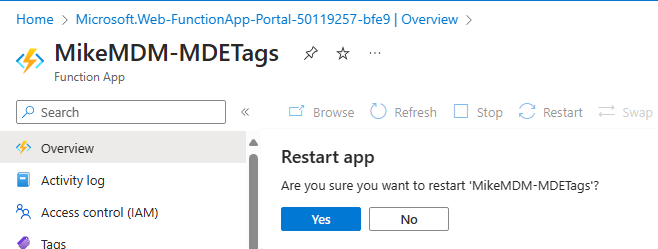
Once saved, we can disable internet access in the networking settings again:
Once we restart the App, the Az Module will be installed, and we should see the next iterations should assign our Tags:

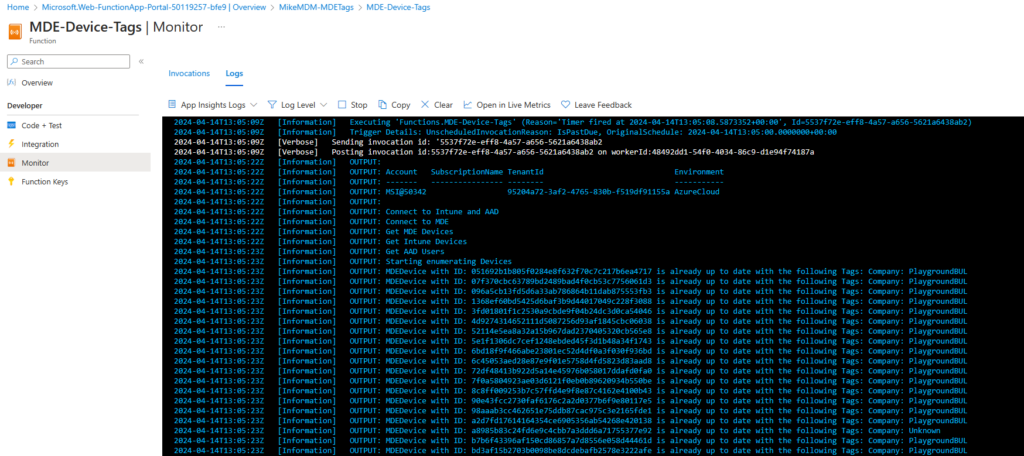
Once everything is set up, you should see the working output:
Conclusion
With this Function App you now have an easy method to automatically assign Tags to your Intune managed devices in Defender for Endpoint. You can use these Tags in dynamic device groups in MDE to for example assign permissions or simply identify devices that belongs do a specific company.
Leave a Reply