With the Service Release 2402, the Intune Suite got one more exciting feature, Cloud PKI. With Cloud PKI, you can now use Client Authentication certificates on all Intune managed devices without needing to deploy your own PKI Infrastructure or having to deploy the Intune SCEP Connector, everything can be managed within Intune.
You basically have two ways to deploy Intune Cloud PKI, a full cloud managed option consisting of a Root and Intermediate CA within Intune, or if you already have an PKI Infrastructure running, you can your existing Root CA and only deploy an Intermediate CA in Intune.
Cloud Root PKI
Let’s start with the full Cloud PKI experience without using an existing onPrem PKI. With this option, we can deploy everything directly from within Intune.
If you want to use our own PKI as root, you can jump directly to the part, where we will describe the steps for this scenario: Issuing CA for your own Root PKI
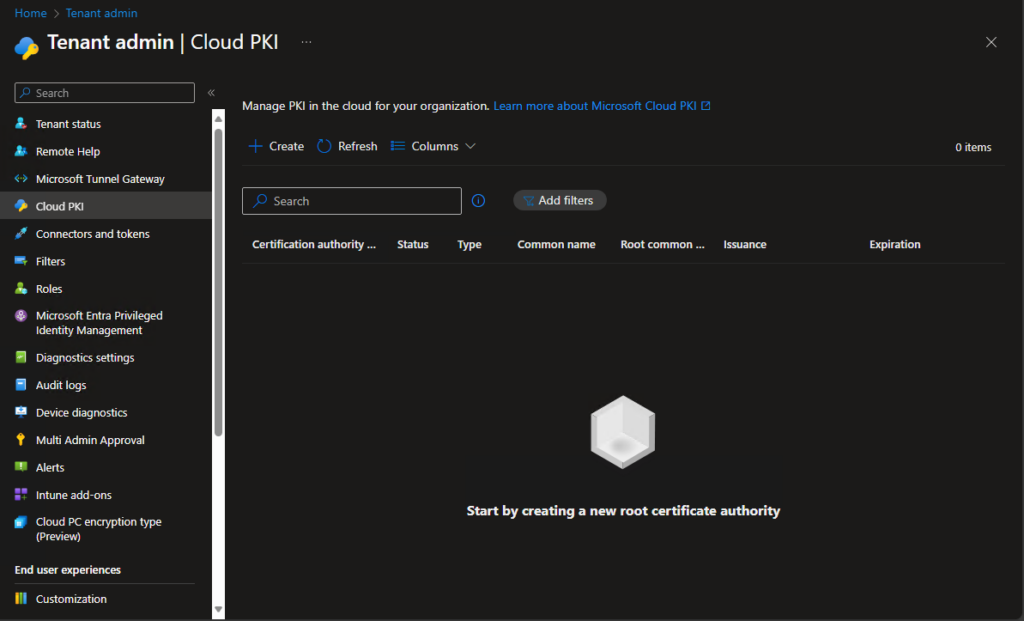
For now, we’ll start with the Intune managed Root PKI:
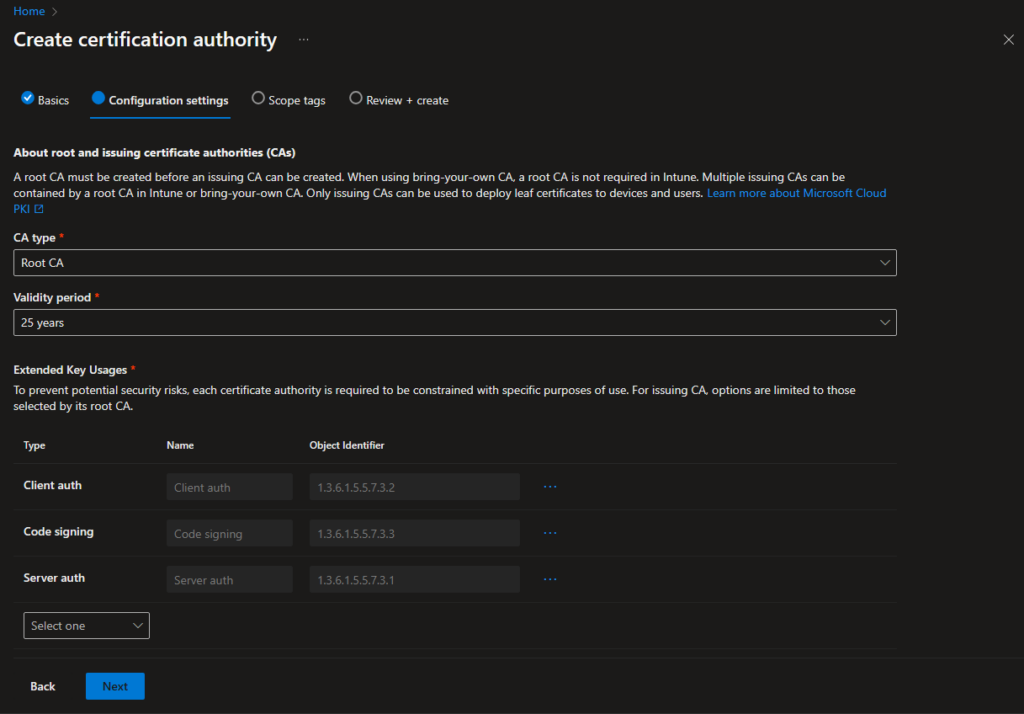
In the Configuration settings page, we can set all required parameters for our new Root CA, like how long it will be valid and which EKUs will be available for Intermediate CAs that are created with this CA.
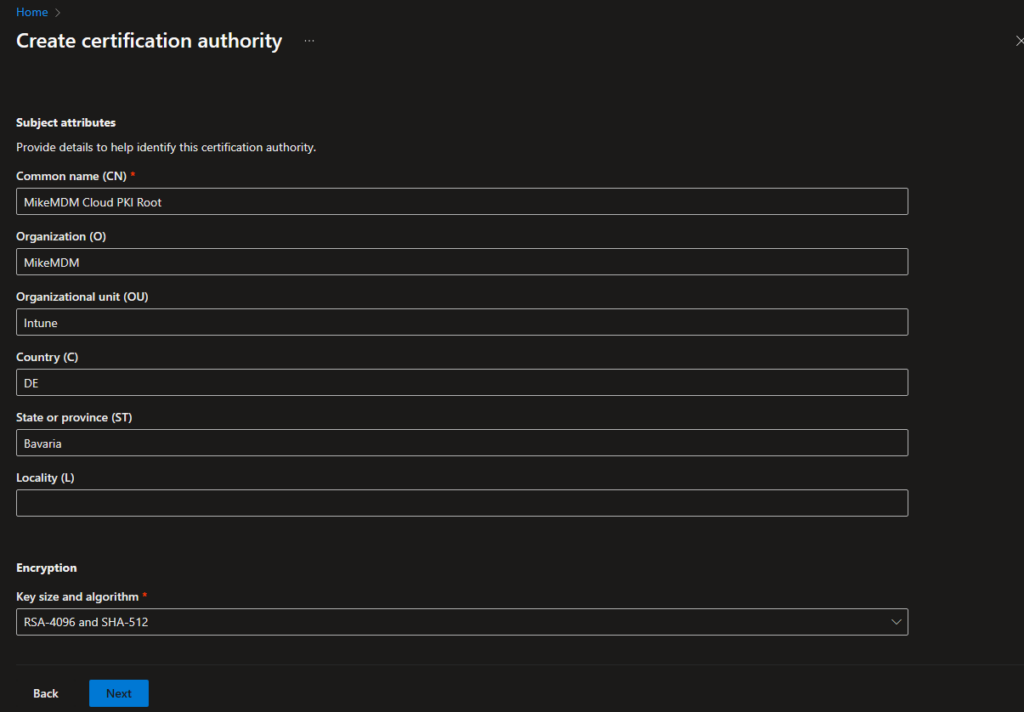
In the Bottom of this page, you can modify the attributes of the certificate to your needs and also set the encryption settings for this CA. Keep in mind, if you plan to deploy certificates to TPM, there is currently a limitation to a max key size of 2048: Create and assign SCEP certificate profiles in Intune
For my demo environment now, I don’t need to deploy into TPM and Software KSP is fine, so I selected RSA 4096:
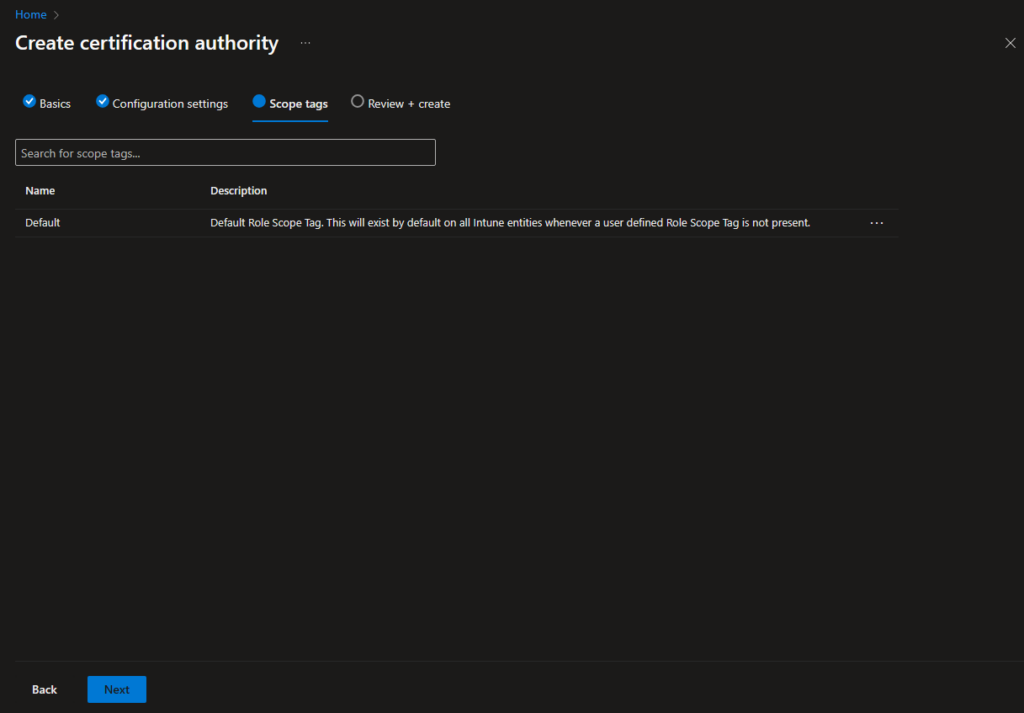
In the next page, you have the option to set Scope tags to limit the configuration availability to the admins that should be able to modify your PKI. (Since I’m the only admin in my demo world, nothing to do for me :))
In the Review + create page, you can verify your settings and create the Root PKI:

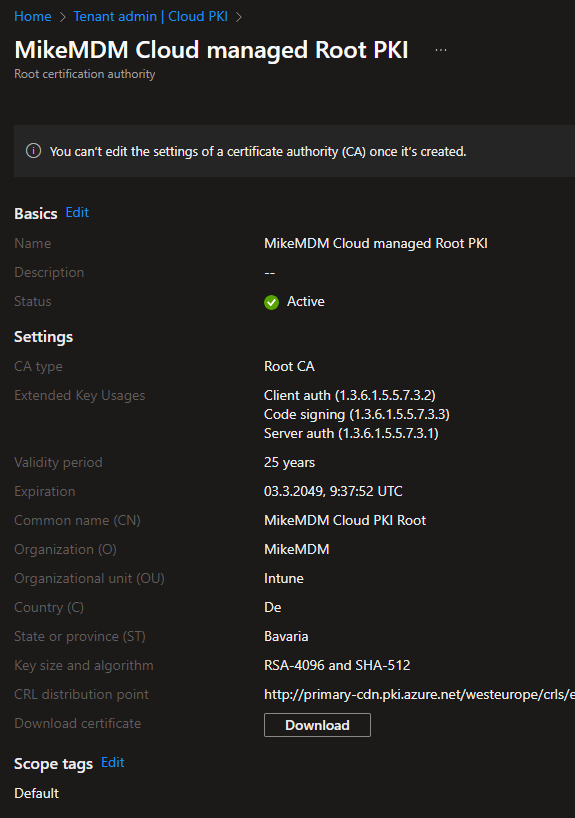
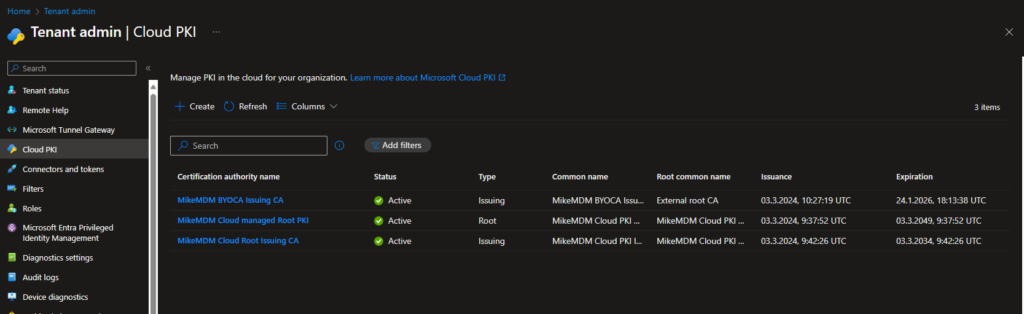
And just with that, after a few seconds, you have your first Cloud managed Root CA created.
Issuing CA for Cloud Root PKI
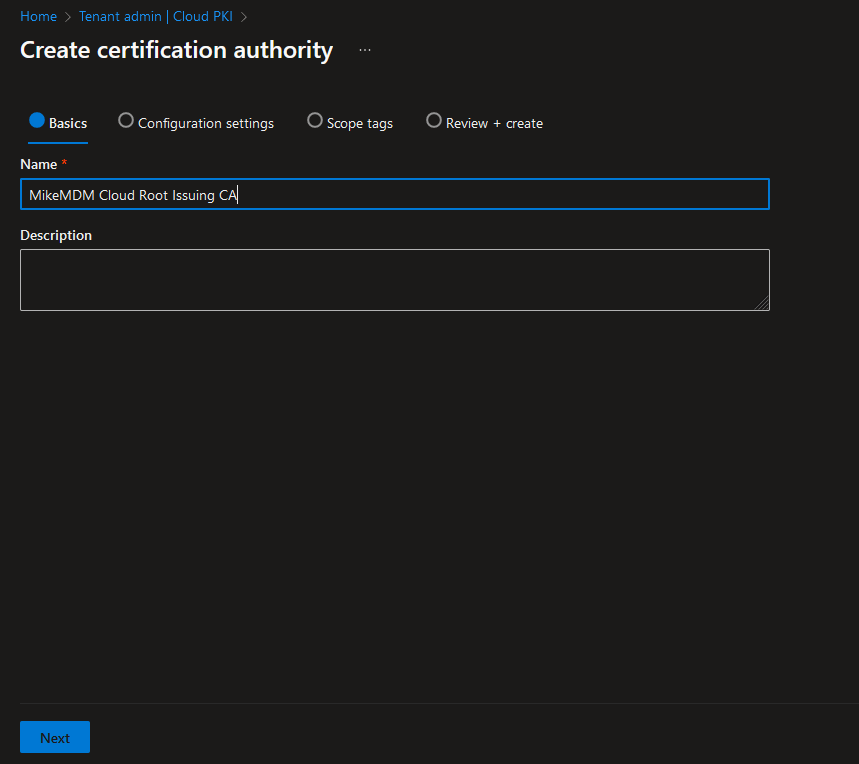
Next step, now that we have our Root CA, we need an Intermediate CA, which will create and deploy our client certificates to our endpoints.
In the Configuration settings page, we can now select CA type Issuing CA and select our previously created Root CA as source.
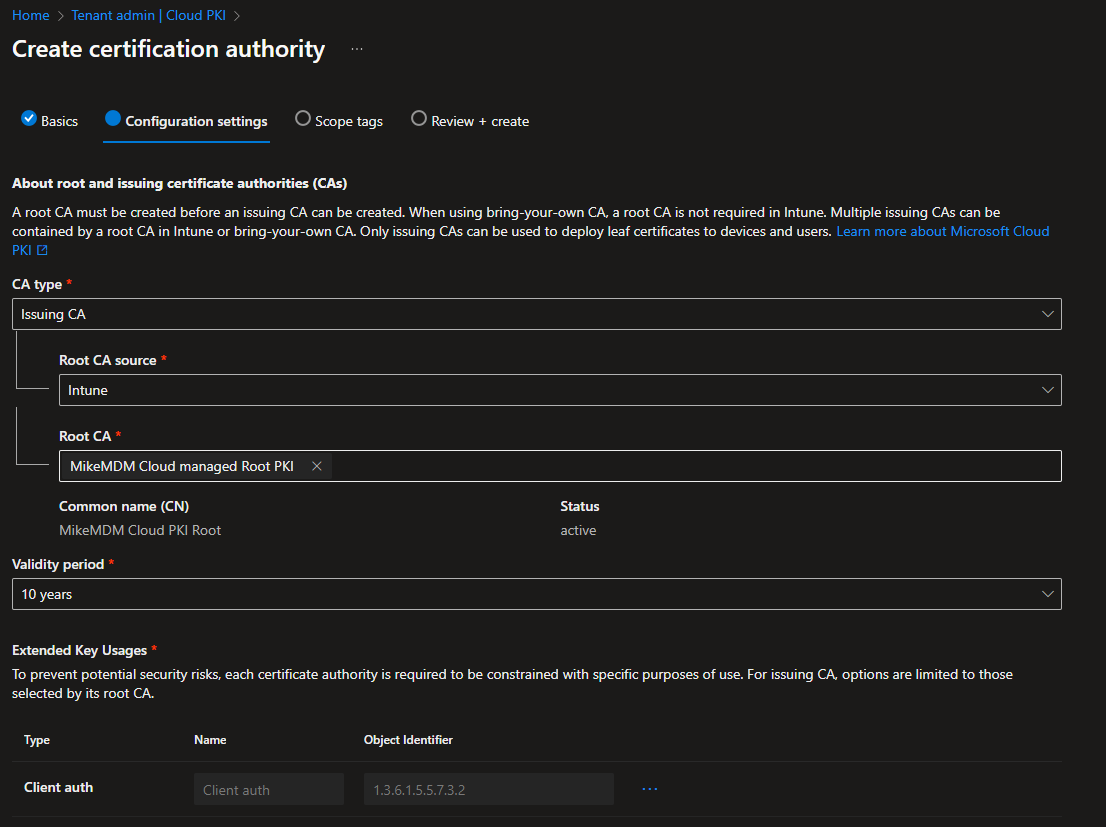
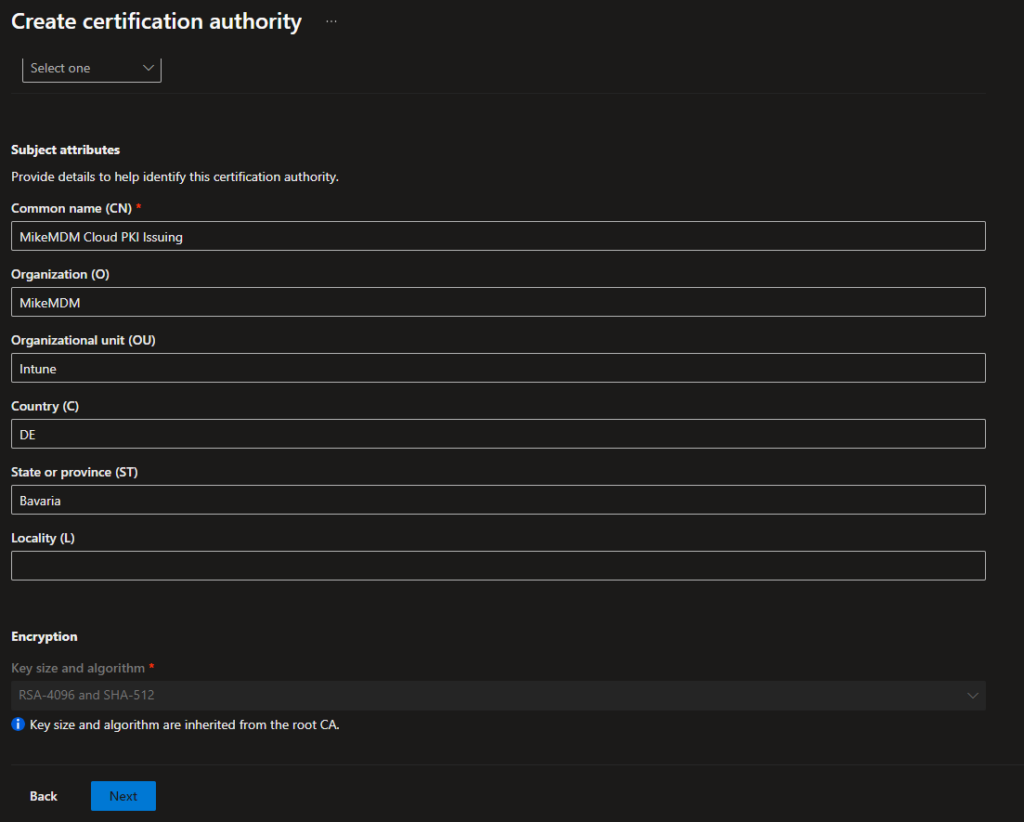
On the bottom of the page, we can again modify the certificate attributes to match our requirements. As you can see, you can’t modify the encryption settings, as they are inherited from the Root CA.
Again, we can set our Scope tags if needed.
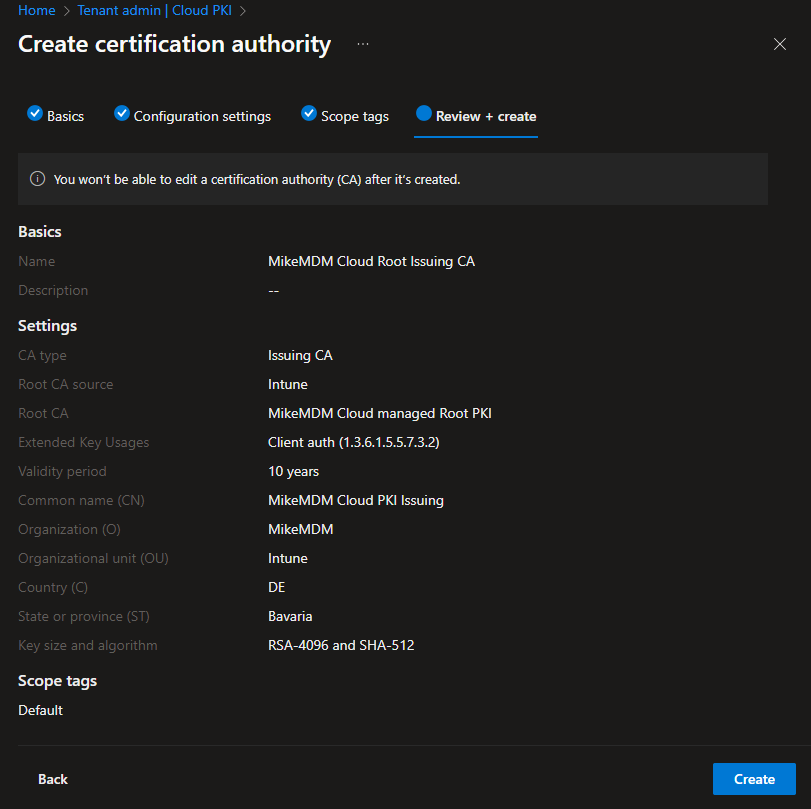
In the Review + create page, you can again verify your selected options and create the Issuing CA:
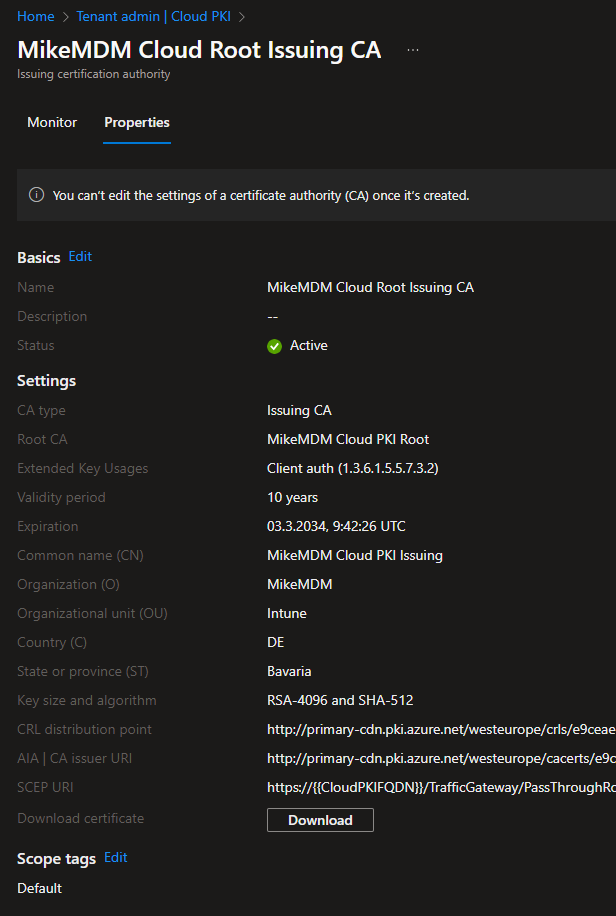
Now that we finally have everything set up, we can copy the SCEP URI. We will need it later to create your SCEP Configuration Profile.
Issuing CA for your own Root PKI
If you already created your cloud managed Root and Intermediate CA, you can jump over this part and go directly to the SCEP Configuration Profile in Intune: Configure SCEP Certificate in Intune
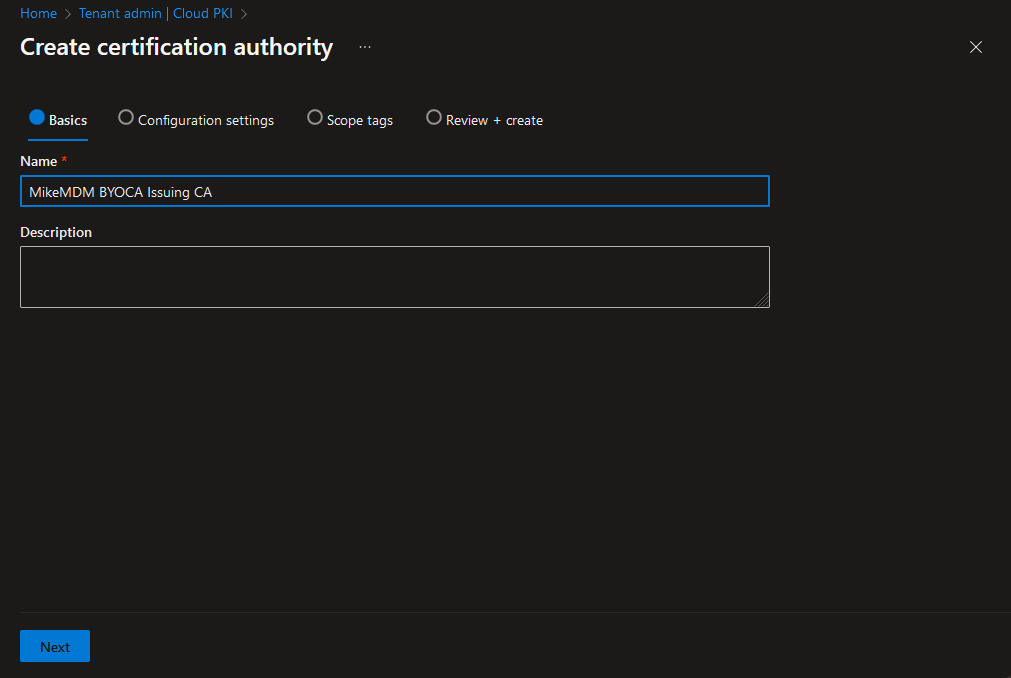
Let’s start with our BYOCA backed Intermediate CA:
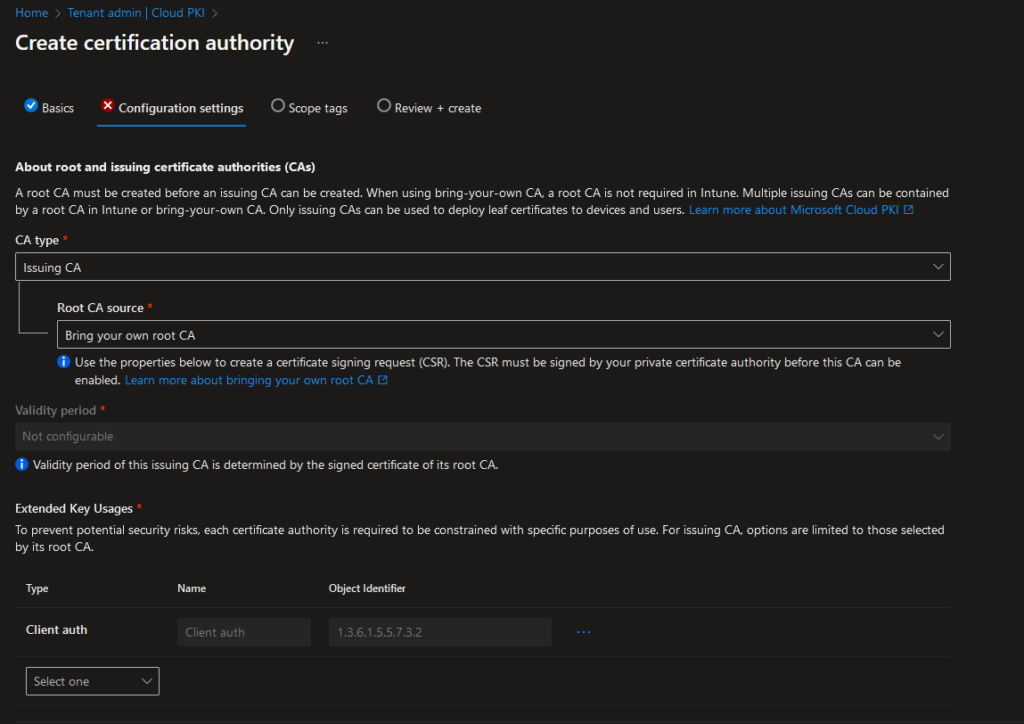
In the Configuration settings page, we will select the CA type to Issuing CA, to create our Intermediate CA and at Root CA source, we will select “Bring your own root CA”.
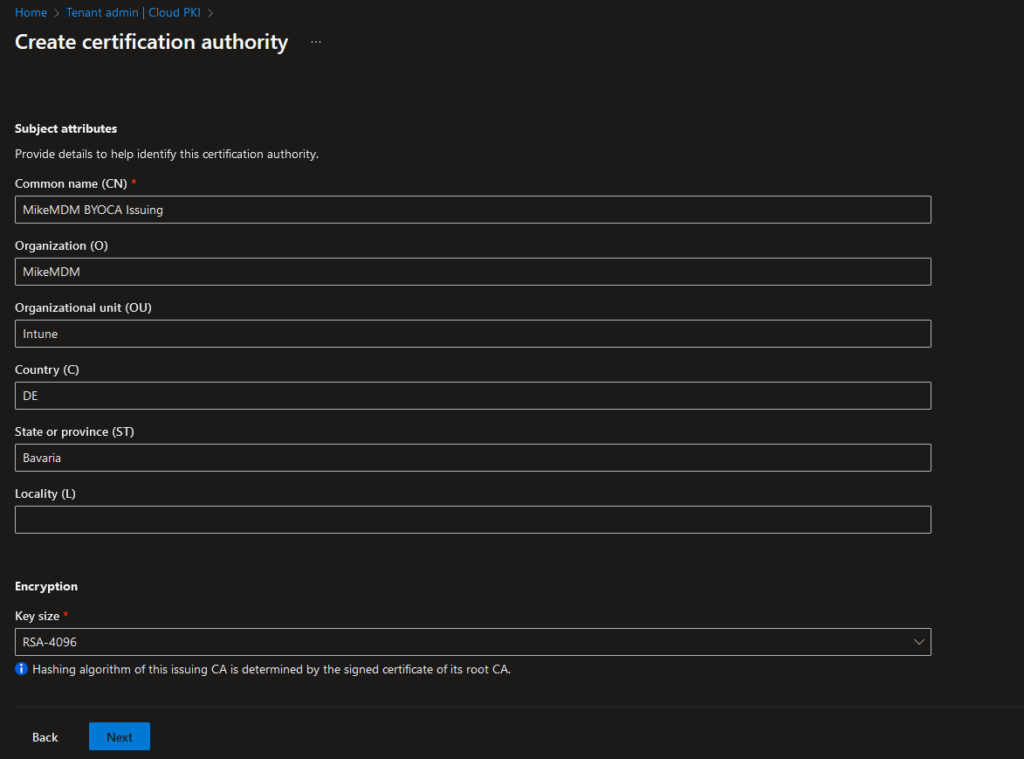
In the Bottom of this page, you can again modify the attributes of the certificate to your needs and also set the encryption settings used by this CA. Keep in mind, if you plan to deploy certificates to TPM, there is currently a limitation to a max key size of 2048: Create and assign SCEP certificate profiles in Intune
For my demo environment now, I don’t need to deploy into TPM and Software KSP is fine, so I selected RSA 4096:
In the next page, we again have the option to set Scope tags to limit the configuration availability to the admins that should be able to modify your PKI. (Since I’m the only admin in my demo world, again nothing to do for me :))
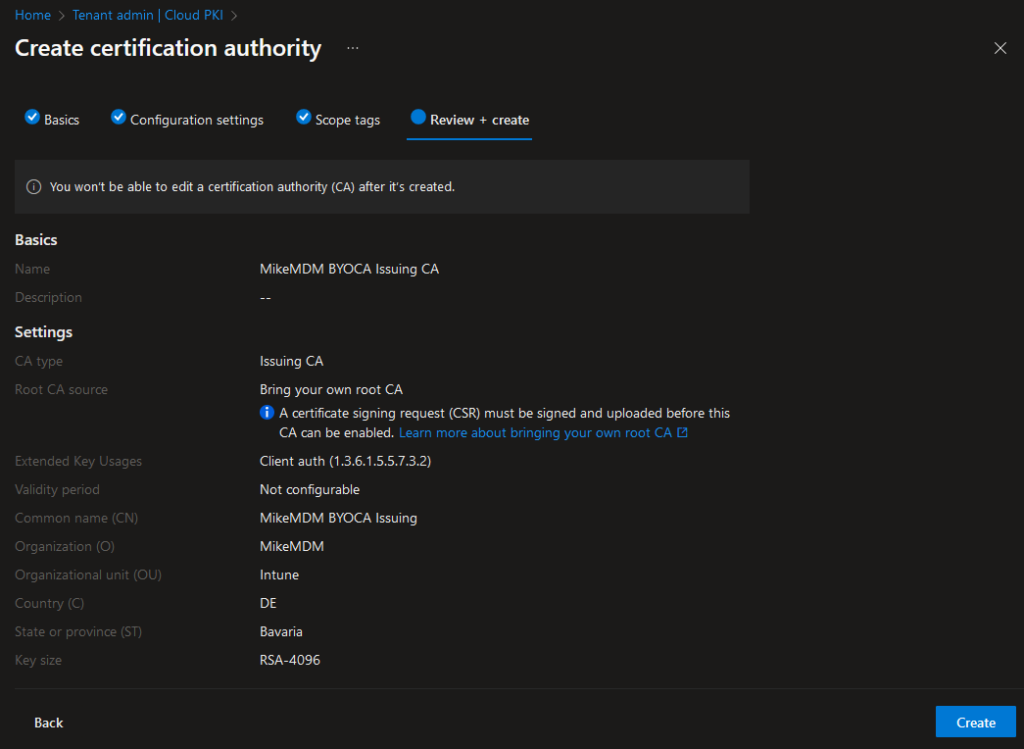
In the Review + create page, you can again verify your selected options and create the Issuing CA:
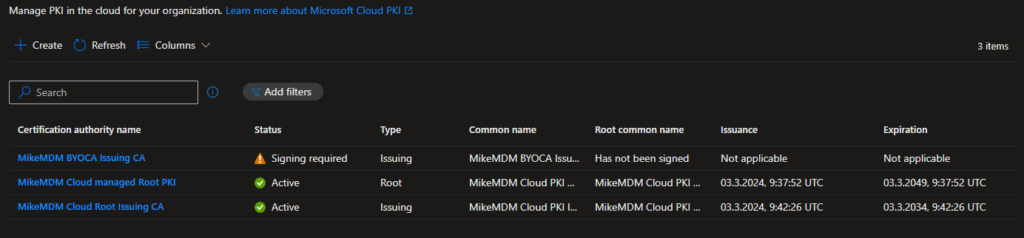
Once we are back to the overview, we will see, that we are not yet finished yet. We will have to sign our newly created Intermediate CA before we can use it.
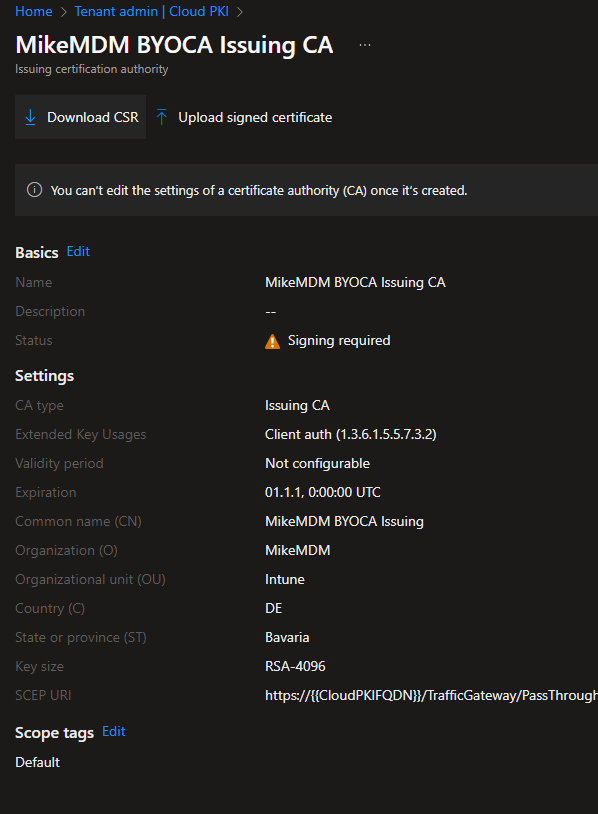
To do this, we need to open the new CA and download the CSR File:
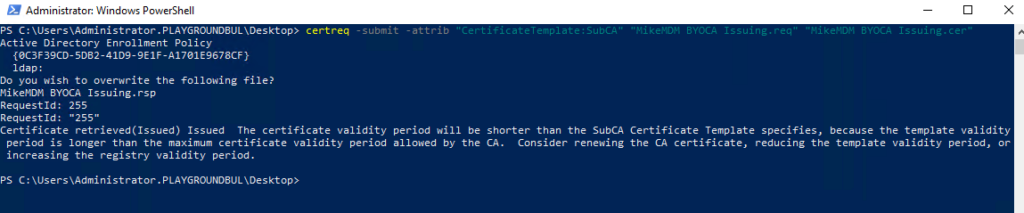
Once you have the CSR Request, you can sign it with your PKI. Check out the official docs on how to do that, Microsoft provides a really good documentation for a Microsoft CA: https://learn.microsoft.com/en-us/mem/intune/protect/microsoft-cloud-pki-configure-byoca?WT.mc_id=317638
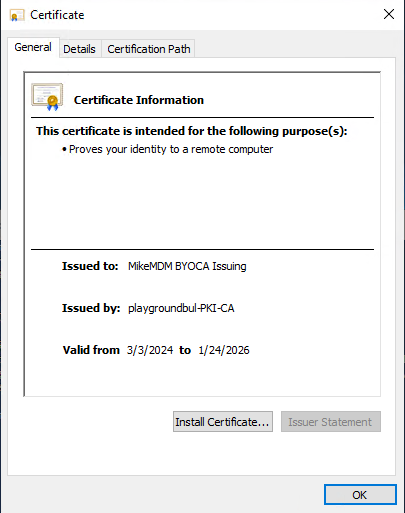
After you successfully signed our newly created Intermediate CA, we just have to upload the signed certificated together with the certificate chain to Intune:
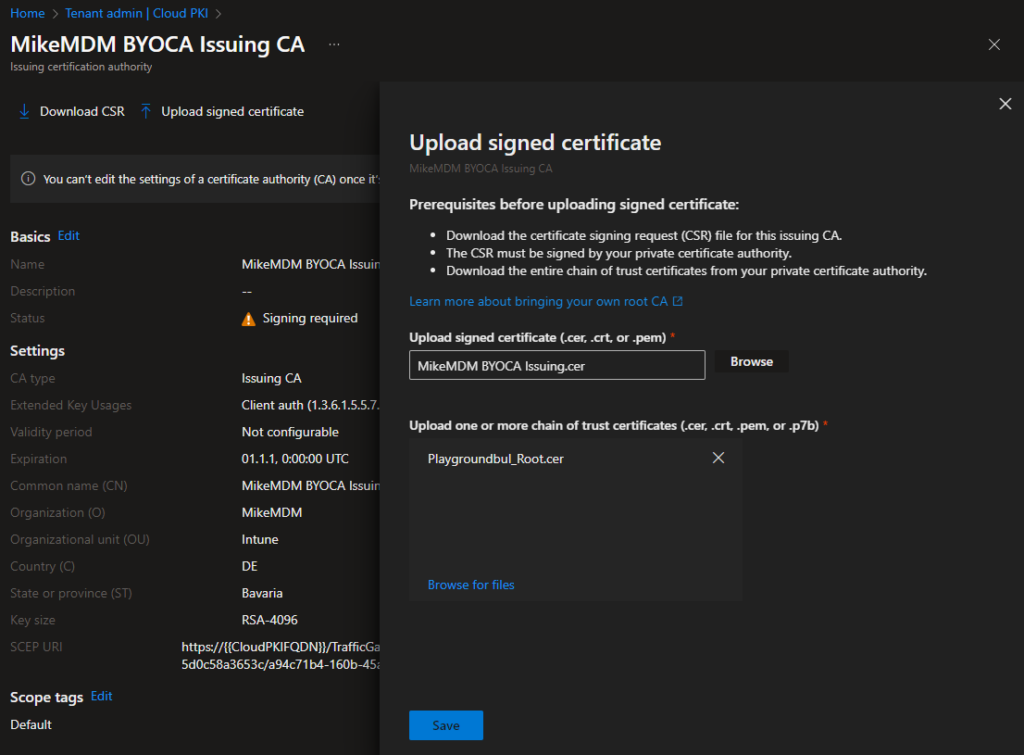
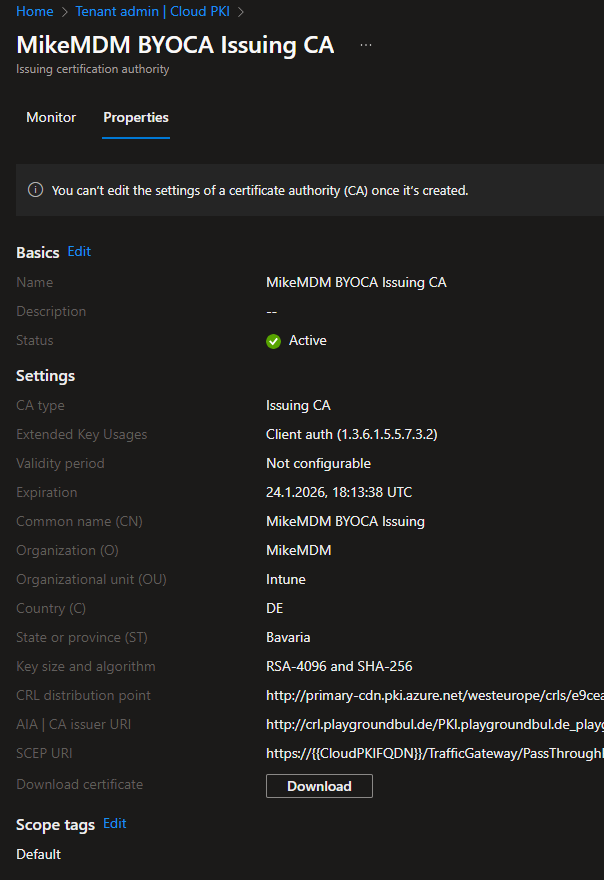
A few seconds later, we finally have our Intermediate CA ready:
From within the Intermediate CA, we can now copy the SCEP URI. We will need it to create your SCEP Configuration Profile.
Configure SCEP Certificate in Intune
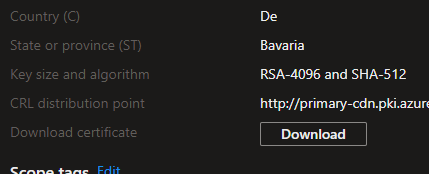
First step, is to deploy the Root Certificate of either your CA or from the newly created Cloud PKI Root CA. To do this export the root CA Certificate to your client, for the Cloud PKI you can use the Download Button in the CA:
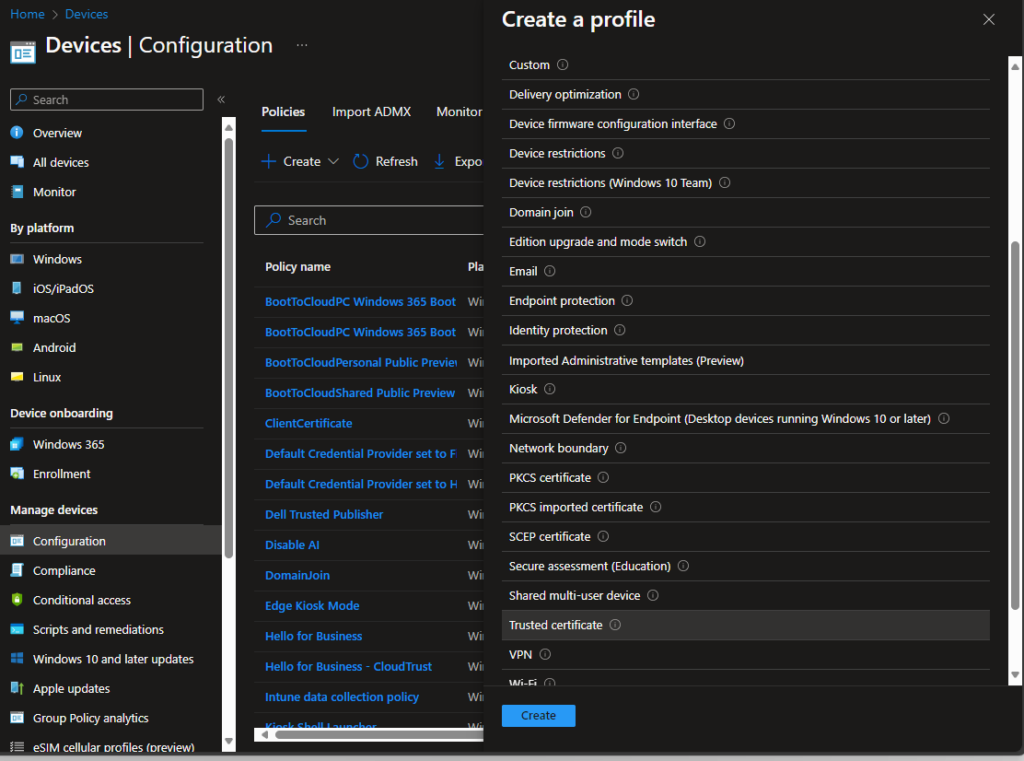
With the certificate available, we can create a new Configuration Profile with the Trusted certificate Template:
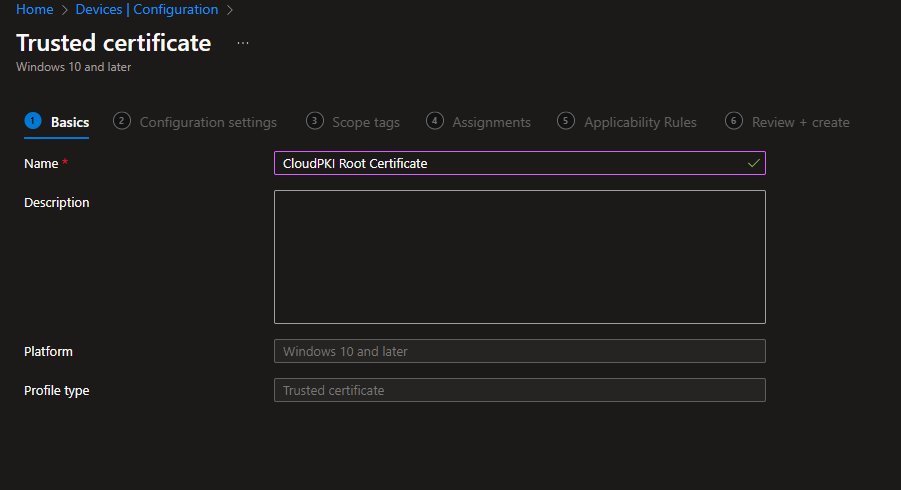
Give it a name:
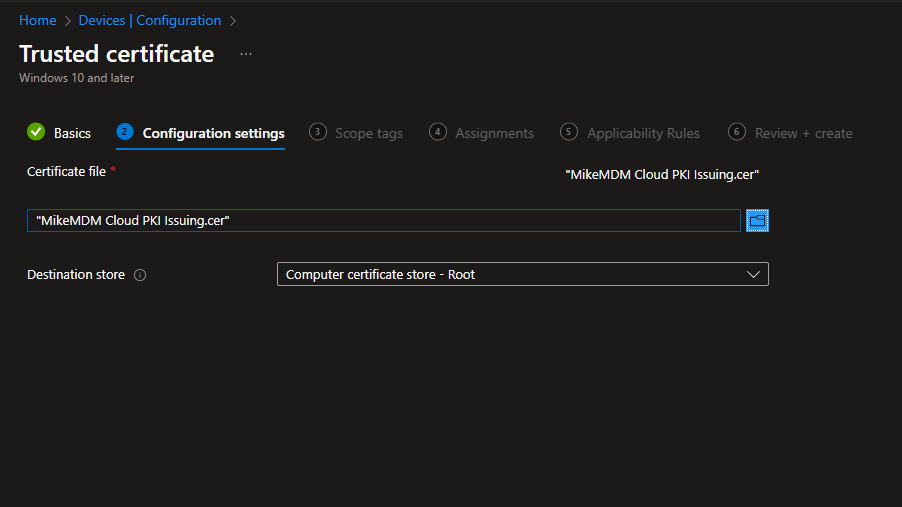
Upload the certificate:
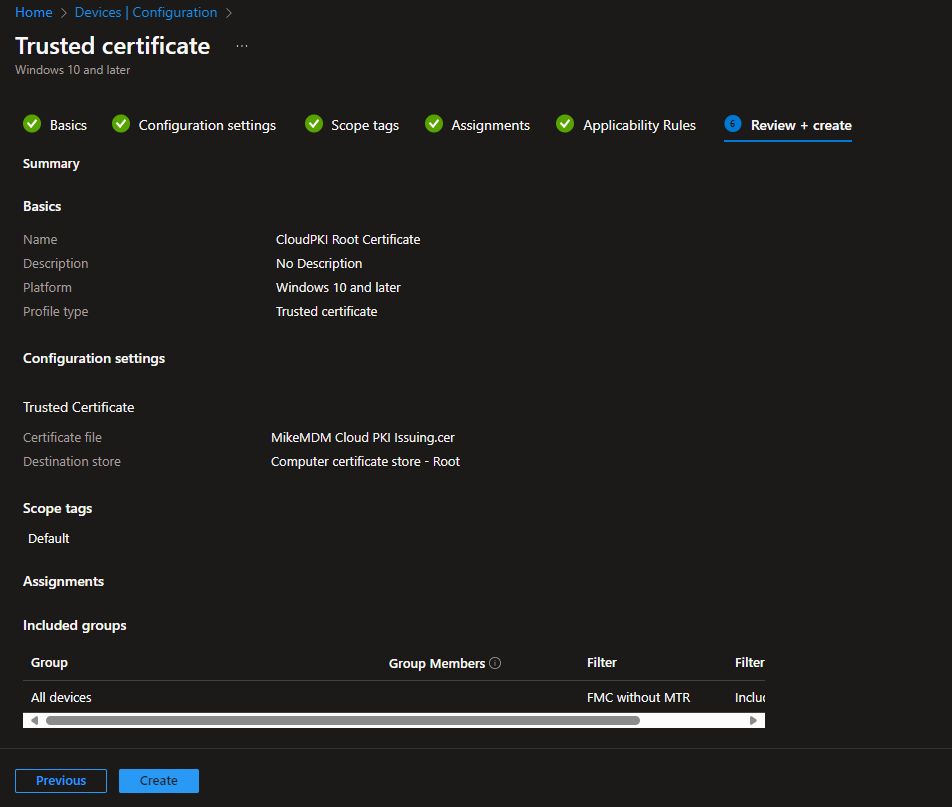
Assign it, set Scope tags, etc. once finished click on Create to deploy the certificate in the Root CA storage of your endpoints.
Regardless of if you created a fully cloud managed PKI or “only” an Intermediate CA that is backed by your own Root CA, the next step is to create a SCEP Profile in Intune to actually deliver certificates to our endpoints.
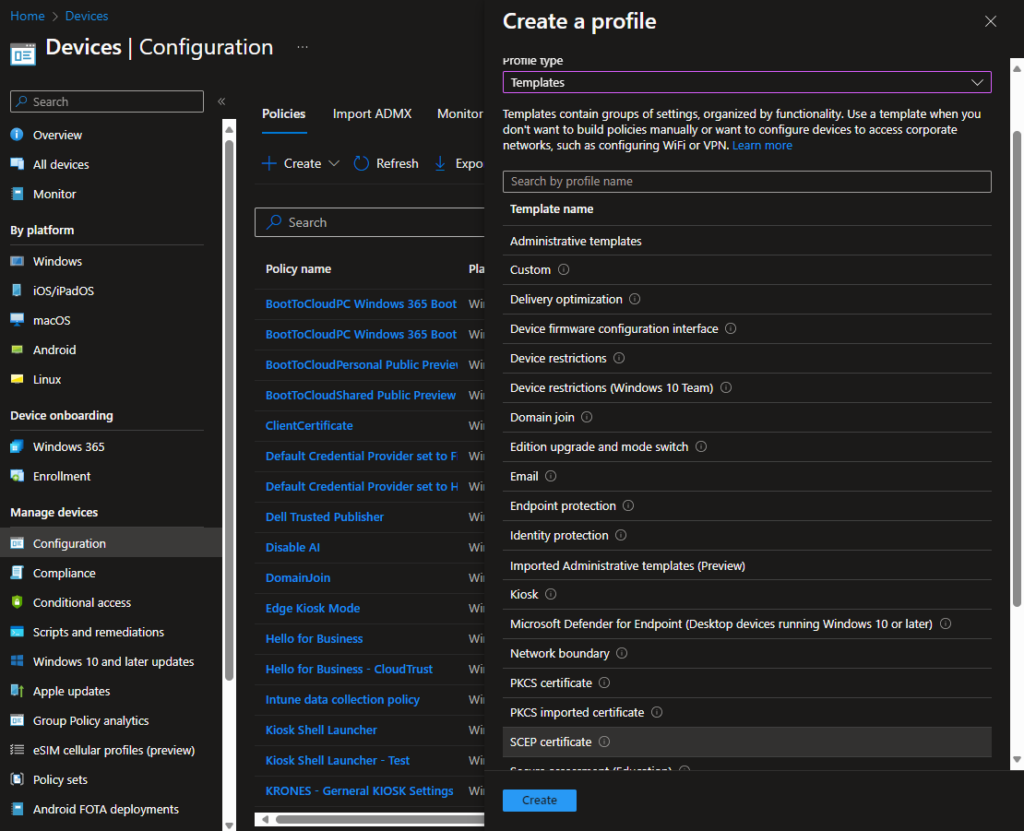
Create a new Configuration Profile with the SCEP Template
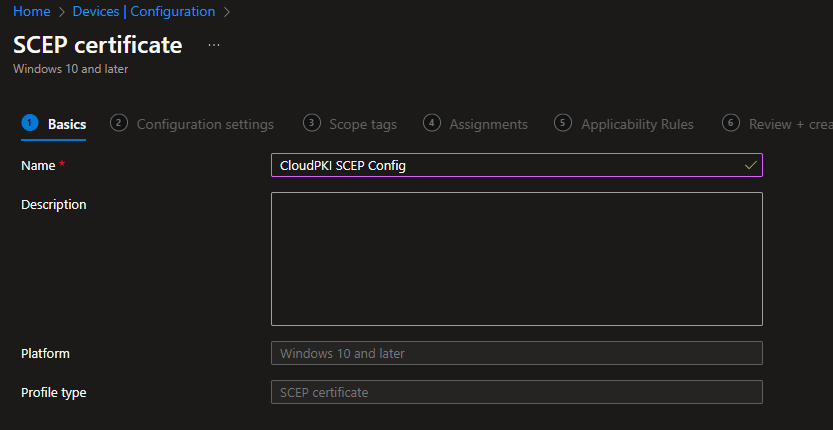
Give it a name
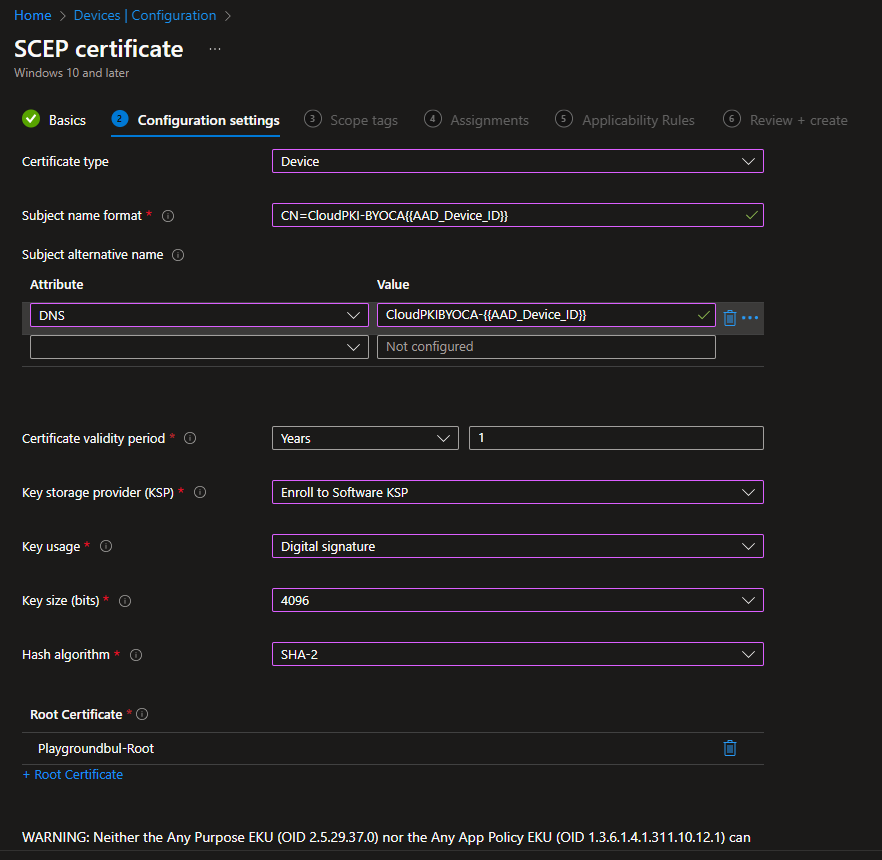
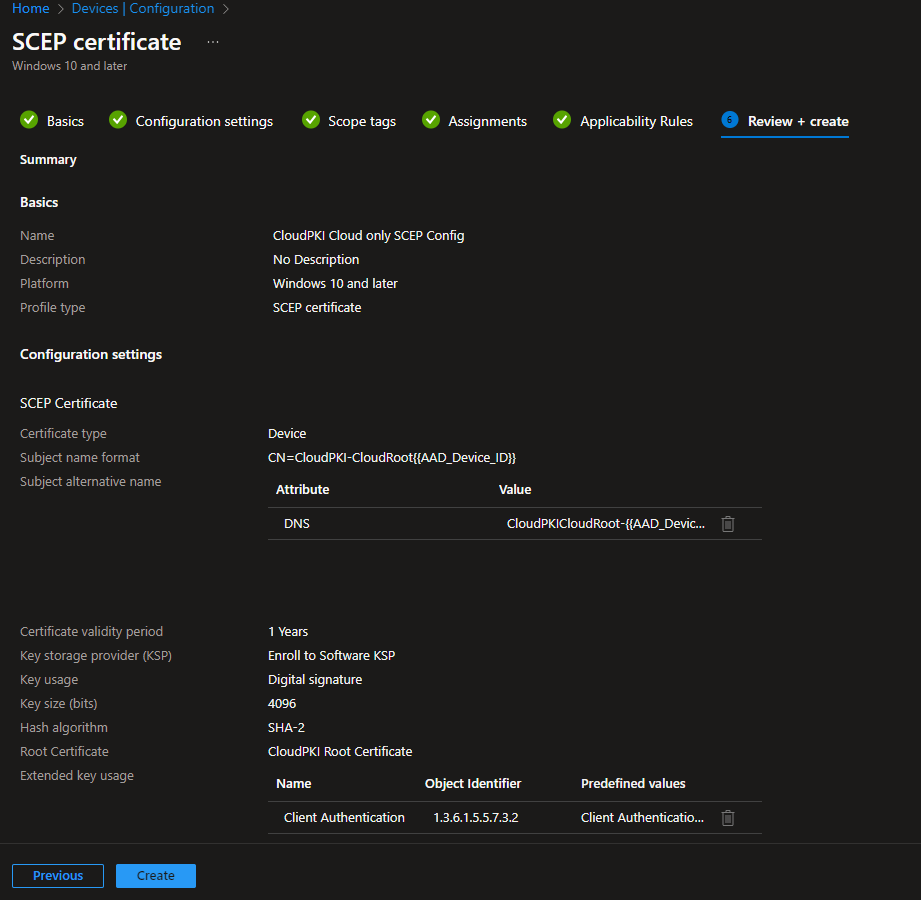
Select the attributes that you need for your certificates:
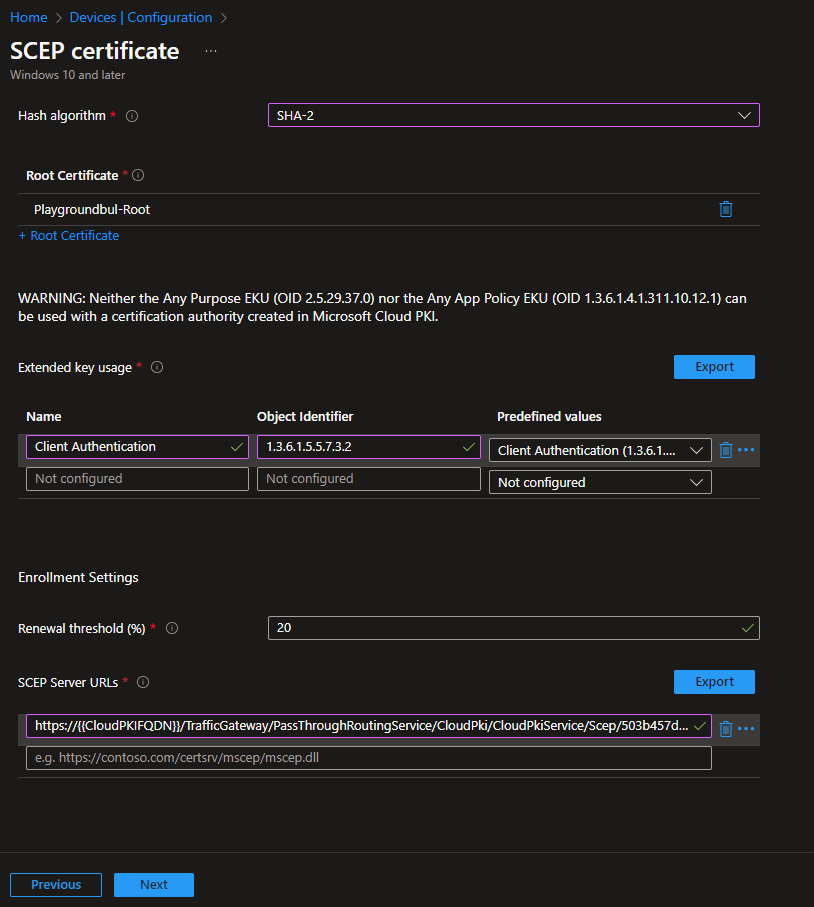
Select the root CA Certificate, either the one of your own CA or of the Cloud managed Root CA created earlier and paste the SCEP Server URL that we copied before:
After the usual stuff, like assignments, Scope tags, etc. we can save the profile and start issuing certificates to our endpoints
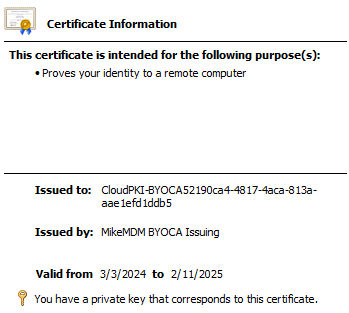
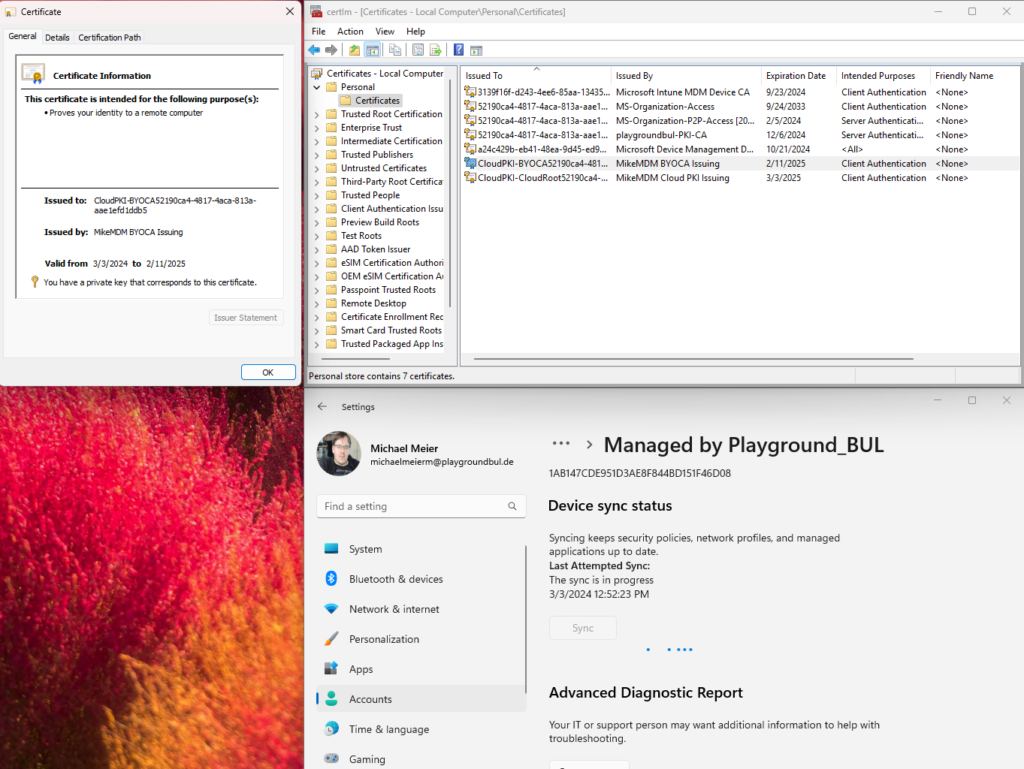
If everything worked, after a check-in to Intune, you should now see your client certificate deployed to the endpoint:
Conclusion
In my opinion, the Cloud PKI feature, finally gives IT Pros the possibility to deploy certificates to Intune managed endpoints without going to have to deploy onPrem NDES SCEP Servers. If you choose to use your already existing PKI as Root or if you go with the fully managed cloud solution, depends on your needs, but both options make the certificate deployment so much easier and probably more secure, as there is no need any more to host an NDES Server that is available from public Internet.
Leave a Reply