Deploy a WPA3 Enterprise Wi-Fi Profile to Windows Endpoints using Intune

If you ever tried to deploy a W-Fi Profile that is secured by WPA3 Enterprise to Windows Clients in Intune, you probably noticed, that this is not possible using the built-in Wi-Fi Template. Don’t worry, the solution is really simple, you can configure the Wi-Fi Profile on a Client, export it and then deploy it via Custom OMA-URI Policy.

Built-in Wi-Fi Template

If you ever configured a Wi-Fi Profile in Intune, you most likely saw, that you can’t select WPA2 vs. WPA3. The only option is Basic vs. Enterprise:

If you export the resulting profile from an endpoint, you will see it automatically creates it for WPA2:

Create a WPA3 Enterprise Profile

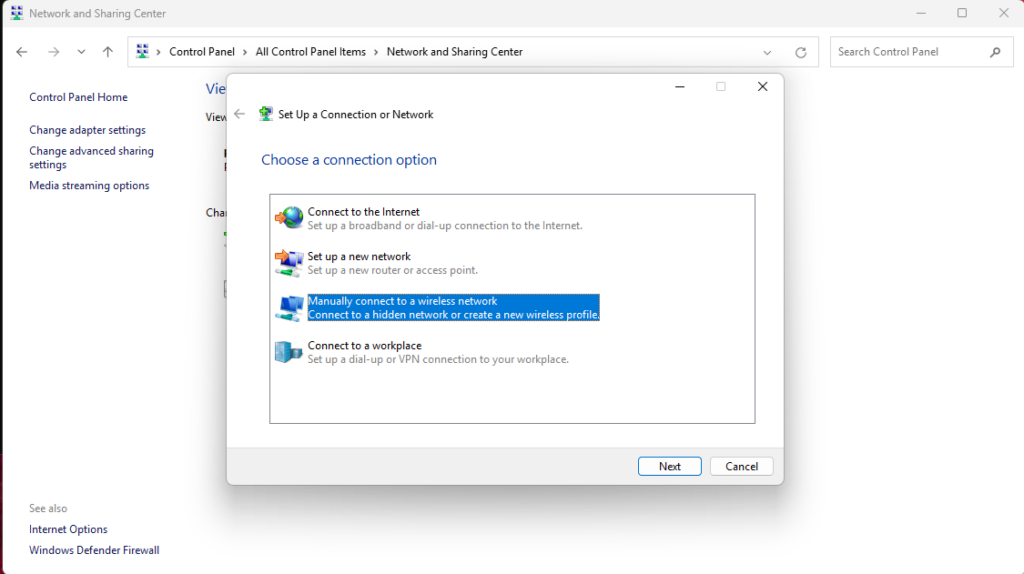
To create a WPA3 Enterprise Wi-Fi Profile, we can simply create it manually from within Windows:

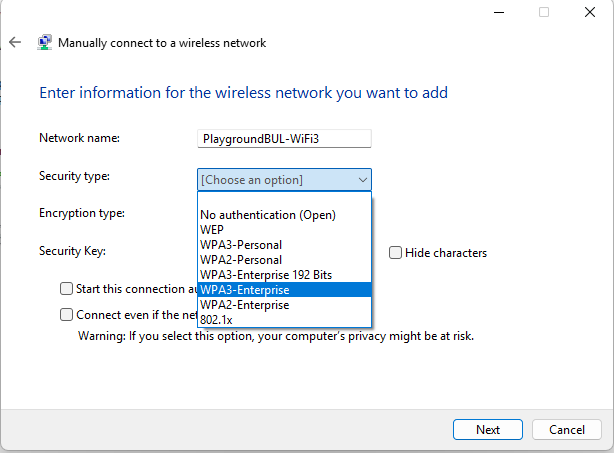
Enter the SSID and select WPA3 Enterprise:

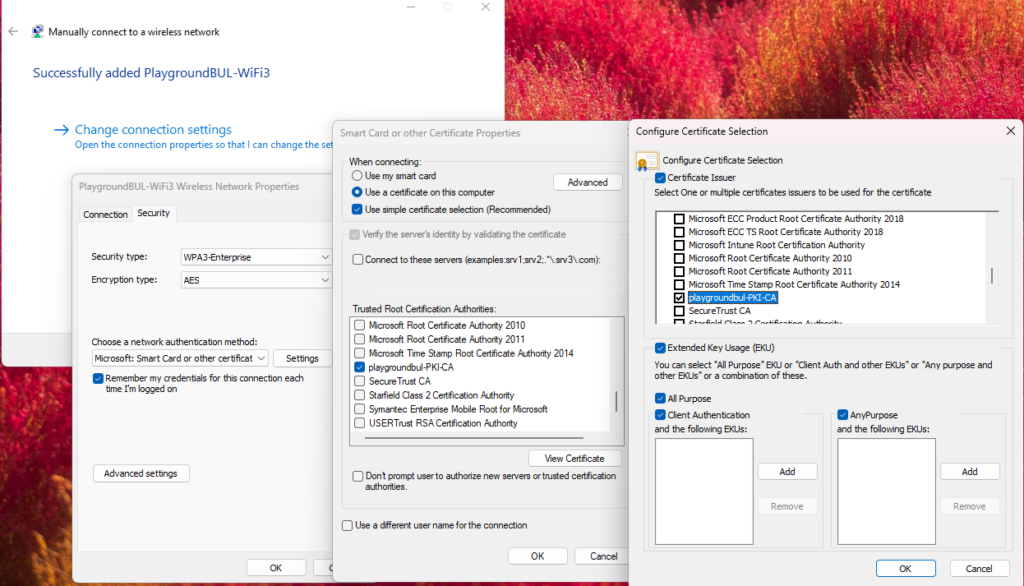
At the last screen of the wizard, you have to modify the freshly created profile to match your configuration needs, like switch to EAP-TLS and modify the certificate selection properties.

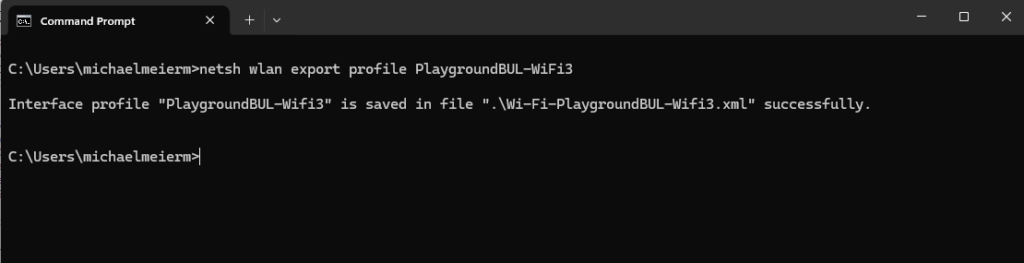
Once the Profile is created and working, we just have to export it with the following command: (Replace the Profile Name with your selected SSID)

netsh wlan export profile <ProfileName>

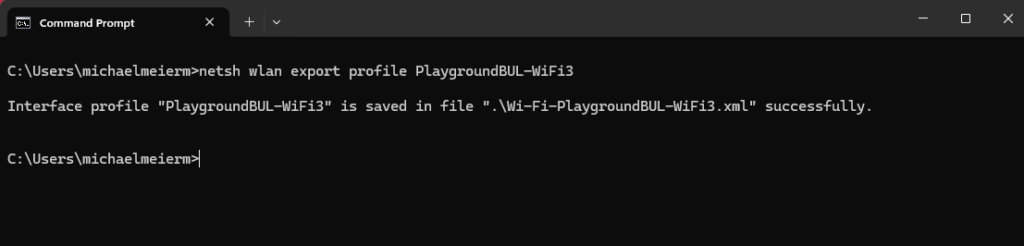
Intune Configuration Profile

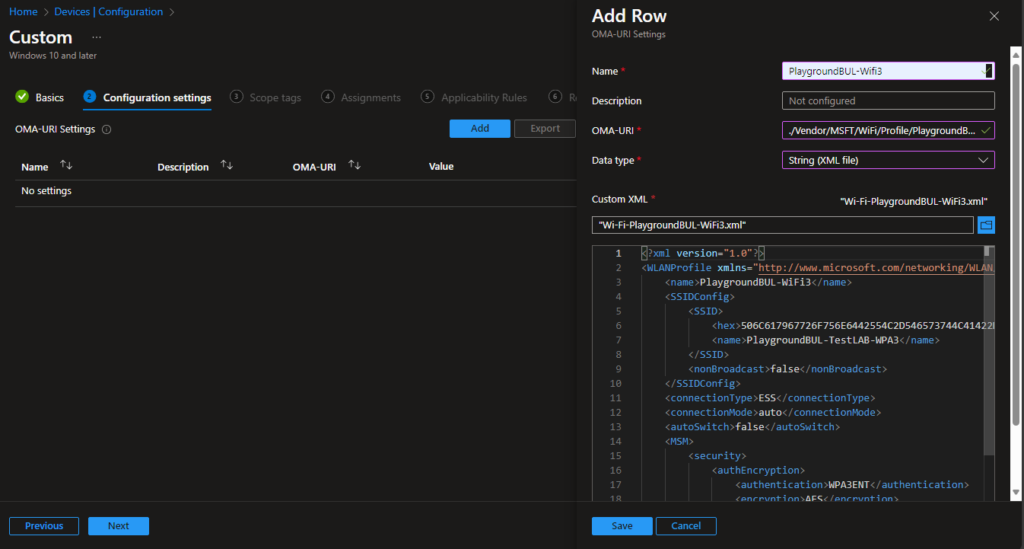
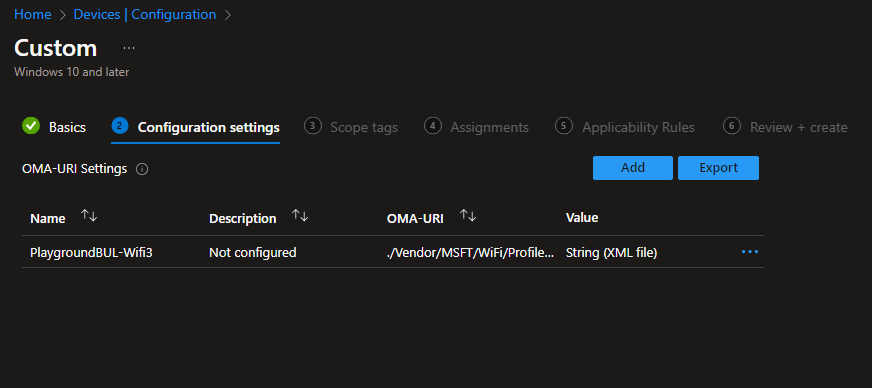
Lastly, we just have to create a Custom OMA-URI Configuration Profile in Intune. Use the following OMA-URI and change <SSID> with your SSID:

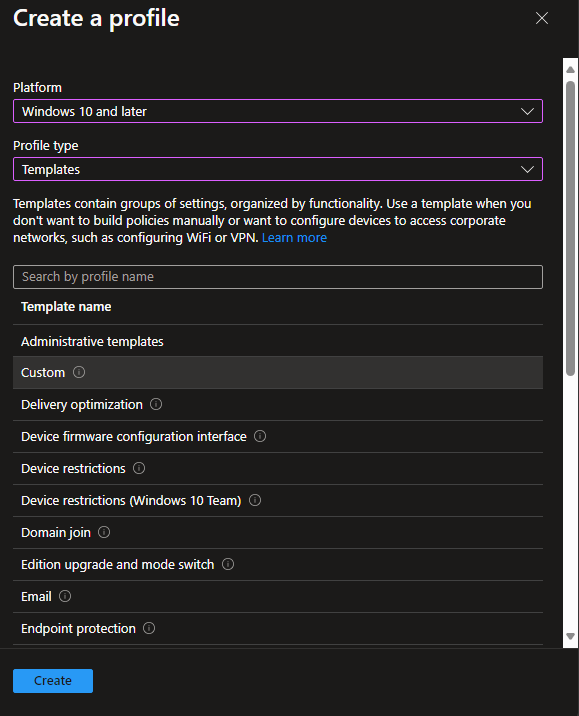
./Vendor/MSFT/WiFi/Profile/<SSID>/WlanXml

Let’s start with a new blank Custom profile:
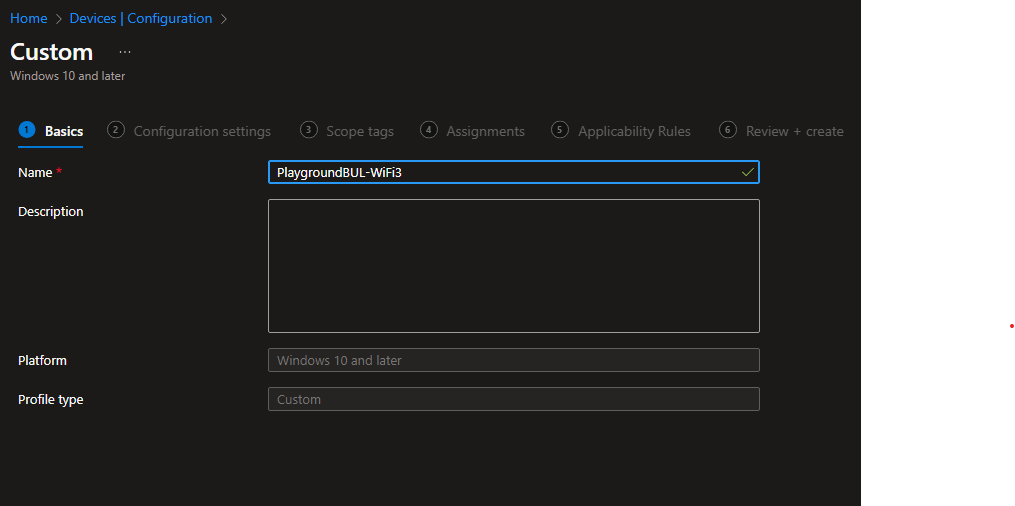
Give it a Name:

Add a new Row with the OMA-URI from above and the Data type of “String (XML file) and upload the exported profile from the client:

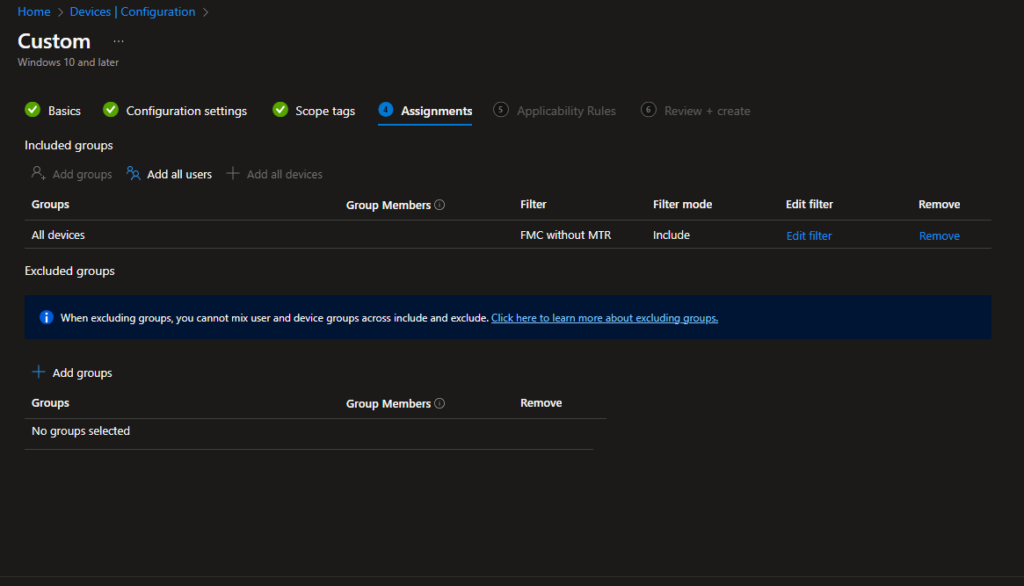
After the usual stuff, like add Scope Tags and Assignment, we can review our settings and create the Profile.

Conclusion

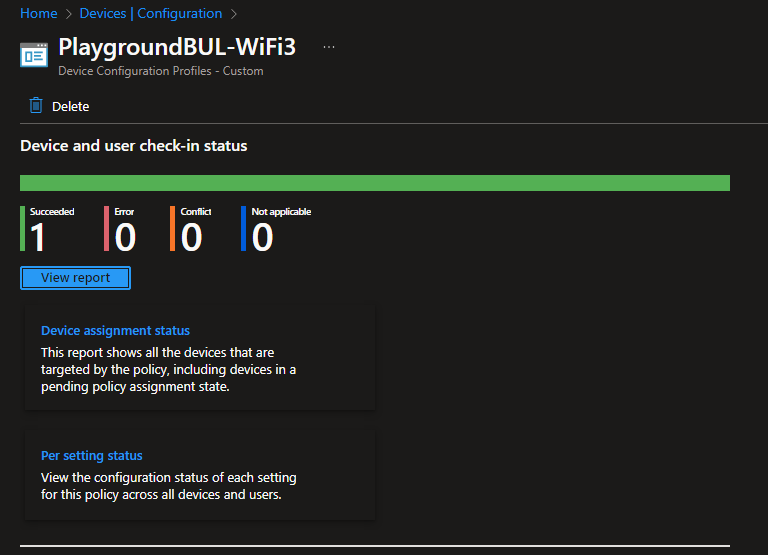
While it is unfortunately not yet possible to create a WPA3 Enterprise encrypted Wi-Fi Profile in Intune directly, you fortunately create and deploy it pretty easily with the Custom OMA-URI Profile type in Intune.

Update:

If you used this custom OMA-URI Option, you may have noticed, while the Profile works just fine, the added Profile is not marked as “Added by company policy” and therefore can be deleted by any user.

I haven’t found the reason why this happens, but I have a workaround in the form of a small PowerShell script available. We just need to set the connection type in the registry for this profile. I created a small script that searches for the Profile guid using the Profile Name specified in line 2. You can find this script sample on GitHub: Scripts/WPA3-WifiProfile-AddedByCompany.ps1 at main · mmeierm/Scripts
You can deploy it using Platform or Remediation Scripts in Intune.

Once the script has done its job, the profile is now also considered as a managed profile and the user cannot delete it from the settings menu anymore.


Posted

in

by

Tags:

Comments

6 responses to “Deploy a WPA3 Enterprise Wi-Fi Profile to Windows Endpoints using Intune”

  1. John Smith

    Nice guide. I used it succesfully.

    I want to add an authentication step to use a SCEP certificate. Do I select 802.1x setting > Specify Authentication > User Authentication to make it auto select the SCEP certificate that is deployed?

    https://learn.microsoft.com/en-us/mem/intune/configuration/wi-fi-settings-windows

    1. Yes absolutely, you can add the certificate selection properties to your profile, either User or Machine Context, depending on your needs. You will see the certificate thumbprints from your selected root and intermediate ca certificates in the exported xml.
      If you are already deploying a WPA2 Profile via Intune that matches your needs, you can export it on the client using netsh wlan export profile… and just modify the Authentication to WPA3ENT

  2. Matteo Saitta

    Hi, I followed your guide and the profile is successfully created, one issue I have with this method is that the user can remove it freely unlike the standard wifi profiles created using a template. Is there any way to make the profile removable only by admins or MDM?

    Thanks!

    1. Hi, I haven’t found a way to set this using the CSP, but I wrote a small script that allows you to set the needed key to mark it as a managed profile.

  3. Paul Edwards

    Hi. I kind of have the opposite problem…
    When you push a corporate wi-fi profile via a GPO (or Intune), the ‘forget’ button is always greyed out. Is there a setting for the ‘Connection Type’ that will allow this button to become available? So that it could be pushed as a remediation script and give users the ability to forget the profile (without needing admin permissions that are required to do it via PowerShell or netsh commands)?

    1. Hi, Not sure about the use case and haven’t tried myself, but I mean you can try the exact oposite, instead of writing the “connection type” value into registry, you could try to remove it via script and see, if your users now can remove the profile

Leave a Reply

Your email address will not be published. Required fields are marked *